1. Pwodwi souview
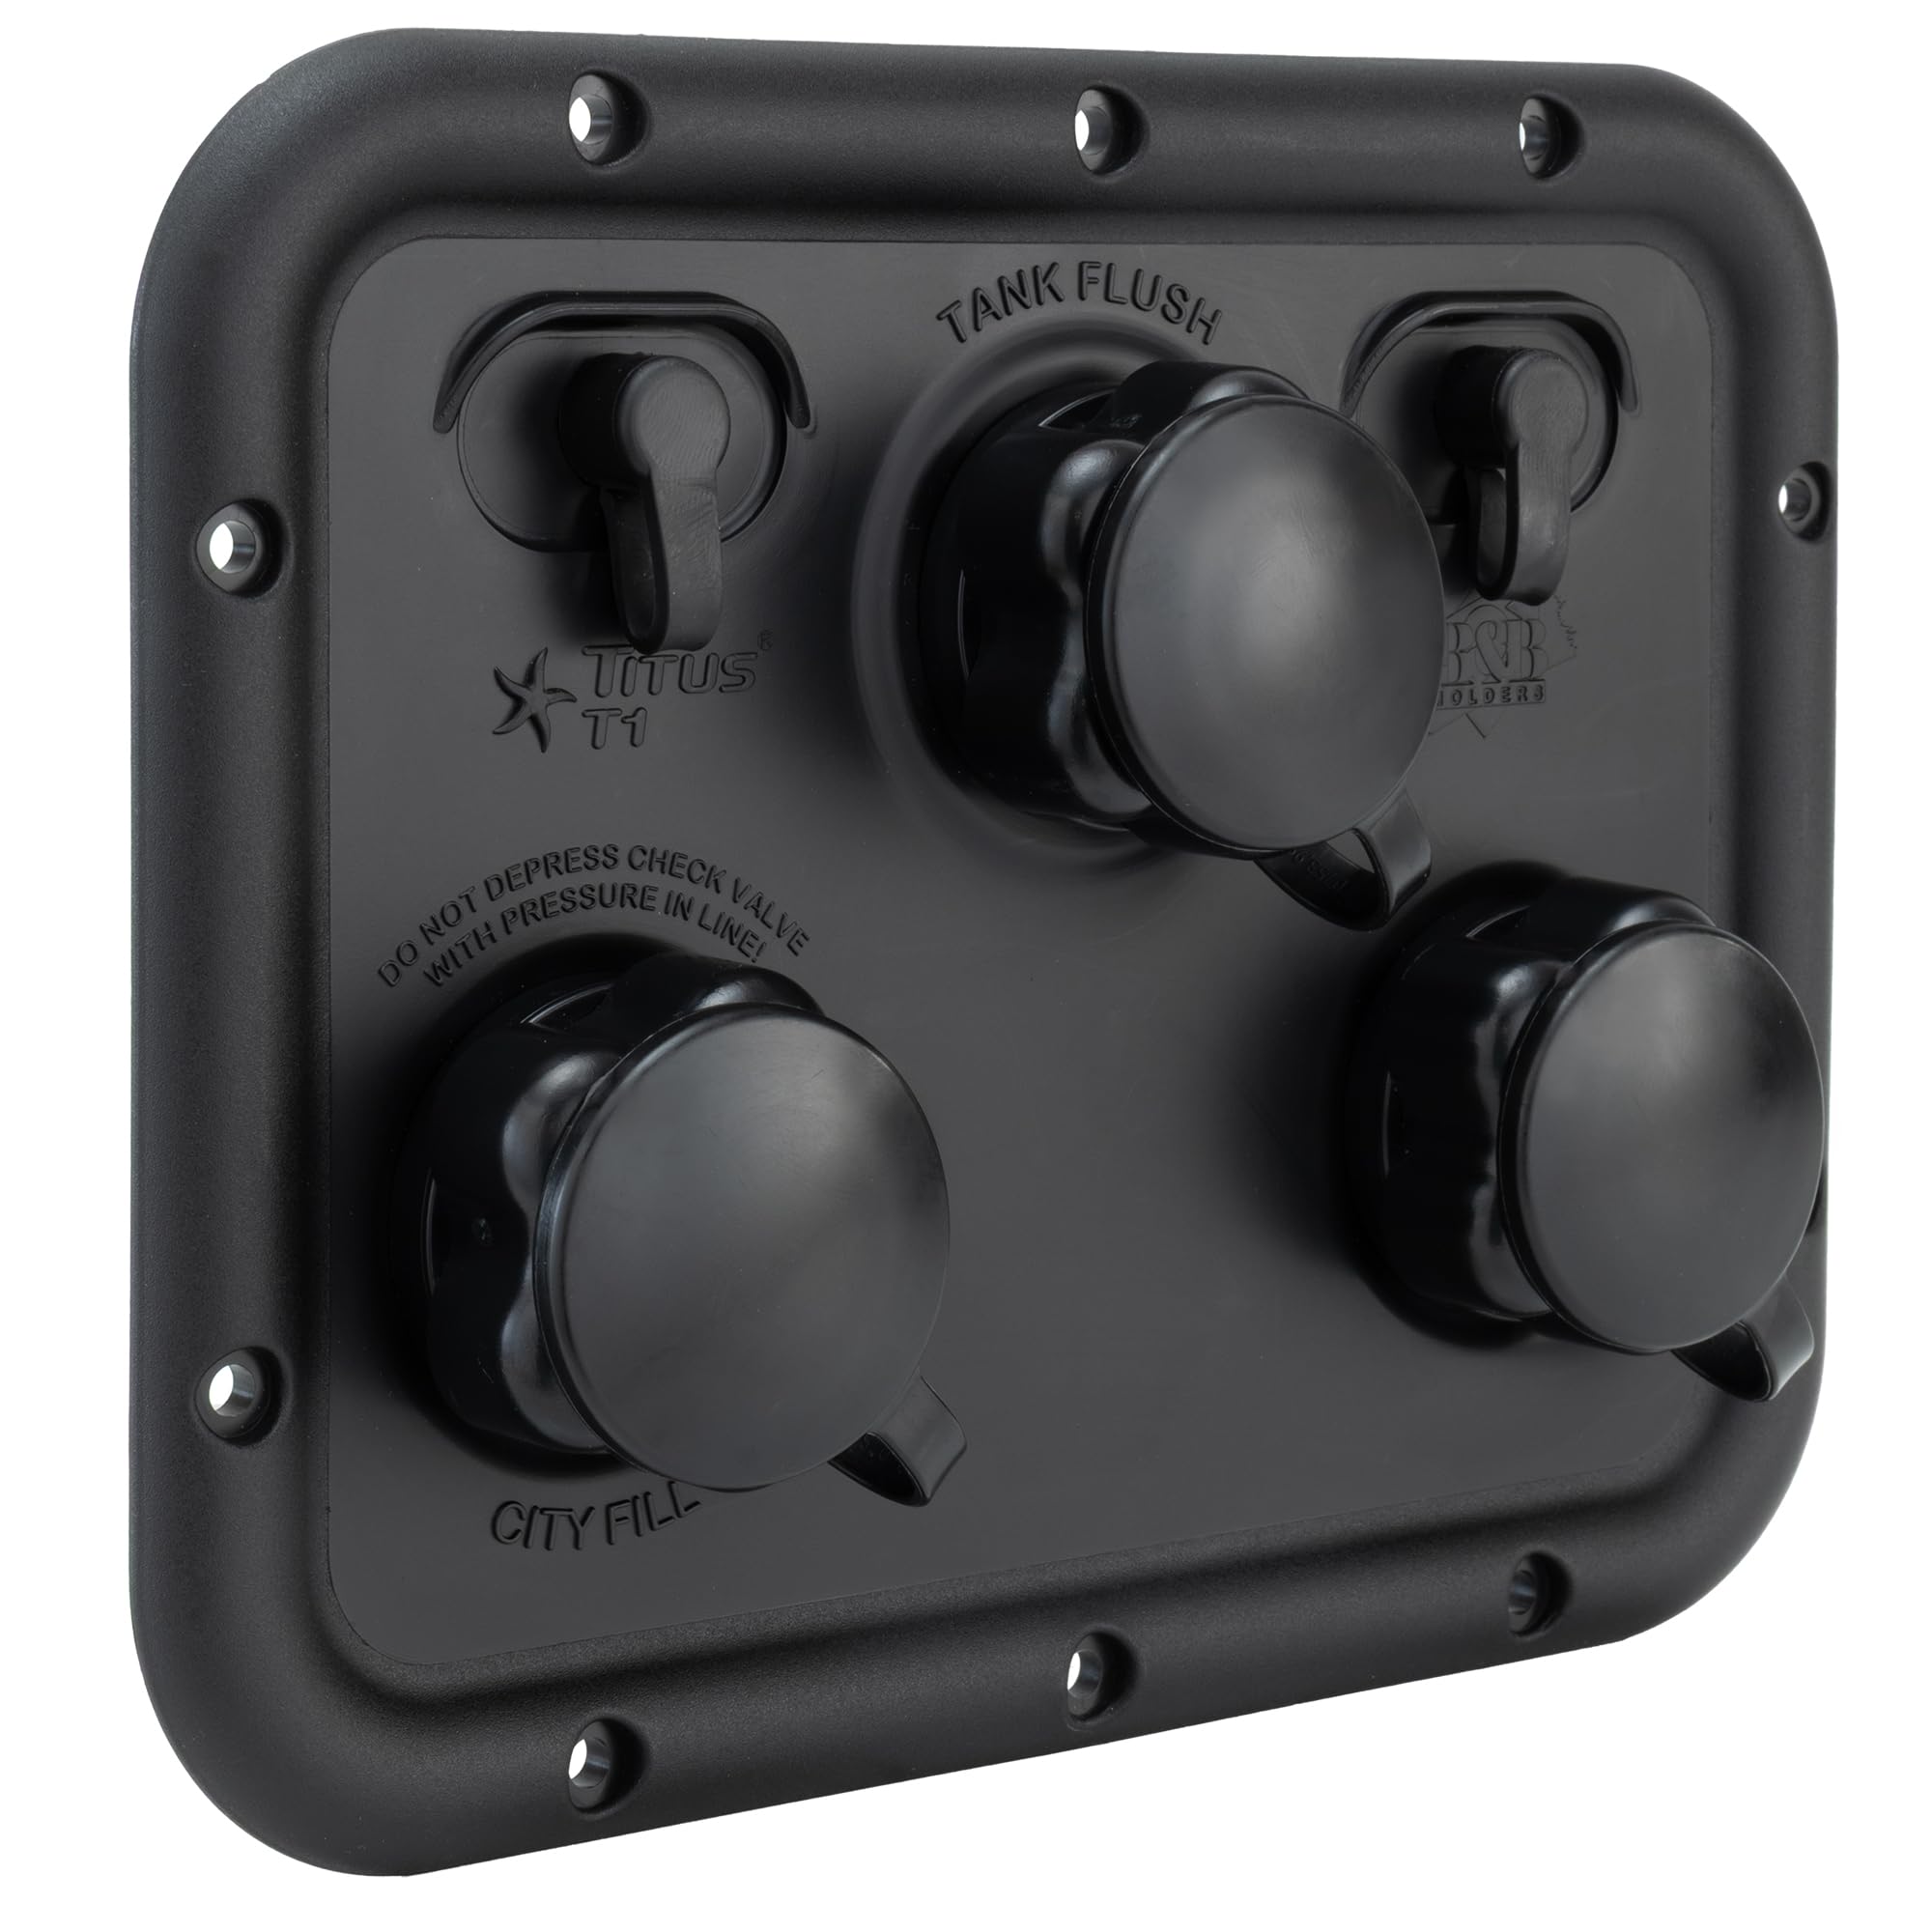
The RecPro Titus T1 RV Water Inlet Panel is a versatile 3-in-1 OEM replacement designed for recreational vehicles. This unit consolidates multiple water inlets into a single, convenient panel, enhancing the functionality and aesthetics of your RV's water system. It is constructed from durable ABS plastic using an injection molded process, ensuring longevity and resistance to wear.
- Ranplasman OEM: Designed as a direct replacement for various RV water inlets, also suitable for new installations.
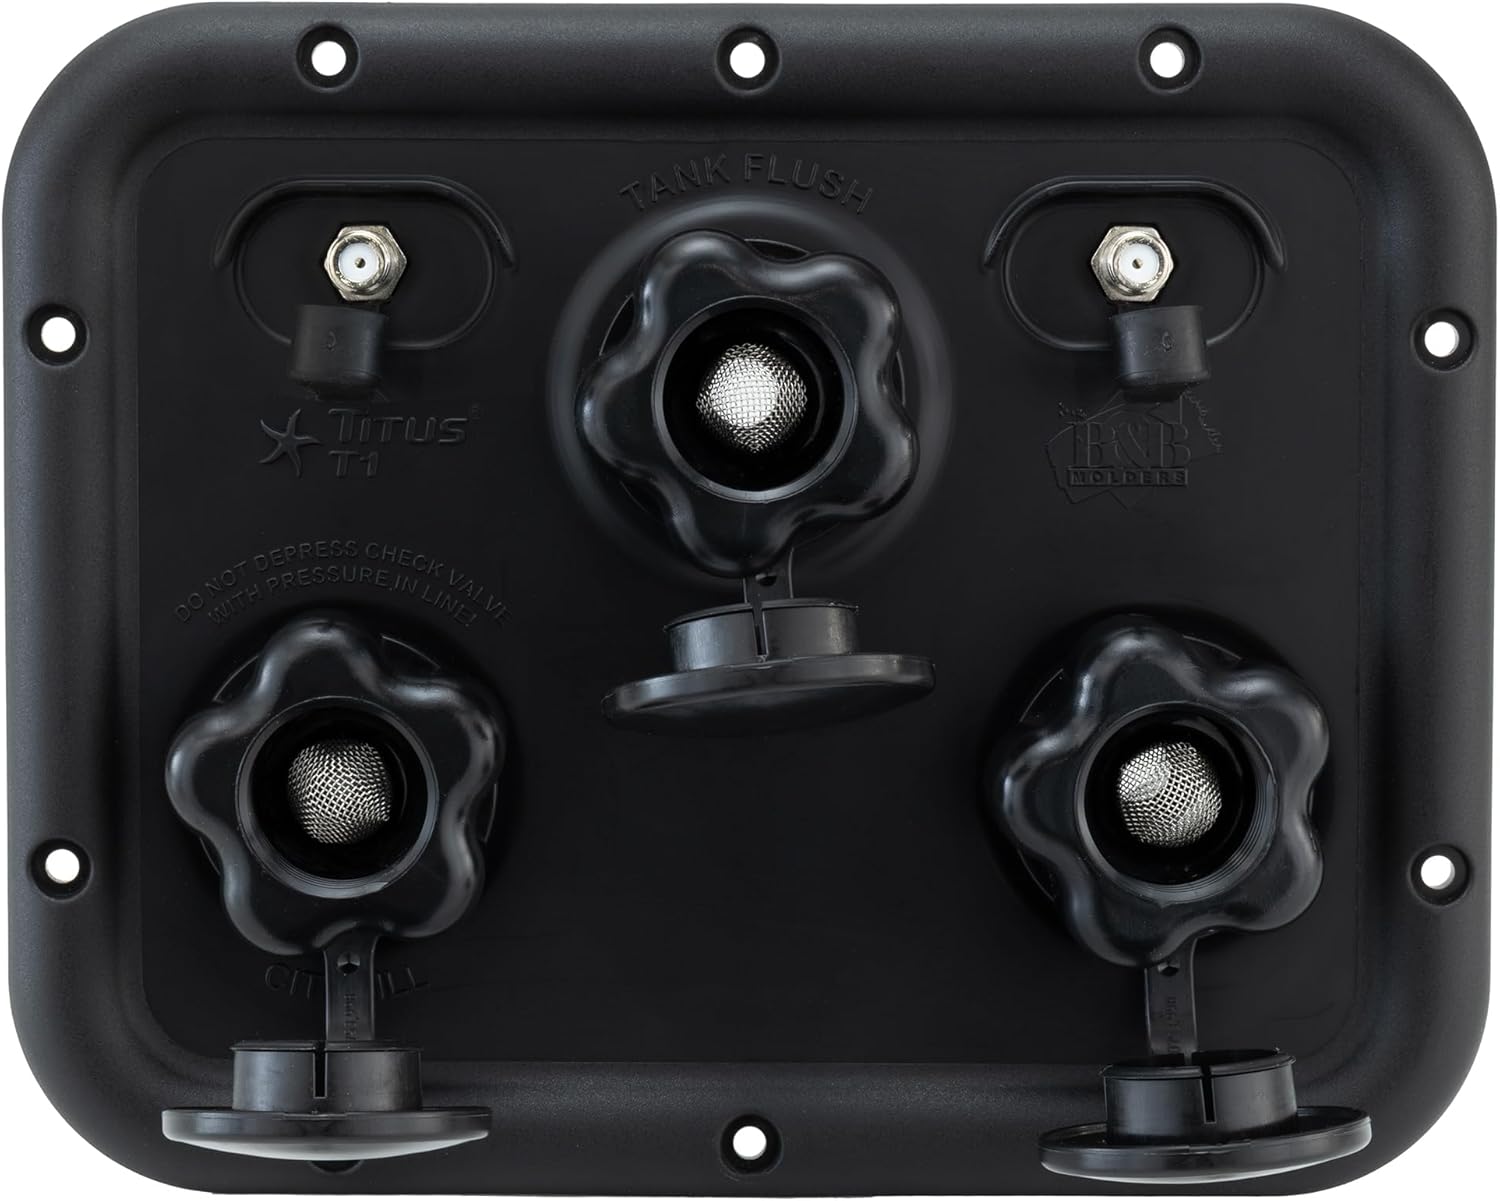
- Konsepsyon entegre: Combines City Fill, Tank Fill, and Tank Flush functions, along with two coax connections, into one accessible panel.
- Konstriksyon dirab: Manufactured from robust Acrylonitrile Butadiene Styrene (ABS) plastic for extended durability.
- UV Stable Coating: Features a UV stable coating to prevent fading from sun exposure.

2. Enstriksyon Enstalasyon
This section provides general guidelines for installing the RecPro Titus T1 RV Water Inlet Panel. Professional installation is recommended if you are unfamiliar with RV plumbing and electrical systems.
2.1 Zouti ak Materyèl ki obligatwa
- Screwdriver (appropriate for existing fasteners)
- Sealant (RV-grade, waterproof)
- Mezire tep
- Drill (if creating a new cutout)
- Kawoutchou clamps (if replacing existing connections)
- Tep sele fil (tep PTFE)
2.2 Replacing an Existing Unit
- Disconnect Water and Power: Ensure all water sources are turned off and the RV's water system is depressurized. Disconnect shore power and turn off the 12V DC system.
- Retire ansyen panèl la: Carefully remove any sealant around the existing water inlet panel. Unscrew the mounting screws and gently pull the old panel away from the RV wall.
- Disconnect Hoses and Wires: Disconnect all water hoses and coax cables from the back of the old panel. Note their connections for reinstallation.
- Netwaye Zòn Montaj: Thoroughly clean the area where the new panel will be mounted, removing all old sealant and debris. Ensure the surface is dry.
- Prepare New Panel: The new panel may not include a rubber gasket or mounting screws. If your old unit had a rubber gasket, carefully remove it and transfer it to the new panel to ensure a proper seal. Use the existing mounting screws if they are in good condition, or acquire new ones of the appropriate size.
- Connect Hoses and Wires: Connect the water hoses to the corresponding inlets (City Fill, Tank Fill, Tank Flush) and attach the coax cables to the designated connections on the back of the new panel. Use thread sealant tape on threaded water connections to prevent leaks. Secure hose connections with clamps si sa nesesè.
- Mount New Panel: Position the new panel into the cutout, ensuring all connections are properly aligned and the panel sits flush against the RV wall. Secure it with the mounting screws.
- Bouch sele: Apply a generous bead of RV-grade, waterproof sealant around the entire perimeter of the newly installed panel to prevent water intrusion.
- Sistèm tès: Once the sealant has cured (refer to sealant manufacturer's instructions), slowly turn on the water supply and check all connections for leaks. Restore power and test coax connections.


3. Operasyon
The RecPro Titus T1 panel provides convenient access to your RV's water system functions.
3.1 City Water Connection (City Fill)
- Locate the "City Fill" inlet on the panel.
- Retire bouchon pwoteksyon an.
- Connect a potable water hose from an external city water source to the "City Fill" inlet.
- Ensure the connection is secure and turn on the city water supply. The RV's plumbing system will now be pressurized directly by the city water.
3.2 Fresh Water Tank Filling (Tank Fill)
- Locate the "Tank Fill" inlet on the panel.
- Retire bouchon pwoteksyon an.
- Connect a potable water hose from a water source to the "Tank Fill" inlet.
- Turn on the water supply to begin filling your RV's fresh water tank. Monitor the tank level indicator inside your RV to prevent overfilling.
- Once the tank is full, turn off the water supply and disconnect the hose. Replace the protective cap.
3.3 Black Tank Flushing (Tank Flush)
- Ensure your black water tank's dump valve is open and a sewer hose is connected to a proper disposal site.
- Locate the "Tank Flush" inlet on the panel.
- Retire bouchon pwoteksyon an.
- Connect a separate water hose (not your potable water hose) to the "Tank Flush" inlet.
- Turn on the water supply to activate the black tank flush system. Water will spray inside the black tank to clean it.
- Continue flushing until the water running through the sewer hose is clear. Turn off the water supply and disconnect the hose. Replace the protective cap.
Enpòtan: Always keep the black tank dump valve open when using the "Tank Flush" to prevent over-pressurization and damage to your RV's plumbing system.
4. Antretyen
- Netwayaj regilye: Periodically clean the exterior of the panel with mild soap and water to remove dirt and grime. Avoid abrasive cleaners.
- Tcheke pou fwit: Regularly inspect all connections for any signs of leaks, especially after travel or changes in temperature. Tighten connections or reapply thread sealant tape as needed.
- Winterization: Before storing your RV or if freezing weather is expected, the entire water system, including the water inlet panel, must be properly drained and winterized to prevent damage from freezing. Refer to your RV's owner's manual for specific winterization procedures.
- Enspeksyon Filtè: The water inlets feature integrated filters. Periodically remove the caps and inspect these filters for debris. Clean or replace as necessary to maintain optimal water flow.
NAN. Depanaj
| Pwoblèm | Kòz posib | Solisyon |
|---|---|---|
| Water Leakage from Inlet | Loose connections, damaged O-rings/gaskets, cracked housing. | Tighten all connections. Inspect and replace any damaged O-rings or gaskets. If the housing is cracked, the unit may need replacement. Ensure proper sealant around the panel perimeter. |
| Ba Dlo Koule | Clogged inlet filter, kinked hose, low external water pressure. | Remove inlet caps and clean the internal filters. Check external water hoses for kinks or obstructions. Verify external water pressure. |
| Coax Connection Issues | Loose coax cable, damaged cable, faulty external device. | Ensure coax cables are securely tightened at both the panel and the external device. Inspect cables for damage. Test with a different cable or device if possible. |
6. Espesifikasyon
| Karakteristik | Detay |
|---|---|
| Mak | RecPro |
| Nimewo Modèl | RP-TITUS |
| Style | Titus T1, City, Tank Fill & Tank Flush, 2-Coax, BK |
| Materyèl | Akrilonitrile butadien stirèn (ABS) |
| Koulè | Nwa |
| Konpozan ki enkli | Water Inlet Panel |
| Dimansyon (an jeneral) | 8 1/2" x 6 3/4" (approximate, refer to Figure 3 for details) |
| Gwosè Dekoupe | 6 3/4" x 5" (approximate, refer to Figure 3 for details) |
7. Enfòmasyon sou Garanti
The RecPro Titus T1 RV Water Inlet Panel comes with a 1 Ane Manifakti Garanti. For warranty claims or further assistance, please contact RecPro customer support.
8. Sipò pou Kliyan
For any questions, technical support, or assistance with your RecPro Titus T1 RV Water Inlet Panel, please visit the official RecPro website or contact their customer service department. Always refer to your RV's specific owner's manual for details pertaining to your vehicle's water system.


