Kouvèti Manyèl

Image: Front cover of the Singer 2282 Sewing Machine Instruction Manual.
Enstriksyon Sekirite Enpòtan
When using an electric appliance, basic safety precautions should always be followed, including the following:
DANGER - To reduce the risk of electric shock:
- Always unplug the machine immediately after using and before cleaning.
- Always unplug before replacing a light bulb. Replace bulb with same type rated 10 watts (110-120V area) or 15 watts (220-240V area).
WARNING - To reduce the risk of burns, fire, electric shock, or injury to persons:
- Pa pèmèt yo itilize kòm yon jwèt. Li nesesè anpil atansyon lè yo itilize aparèy sa a oswa tou pre timoun yo.
- Sèvi ak aparèy sa a sèlman pou itilizasyon li gen entansyon dekri nan manyèl sa a. Sèvi ak sèlman atachman manifakti a rekòmande jan sa a nan manyèl sa a.
- Pa janm opere aparèy sa a si li gen yon kòd oswa ploge domaje, si li pa fonksyone byen, si li te tonbe oswa domaje, oswa si li tonbe nan dlo. Retounen aparèy la bay konsesyonè ki otorize ki pi pre a oswa sant sèvis pou l egzamine, reparasyon, ajisteman elektrik oswa mekanik.
- Never operate the appliance with any air openings blocked. Keep ventilation openings of the sewing machine and foot controller free from the accumulation of lint, dust, and loose cloth.
- Kenbe dwèt lwen tout pati k ap deplase. Swen espesyal yo mande alantou zegwi a machin a koud.
- Toujou sèvi ak plak zegwi apwopriye a. Plak la mal ka lakòz zegwi a kraze.
- Pa rale oswa pouse twal pandan w ap koud. Li ka devye zegwi a ki lakòz li kraze.
- Always unplug the sewing machine from the electrical outlet when removing covers, lubricating, or when making any other servicing adjustments mentioned in the instruction manual.
- Pa janm lage oswa mete nenpòt objè nan nenpòt ouvèti.
- Pa sèvi ak deyò.
- Pa opere kote yo ap itilize pwodwi aerosol (espre) oswa kote yo administre oksijèn.
- To disconnect, turn all controls to the off ("O") position, then remove plug from outlet.
- Pa deploge rale sou kòd. Pou deploge, atrab ploge a, pa kòd la.
- Nivo presyon son nan kondisyon fonksyònman nòmal se 75dB (A).
- Never turn off the machine or unplug when the machine is not running properly.
- Pa janm mete anyen sou kontwolè pye a.
- If the supply cord that is fixed with foot controller is damaged, it must be replaced by the manufacturer or its service agent or a similarly qualified person in order to avoid a hazard.
- Aparèy sa a pa fèt pou itilize pa moun (ki gen ladan timoun) ki gen kapasite fizik, sansoryèl oswa mantal redwi, oswa ki pa gen eksperyans ak konesans, sof si yo te ba yo sipèvizyon oswa enstriksyon konsènan itilizasyon aparèy la pa yon moun ki responsab sekirite yo.
- Timoun yo ta dwe sipèvize pou asire ke yo pa jwe ak aparèy la.
SOVE ENSTRIKSYON SA YO
Machin koud sa a fèt pou itilizasyon nan kay la sèlman.
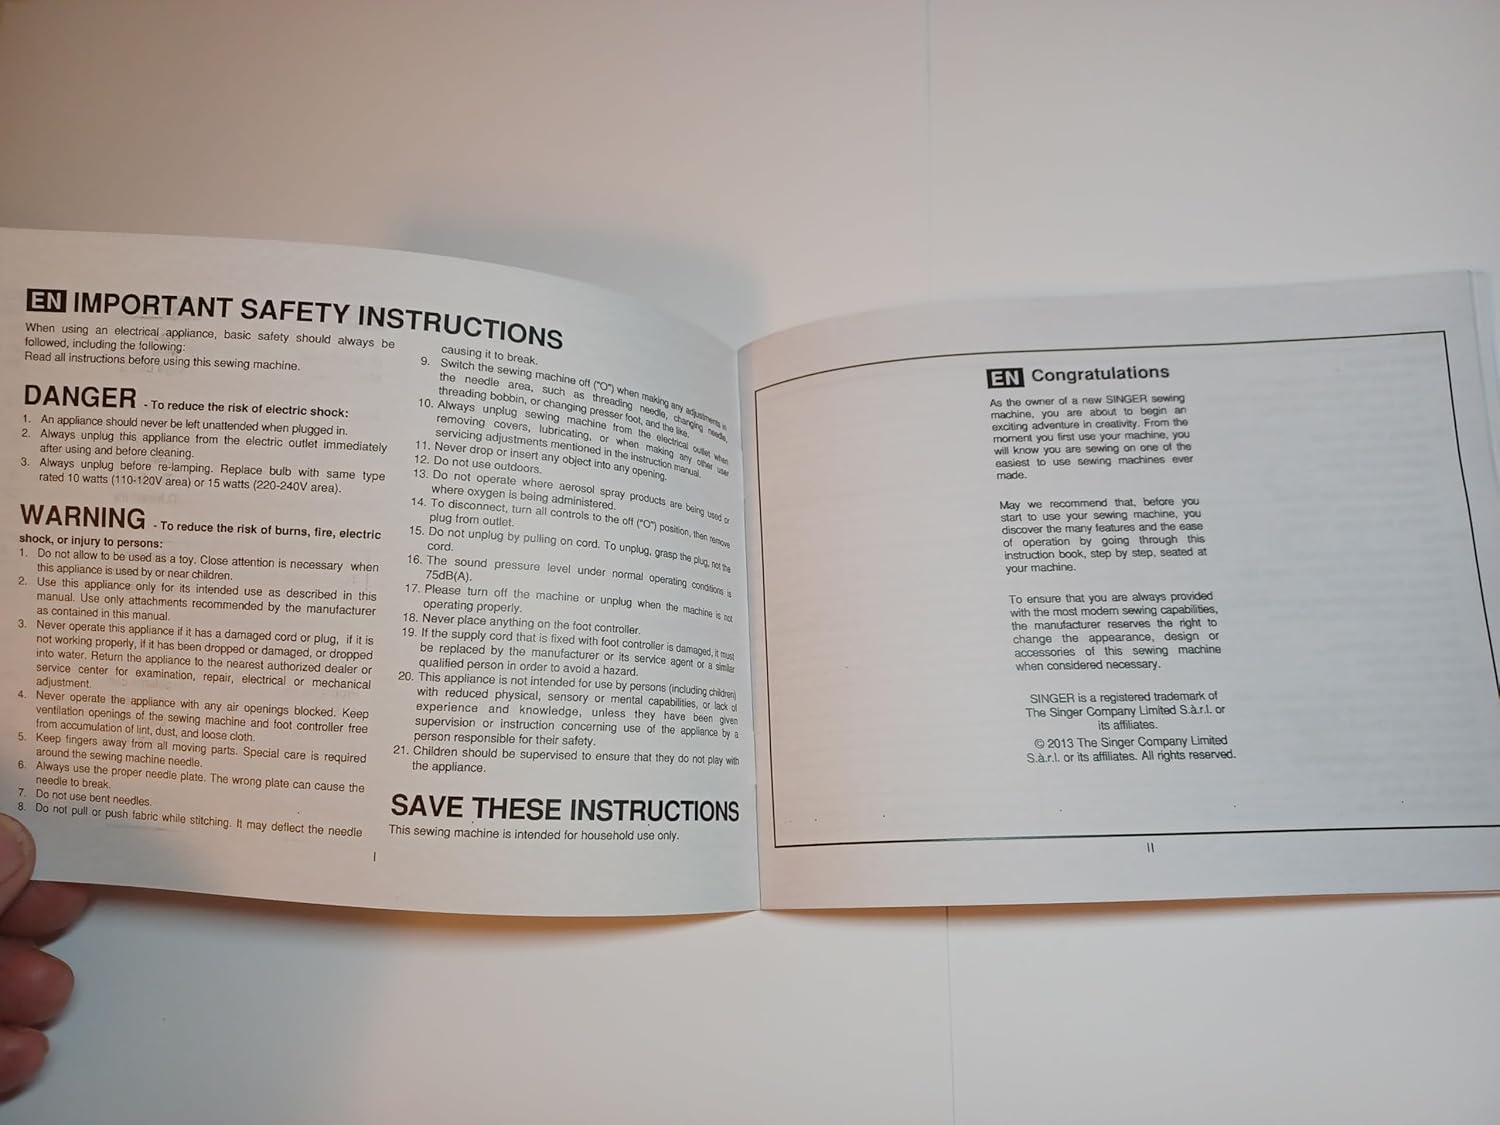
Image: Important Safety Instructions and Congratulations page from the manual.
Kòmanse
Felisitasyon!
As the owner of a new SINGER sewing machine, you are about to begin an exciting adventure in creative sewing. The first step to learn your machine, you will know you are sewing by doing. So, prepare to sew! Sewing machines are made for sewing.
May we recommend that, before you use your new sewing machine, you discover the many features and the ease of operation by reading through this instruction book, step by step, seated at your machine.
To ensure that you are always provided with the finest sewing capabilities, the manufacturer reserves the right to change the appearance, design, or accessories of this sewing machine when considered necessary.
SINGER is a registered trademark of The Singer Company Limited S.à.r.l. or its affiliates. © 2013 The Singer Company Limited S.à.r.l. or its affiliates. All rights reserved.
Enstalasyon
Before beginning any sewing project, ensure your Singer 2282 machine is properly set up. This involves connecting the power, installing the needle, and preparing the bobbin.
Koneksyon pouvwa
- Asire w ke machin nan etenn.
- Insert the power cord into the machine's power input.
- Branche lòt bout kòd kouran an nan yon priz elektrik ki apwopriye.
- Konekte pedale a pye a nan pò ki apwopriye pou li a sou machin nan.
Needle Installation
- Leve zegwi a nan pozisyon ki pi wo a avèk volan an.
- Lage zegwi a clamp vis.
- Insert the new needle with the flat side facing the back of the machine.
- Pouse zegwi a monte jis li rive, apresa sere klou zegwi a.amp vis byen.
Bobin likidasyon
- Mete yon bobin fil sou pin bobin la.
- Gide fil la nan gid fil anwo a epi li fè wonn disk tansyon bobin lan.
- Mete yon bobin vid sou aks bobinè a.
- Wind the thread a few times manually around the bobbin.
- Pouse file bobin bobin an sou bò dwat la.
- Peze pedal la pou kòmanse bobin lan. Rete lè bobin lan plen.
- Cut the thread and push the bobbin winder spindle to the left.
Operating Your Sewing Machine
Threading machin nan
Proper threading is crucial for correct stitch formation. Follow these steps carefully for both upper and lower threading.
Anfile anwo fil la
- Start by raising the needle to its highest point (1), and continue turning the handwheel counter-clockwise until the needle just begins to descend. Raise the presser foot to release the tension discs.
- Nòt: Pou sekirite, li fòtman sijere ou fèmen pouvwa a anvan anfile.
- Place the spool of thread on the spool pin.
- Draw thread from the spool through the upper thread guide (3) and proceed through pre-tension spring as illustrated (4).
- Thread tension module by leading thread down right channel and up left channel (5). During this process it is helpful to hold the thread between the spool and thread guide.
- At the top of this movement pass thread from right to left, through the slotted eye of the take-up lever and then downwards again.
- Koulye a, pase fil dèyè zegwi a fil mens clamp guide (7) and then down to the needle which should be threaded from the front to back.
- Pull about 6-8 inches of thread to the rear beyond the needle eye. Trim thread to length with built-in thread cutter (8).
Thread Tension Adjustment
Correct thread tension is essential for balanced stitches. Adjust the tension dial as needed.
- Upper Thread Tension: To reduce the tension, turn the dial to the next number up. To increase the tension, turn the dial to the next number down. Try to achieve balanced tension for straight stitch sewing. Turn dial to "4".
- Lower Thread Tension: To test the bobbin thread tension, remove the bobbin case and bobbin. Hold the thread coming from the bobbin. If the tension is correct, the thread will unwind slowly. If it unwinds too fast, it will drop too much. If it unwinds too slowly, it will not drop.
Tanpri sonje:
- Proper setting of tension is important for good sewing.
- The correct tension for example, top, bottom, and all stitch functions, thread or fabric.
- The tension is correct when both upper and bottom is usually only desirable for straight stitch construction.
- 90% of all sewing will be between "3" and "5".
- For zig zag and decorative sewing stitch functions, thread tension will be less than for straight stitch sewing.
- For decorative sewing you will always obtain a nice stitch and foot fabric puckering when the upper thread appears on the bottom side of your fabric.

Image: Instructions for Thread Tension and Threading the Upper Thread.
Stitch Selection and Adjustment
The Singer 2282 offers various stitch patterns and adjustments for different sewing needs.
Ki jan yo chwazi modèl ou a
To select a stitch pattern, simply turn the Pattern Selector Dial. The Pattern Selector Dial may be turned in either direction.
- For straight stitch: select pattern "1" with the pattern selector dial. Adjust the stitch length with the stitch length dial.
- For zigzag stitch: select pattern "2" with the pattern selector dial. Adjust the stitch length and stitch width according to the fabric being used.
- To obtain the other patterns: turn the stitch length dial to "0" or "Sz", select the pattern desired with pattern selector dial, and adjust the stitch width with the stitch width dial.
Stitch Width & Stitch Length Dial
- Function of stitch width dial: The maximum zigzag stitch width for zigzag stitching is 5mm. However, the width can be reduced by turning the dial. The width increases as the dial is turned from "0" - "5" (1). The Stitch Width Dial is also the control for the straight stitch while needle position. "0" position is for left, "5" for full right and between "2" and "3" is for center needle position.
- Function of stitch length dial while zig-zag stitching (2/A): Set the Pattern Selector Dial to zig-zag. The density of zig-zag stitches increase as the setting of stitch length dial approaches "0". Next zig-zag stitches are usually achieved at "2.5" or below. Dense zig-zag stitches are called satin stitches.
- Function of stitch length dial for when straight stitching (2/B): For straight stitch sewing, turn the Pattern Selector Dial to the straight stitch setting. Turn the Stitch Length Dial, and the length of the individual stitches will decrease as the dial is approached "0". The length of the individual stitches will increase as the dial approaches "4". Generally speaking, use a longer stitch when sewing heavy-weight fabrics or when using a thicker needle or thread. Use a shorter stitch length when sewing lighter weight fabrics or when using a finer needle or thread.

Image: Instructions for Pattern Selection and Stitch Width/Length Dial.
Operasyon espesyal
Making a Buttonhole (1-Step Buttonhole)
The 1-step buttonhole feature provides reliable and consistent buttonholes. It is strongly suggested to practice on a scrap piece of fabric before sewing buttonholes on your garment.
- Mark the position of the buttonhole on the fabric.
- Attach the buttonhole foot and set the Pattern Selector Dial to the buttonhole symbol.
- Set stitch length dial to "0" and the stitch width at "7". The stitch length may need to be adjusted according to the fabric being used.
- Lower the presser foot aligning the marks on foot with the marks on the fabric.
- Align the mark on the fabric (A) with the mark on the foot (B).
- Lower the buttonhole lever (C) completely.
- Bese levye bouton an epi pouse l tounen (C).
- Start sewing. The machine will automatically sew the buttonhole.
- Buttonhole stitching is done in the order (D). The machine will stop automatically when the buttonhole has completed.
Making Buttonholes on Stretch Fabric:
When sewing buttonholes on stretch fabric, hook heavy thread or cord onto the buttonhole foot. This will prevent the buttonhole edges and overcoat the cord.
- Place the heavy thread or cord on the fabric with the tailor's chalk, adjust the buttonhole foot, and set the pattern selector dial to the buttonhole symbol.
- Hook the heavy thread onto the back end of the buttonhole foot.
- Pull the heavy thread to the front of the buttonhole foot, insert them into the grooves and temporarily tie them down.
- Bese pye presser la epi kòmanse koud.
- When the buttonhole is completed, cut the heavy thread.
- When sewing is completed, gently pull the heavy thread to the front and back, then trim off the excess.
Koud sou bouton
To sew a two-securing stitches, set the machine for straight stitch, with a stitch width set "0".
- Mark the needle out of the fabric. Set the machine for zig zag stitch, then set the stitch number "3" - "5". Turn the handwheel so that the needle goes cleanly into the left and right holes of the button. Adjust the stitch width for needed, and the proper distance between the holes of the button. Slowly sew on the button with about 10 stitches.
- Raise the needle out of the fabric. Set the machine for straight stitch again with the width set "0". Sew a few securing stitches to finish.
- If a shank is required, place a darning needle on top of the fabric and sew. For buttons with 4 holes, sew through the front two holes first, push the work forward and then sew through the back two holes.

Image: Instructions for 1-Step Buttonhole and Sewing on Buttons.
Antretyen
Regular maintenance ensures the longevity and optimal performance of your Singer 2282 sewing machine.
Netwayaj machin ou
- Toujou debranche machin nan anvan w netwaye.
- Retire plak zegwi a ak bwat bobin lan.
- Use a small brush to remove lint and dust from the feed dogs and bobbin area.
- Wipe the exterior of the machine with a soft, dry cloth. Do not use harsh chemicals.
Lubrifikasyon
Your Singer 2282 sewing machine is designed to require minimal lubrication. Refer to the original manual for specific oiling points if necessary. Over-oiling can attract lint and cause issues.
Ranplasman zegwi
Replace your needle regularly, especially after 8-10 hours of sewing or if it becomes bent or dull. A dull needle can cause skipped stitches and fabric damage.
Depanaj
This section provides solutions to common issues you might encounter with your Singer 2282 sewing machine.
| Pwoblèm | Kòz posib | Solisyon |
|---|---|---|
| Sote pwen | Incorrect needle installation, dull/bent needle, improper threading, wrong needle size for fabric. | Re-install needle correctly, replace needle, re-thread machine, use appropriate needle for fabric. |
| Kase Fil | Move anfile, tansyon ki pa kòrèk, fil move kalite, zegwi pliye, bav sou plak zegwi a. | Remete fil machin nan, ajiste tansyon an, sèvi ak yon fil bon kalite, ranplase zegwi a, tcheke pou wè si gen bav. |
| Twal ki fronse | Incorrect tension, wrong stitch length, dull needle, fabric not properly supported. | Adjust tension, select appropriate stitch length, replace needle, use a stabilizer if needed. |
| Machin pa manje twal | Feed dogs lowered, lint accumulation, presser foot not lowered. | Raise feed dogs, clean lint from feed dog area, lower presser foot. |
Espesifikasyon
The Singer 2282 sewing machine is designed for household use, offering a range of features for various sewing projects.
- Modèl: Singer 2282
- Kalite: Machin koud nan kay la
- Modèl Stitch: Multiple built-in stitch patterns (e.g., straight, zigzag, buttonhole)
- Boutonnière: 1-Etap bouton
- Pouvwa: Standard household electrical supply (refer to machine label for specific voltage/wattage)
- Pwodwi pou Telefòn: Standard presser feet, bobbins, needles, etc. (specific accessories may vary)
Garanti ak sipò
For warranty information and customer support regarding your Singer 2282 sewing machine, please refer to the official Singer websit la oubyen kat garanti ki vini ak acha ou a.
- Kouvèti garanti: Details regarding the length and scope of the warranty are typically provided with the original product packaging.
- Sipò teknik: For technical assistance, troubleshooting beyond this manual, or service inquiries, contact Singer customer service.
- Pati ak Pwodwi pou Telefòn: Genuine Singer parts and accessories can be purchased through authorized dealers or the official Singer online store.
Always ensure you have your machine's model number (2282) and serial number ready when contacting support.


