1. Entwodiksyon
This manual provides detailed instructions for the installation, operation, and maintenance of your SainSmart Creality Nebula Camera. This camera is designed to enhance your 3D printing experience through advanced monitoring and detection capabilities.

Figure 1: SainSmart Creality Nebula Camera
2. Karakteristik kle
- Seamless Integration and Wide Compatibility: Connects easily via USB to Creality Sonic Pad, Creality Nebula Pad, Ender-3 V3 KE, CR-10 SE, Holot-Mage, and Halot-Mage Pro printers.
- Remote Precision Monitoring: Offers real-time monitoring with 1920*1080 resolution and night vision, allowing you to track printing progress from any location.
- Dynamic Time-Lapse Recording: Capture and create engaging time-lapse videos of your 3D prints.
- Precision Imaging with Manual Focus: Adjust camera angle and focal length manually using the integrated knob for high-definition image quality.
- Continuous Monitoring for Uninterrupted Printing: Provides 24-hour surveillance with a built-in 940nm infrared fill light. Detects anomalies like filament jams or misalignments and sends alerts to prevent material waste.
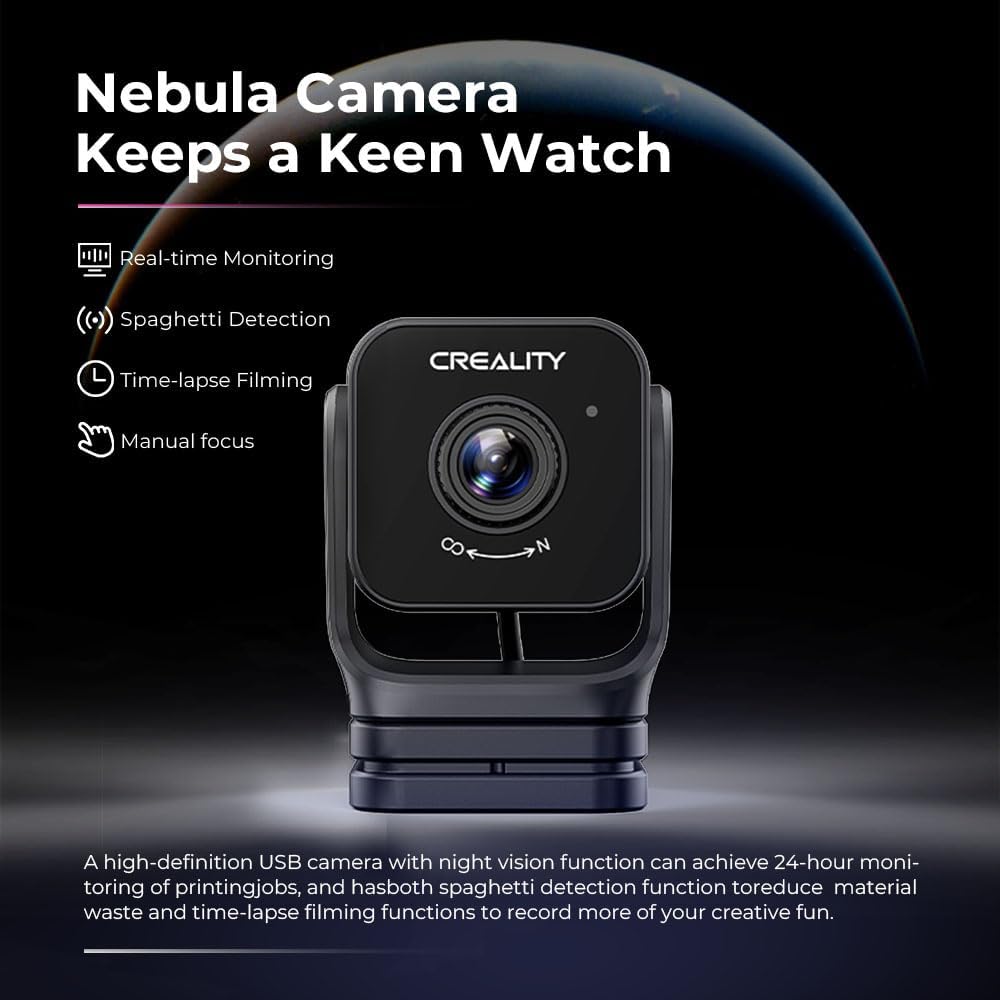
Figi 2: Plis paseview of Nebula Camera's core features.
3. Ki sa ki nan bwat la
- Creality Nebula Camera
4. Enstriksyon Enstalasyon
4.1. Enstalasyon ak Koneksyon Kamera
The Nebula Camera connects to your 3D printer via a USB port. It is compatible with Creality Sonic Pad, Creality Nebula Pad, Ender-3 V3 KE, CR-10 SE, Holot-Mage, and Halot-Mage Pro printers.
- Attach the Nebula Camera to its tripod or a suitable mounting point near your 3D printer.
- Connect the camera's integrated USB cable to an available USB port on your compatible Creality 3D printer or Nebula Pad.

Figure 3: Nebula Camera connected to a 3D printer.
4.2. Initial Setup with Creality Print Software/App
For remote monitoring and control, ensure your Nebula Camera is properly integrated with the Creality Print software or app.
- Install the Creality Print software on your computer or the Creality Cloud app on your mobile device.
- Ensure your 3D printer/Nebula Pad and the device running Creality Print are on the same local area network (LAN).
- In Creality Print, navigate to the 'Device' section and select 'Manual Add' or 'Scan Add'.
- Enter the IP address of your Nebula Pad or 3D printer if prompted, then click 'Add'.
- Once connected, you should see the camera feed and printer controls within the software.
Video 1: Creality Nebula Camera Setup and Connection. This video demonstrates the physical installation of the Nebula Camera and its connection to a Creality 3D printer, followed by the software setup process using Creality Print for remote monitoring and control.
4.3. Nebula Pad Integration (if applicable)
If using a Creality Nebula Pad, follow the on-screen instructions for initial setup, including network configuration and printer model selection. The Nebula Camera connects directly to the Nebula Pad.
Video 2: Creality Nebula Smart Kit Installation. This video illustrates the unboxing and installation of the Creality Nebula Smart Kit, including the Nebula Pad and Nebula Camera, and the initial setup steps for a 3D printer.

Figure 4: Compatible Creality 3D printer models.
5. Operasyon Enstriksyon
5.1. Siveyans an tan reyèl
Yon fwa konekte, ou kapab view the live feed from the Nebula Camera through the Creality Print software or app. This allows for remote observation of your 3D printing process.

Figure 5: Monitoring printing status in real-time.
Video 3: Creality Nebula Camera Real-time Monitoring. This video demonstrates the real-time monitoring capabilities of the Nebula Camera, showing how users can observe their 3D prints remotely.
5.2. Vizyon lannwit
The camera features a built-in 940nm infrared fill light, enabling clear monitoring even in low-light or dark conditions. This ensures 24-hour surveillance of your prints.

Figi 6: Kapasite vizyon lajounen kou lannwit.
5.3. Time-Lapse Filming
Utilize the time-lapse function to capture the entire printing process. These videos can be accessed and shared through the Creality app.

Figure 7: Time-lapse photography interface.
5.4. Spaghetti Detection
The Nebula Camera is equipped with AI detection to identify printing anomalies, such as 'spaghetti' failures. If a problem is detected, the system will alert you and can pause the print to prevent further material waste.

Figure 8: Spaghetti detection alert.
5.5. Manual Focus Adjustment
For optimal image clarity, manually rotate the lens of the Nebula Camera to adjust the focal length. This allows for precise focusing on your print area.

Figure 9: Manual focus for high-definition quality.
6. Antretyen
To ensure optimal performance and longevity of your Nebula Camera, follow these maintenance guidelines:
- Netwayaj: Gently wipe the camera lens with a soft, lint-free cloth. Avoid abrasive materials or harsh chemicals that could scratch the lens.
- Depo: Lè w pa itilize kamera a pou yon bon bout tan, sere l nan yon kote ki fre epi sèk, lwen limyè solèy dirèk ak twòp pousyè.
- Swen kab: Ensure the USB cable is not kinked or strained. Avoid pulling the cable forcefully when disconnecting.
NAN. Depanaj
If you encounter issues with your Nebula Camera, refer to the following common solutions:
- Pa gen fil kamera:
- Ensure the USB cable is securely connected to both the camera and the 3D printer/Nebula Pad.
- Verify that the 3D printer/Nebula Pad is powered on.
- Check the Creality Print software/app settings to confirm the camera is recognized and enabled.
- Kalite imaj pòv:
- Adjust the manual focus knob on the camera lens until the image is clear.
- Clean the camera lens if it appears smudged or dusty.
- Ensure adequate lighting in the printing area, especially if night vision is not active.
- Spaghetti Detection Not Working:
- Verify that the spaghetti detection feature is enabled in your Creality Print software/app settings.
- Asire w ke kamera a gen yon vizyon klè, san obstak. view of the print bed.
- Pwoblèm Koneksyon:
- Confirm that your device running Creality Print and the 3D printer/Nebula Pad are connected to the same Wi-Fi network.
- Restart both the 3D printer/Nebula Pad and the Creality Print application.
8. Espesifikasyon
| Karakteristik | Spesifikasyon |
|---|---|
| Non mak | SainSmart |
| Non modèl | Kamera Nebula |
| Nimewo Modèl Atik | 101-91F-NC |
| Pwa atik | 4.6 ons |
| Dimansyon pwodwi | 2.15 x 1.57 x 1.37 pous |
| Rezolisyon Capture Videyo | 1080p |
| Koneksyon Teknoloji | USB |
| Karakteristik espesyal | Infrared, Night Vision, Time Lapse |
| Teknoloji Capteur Foto | Enfrawouj |
| Fòma Capture Videyo | MP4 |
| Kalite Camcorder | Kamera Videyo |

Figi 10: Espesifikasyon detaye pwodwi a.
9. Garanti ak sipò
Pou enfòmasyon sou garanti a ak sipò teknik, tanpri al gade paj ofisyèl SainSmart la. websit la oubyen kontakte sèvis kliyan yo dirèkteman. Kenbe resi acha w la kòm prèv acha pou nenpòt reklamasyon garanti.


