1. Entwodiksyon
Thank you for choosing the Prechen 19.5-inch 1600x900 LED Monitor. This monitor is designed to provide a high-quality visual experience for various applications, including office work, multimedia, and gaming. Featuring a 1600x900 resolution TN panel, 60Hz refresh rate, and built-in speakers, it offers a versatile display solution. This manual provides detailed instructions for setup, operation, maintenance, and troubleshooting to ensure optimal performance and longevity of your device.

Figi 1: Devan view of the Prechen 19.5-inch LED Monitor.
2. Enfòmasyon enpòtan sou sekirite
Please read all safety warnings and instructions carefully before using this monitor to prevent damage or injury.
- Pa ekspoze monitè a anba lapli oswa imidite pou evite dife oswa chòk elektrik.
- Pa ouvri monitè a casing. Pa gen pyès ki ka sèvi ak men itilizatè a anndan an. Konfye tout antretyen bay pèsonèl sèvis kalifye.
- Mete monitè a sou yon sifas ki plat e ki estab pou anpeche l tonbe.
- Asire w ke gen bon vantilasyon toutotou monitè a. Pa bloke ouvèti vantilasyon yo.
- Sèvi sèlman ak adaptè kouran ki vini ak monitè a.
- Dekonekte ploge kouran an nan priz kouran an si ou pa pral itilize monitè a pou yon peryòd tan pwolonje.
- Avoid placing the monitor near heat sources such as radiators, heat registers, stoves, or other products (including amplifiers) ki pwodui chalè.
3. Pake kontni
Tanpri verifye sa ki nan pake a pou asire w tout atik yo la epi yo pa domaje:
- Prechen 19.5-inch LED Monitor
- Adaptè pouvwa
- HDMI kab
- Manyèl itilizatè

Figure 2: Included accessories: Monitor, Power Adapter, HDMI Cable, and User Manual.
4. Gid Enstalasyon
4.1 Asanble kanpe la
- Retire konpozan monitè a ak sipò a nan anbalaj la avèk prekosyon.
- Kole baz sipò a nan kou sipò a, epi sere l ak vis ki bay la (si sa aplikab).
- Align the assembled stand with the mounting slot on the back of the monitor and gently push until it clicks into place or secure with screws as per the stand design.
4.2 Konekte monitè a
Monitè a sipòte tou de koneksyon HDMI ak VGA.
- Koneksyon pouvwa: Connect the power adapter to the monitor's DC IN port, then plug the adapter into a power outlet.
- Koneksyon Videyo (HDMI): Connect one end of the HDMI cable to the HDMI port on your computer or device, and the other end to the HDMI port on the monitor.
- Koneksyon Videyo (VGA): Connect one end of the VGA cable to the VGA port on your computer or device, and the other end to the VGA port on the monitor.
- Audio Koneksyon: If using a VGA connection and external speakers, connect an audio cable from your computer's audio output to the monitor's audio input port. The built-in speakers will function automatically with HDMI.

Figure 3: Monitor back panel with input ports and control buttons.

Figure 4: Multiple connection options for the monitor.
5. Operasyon Enstriksyon
5.1 Limen/Etenyen
Press the power button located on the back of the monitor to turn it on or off. The power indicator light will illuminate when the monitor is on.
5.2 Sèvi ak meni OSD la
The On-Screen Display (OSD) menu allows you to adjust various monitor settings. The control buttons are located on the back of the monitor (refer to Figure 3).
- MENI: Peze pou ouvri meni OSD a.
- UP/DOWN (Volume Up/Down): Sèvi ak li pou navige nan opsyon meni yo oubyen pou ajiste valè yo.
- ENTER (Switch): Press to confirm a selection or enter a sub-menu.
- EXIT (Return): Peze pou sòti nan meni aktyèl la oubyen pou retounen nan nivo anvan an.
5.3 Ajiste Paramèt Ekspozisyon yo
Navigate the OSD menu to adjust settings such as:
- Klate/Kontrast: Ajiste luminans ak kontras jeneral ekran an.
- Anviwònman koulè: Modifye tanperati koulè, nivo RGB, oubyen chwazi mòd koulè predefini.
- Chwazi Antre: Chanje ant sous antre HDMI ak VGA manyèlman.
- Rapò aspè: Choose between 16:9 (widescreen) or 4:3 (standard) display modes.
- Netite: Adjust the clarity of the image.
5.4 Anviwònman odyo
The monitor features two built-in speakers. You can adjust the volume using the OSD menu or the dedicated volume buttons on the back of the monitor.
6. Antretyen ak Swen
Bon swen ak antretyen ap pwolonje lavi monitè ou a.
- Netwaye ekran an: Siye ekran an dousman avèk yon twal mou ki pa gen pousyè. Pou mak ki difisil pou retire,ampen the cloth slightly with water or a non-ammonia, non-alcohol based screen cleaner. Never spray cleaner directly onto the screen.
- Netwayaj C aasing: Sèvi ak yon twal mou epi sèk pou siye monitè a.asing. Evite itilize pwodui netwayaj oswa solvan abrazif.
- Depo: Si w ap sere monitè a pou yon peryòd tan pwolonje, dekonekte li nan kouran an epi sere l nan yon kote ki fre epi sèk, de preferans nan anbalaj orijinal li.
NAN. Depanaj
If you encounter problems with your monitor, please refer to the following table for common issues and solutions.
| Pwoblèm | Kòz posib | Solisyon |
|---|---|---|
| Pa gen pouvwa | Kab kouran an pa konekte; Priz kouran an gen pwoblèm; Monitè a etenn. | Ensure power cable is securely connected. Try a different power outlet. Press the power button on the monitor. |
| Pa gen siyal | Kab videyo a pa konekte; Sous antre ki pa kòrèk la chwazi; Odinatè a pa bay siyal. | Check HDMI/VGA cable connection. Select the correct input source via the OSD menu. Ensure your computer is on and outputting video. |
| Pa gen son ki soti nan oratè entegre yo | Volume too low/muted; Incorrect audio output selected on PC; Audio cable not connected (for VGA). | Increase monitor volume. Check PC audio settings to ensure monitor is selected as output. For VGA, ensure audio cable is connected. |
| Imaj la twoub oswa defòme | Rezolisyon ki pa kòrèk; Pwoblèm kab. | Set your computer's display resolution to 1600x900. Try a different video cable. |
8. Spécifications pwodwi
| Karakteristik | Spesifikasyon |
|---|---|
| Mak | Prechen |
| Gwosè ekran | 19.5 pous |
| Kalite ekspozisyon | dirije |
| Rezolisyon ekspozisyon maksimòm | 1600 x 900 |
| Rafrechisman pousantaj | 60 Hz |
| Tan repons | 5 Milisegond |
| Aspè rapò | 16:9 |
| Koneksyon Teknoloji | Dmi, VGA |
| Karakteristik espesyal | Oratè ki entegre yo |
| VESA Mount konpatibilite | 100 x 100 mm |
9. Montaj VESA
The Prechen monitor supports VESA standard mounting (100 x 100 mm), allowing you to mount it on a wall or an articulating arm for flexible viewing options. This feature makes the monitor lightweight and easy to install in various setups.
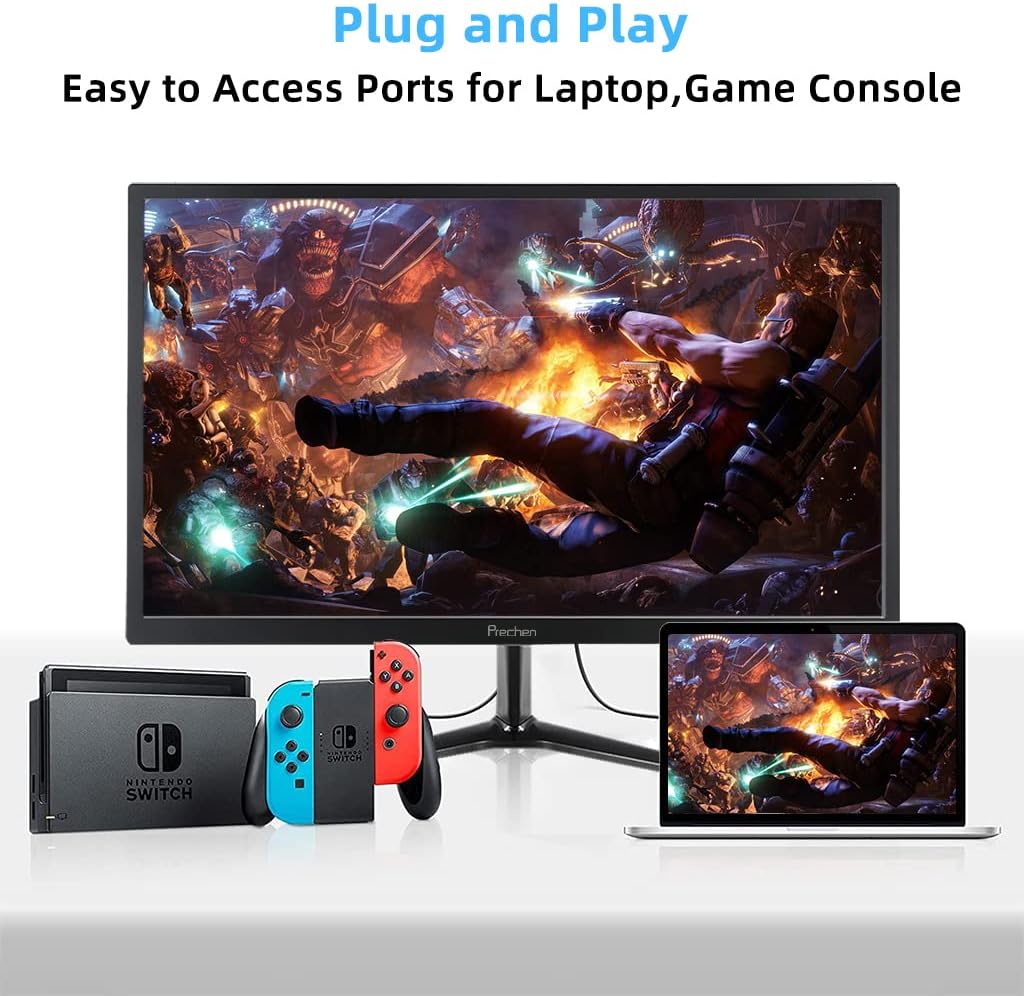
Figure 5: VESA mount dimensions on the monitor back.

Figi 6: Egzample of VESA mounting with an articulating arm.
10. Garanti ak sipò
Each Prechen product is covered by a one-year warranty from the date of purchase, which includes a one-month refund and exchange policy. This warranty covers manufacturing defects and issues arising from normal use.
For any questions, technical support, or warranty claims, please contact Prechen customer service. Please have your product model and purchase information ready when contacting support.
Contact information for customer service can typically be found on the product packaging or the official Prechen websit.


