1. Entwodiksyon ak Enfòmasyon sou Sekirite
The OEMTOOLS 37200 Coil Spring Compressor is designed for the safe and efficient compression of coil springs on most passenger cars and pickup trucks. This tool facilitates the removal and installation of coil springs, including many Macpherson strut coil springs, by compressing them to a manageable size.
This compressor set is built with forged construction for strength and durability, featuring broad spring contact for stable compression and built-in detent latches to help lock the coil in place. It is capable of compressing coil springs with a diameter up to 5/8-inch (0.625 mm).
Avètisman Sekirite Enpòtan:
- Always wear appropriate personal protective equipment, including safety glasses and gloves, when operating this tool.
- Coil springs are under extreme tension. Improper use of this tool can result in serious injury or death.
- Ensure the tool is correctly positioned and securely fastened to the spring before applying any compression.
- Inspect the tool for any damage or wear before each use. Do not use if any components are bent, cracked, or otherwise compromised.
- Apply compression gradually and evenly. Avoid rapid or uneven tightening, which can cause the spring to slip or the tool to fail.
- Never stand directly in line with the spring during compression or decompression. Maintain a safe distance.
- Do not exceed the maximum coil diameter capacity of 5/8-inch (0.625 mm).
- This tool is intended for use by qualified individuals. If you are unsure about any step, consult a professional mechanic.
2. Ki sa ki nan bwat la
Your OEMTOOLS 37200 Coil Spring Compressor set includes the following components, neatly organized in a sturdy blow-mold carrying case:
- 1 x Coil Spring Compressor Main Assembly
- Multiple sets of interchangeable yokes (jaws) for various spring diameters.
- Safety gauge (if included in specific kit variations).
- Allen wrench and bolts for securing yokes.
- Sturdy Blow Mold Case for storage and transport.
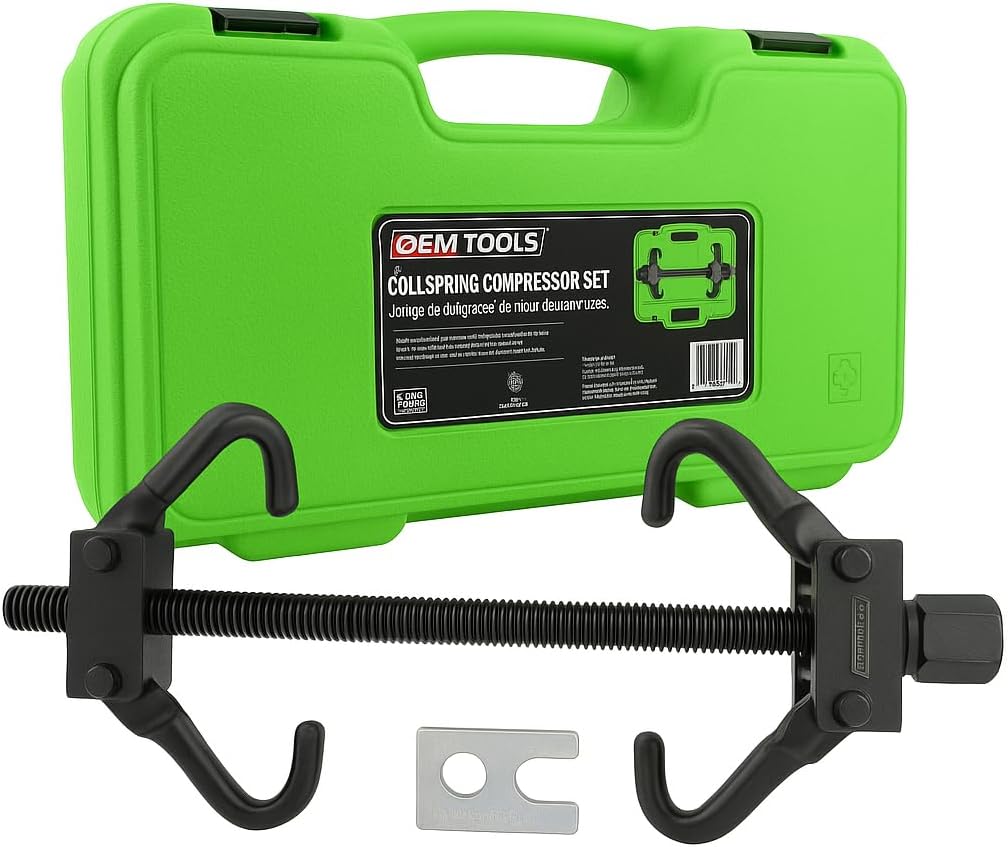
Figure 2.1: Complete OEMTOOLS 37200 Coil Spring Compressor Set with carrying case.
3. Spécifications pwodwi
| Karakteristik | Spesifikasyon |
|---|---|
| Mak | OEMTOOLS |
| Nimewo Modèl | 37200 |
| Pwa atik | 4.09 liv |
| Dimansyon pwodwi | 12.75 x 9 x 2 pous |
| Maximum Coil Diameter | 5/8-pous (0.625 mm) |
| Materyèl konstriksyon | Fòje Steel |
| Karakteristik espesyal | Built-in detent latches, broad spring contact, sturdy blow mold case |
4. Enstalasyon ak Asanble
Before using the coil spring compressor, ensure all components are present and in good condition. Select the appropriate yoke size for your coil spring. The kit includes various sizes to accommodate different spring diameters.
- Select Yokes: Choose the pair of yokes that best fit the diameter of the coil spring you intend to compress. The yokes should securely grip the spring coils without excessive play.
- Attach Yokes to Main Assembly: Slide the selected yokes onto the main threaded rod assembly. Ensure the detent latches on the yokes align with the grooves on the main assembly for a secure fit. Use the provided bolts and Allen wrench to firmly attach the yokes.
- Positioning the Yokes: Adjust the yokes along the threaded rod so they are positioned on opposite sides of the coil spring, ideally two to three coils apart. Ensure the hooks of the yokes fully seat onto the spring coils.
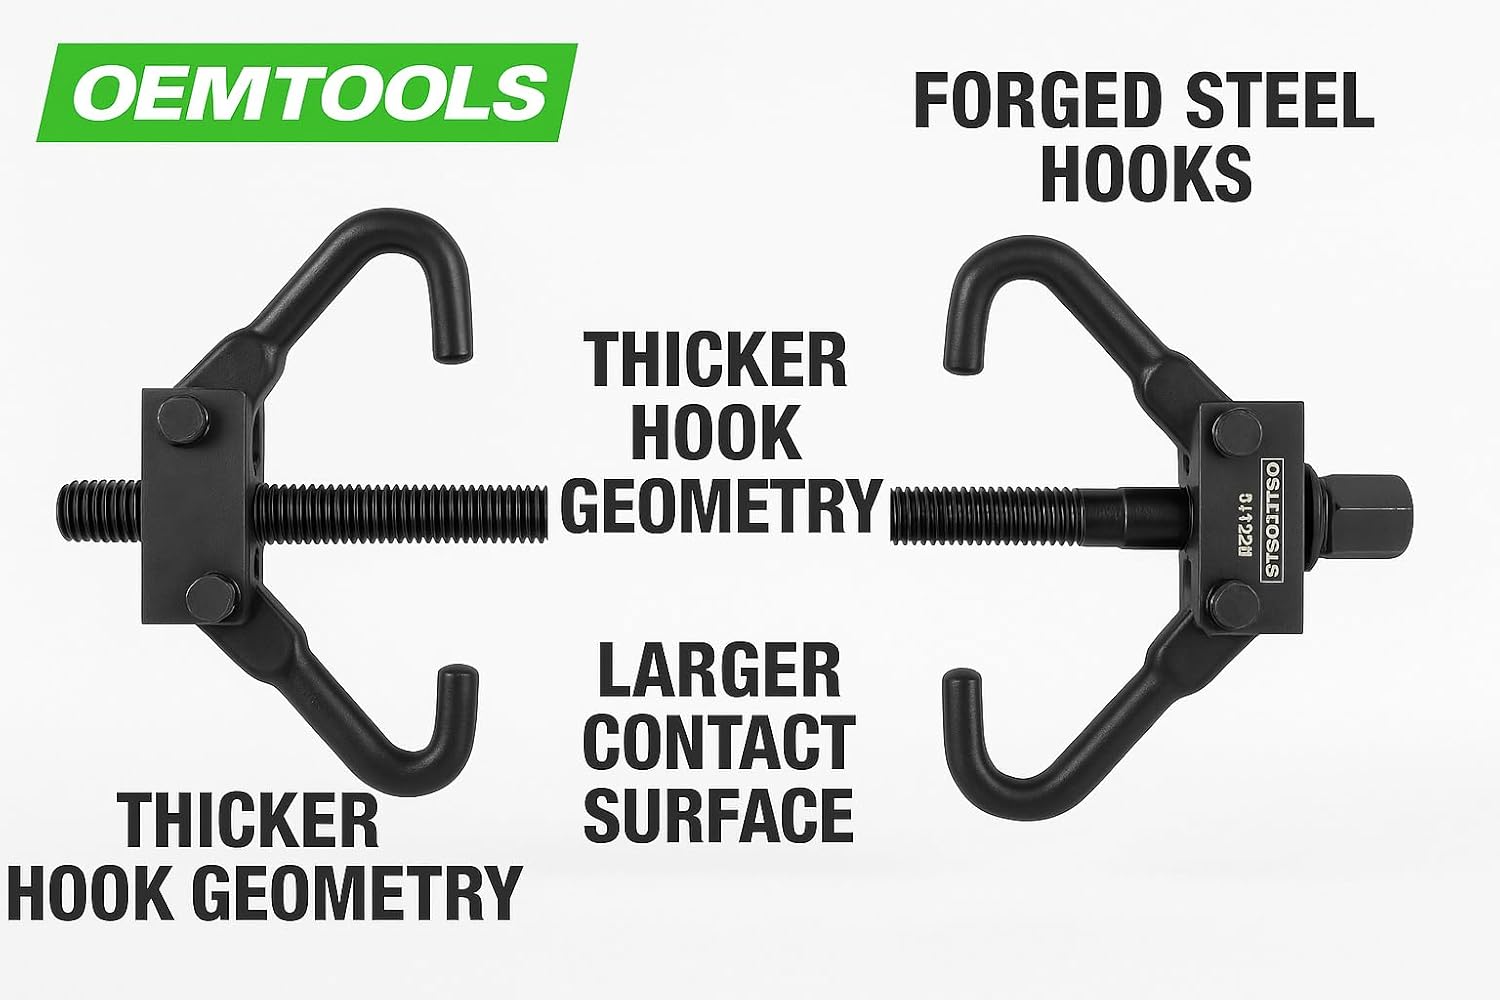
Figure 4.1: Detail of the compressor hooks and their robust design.
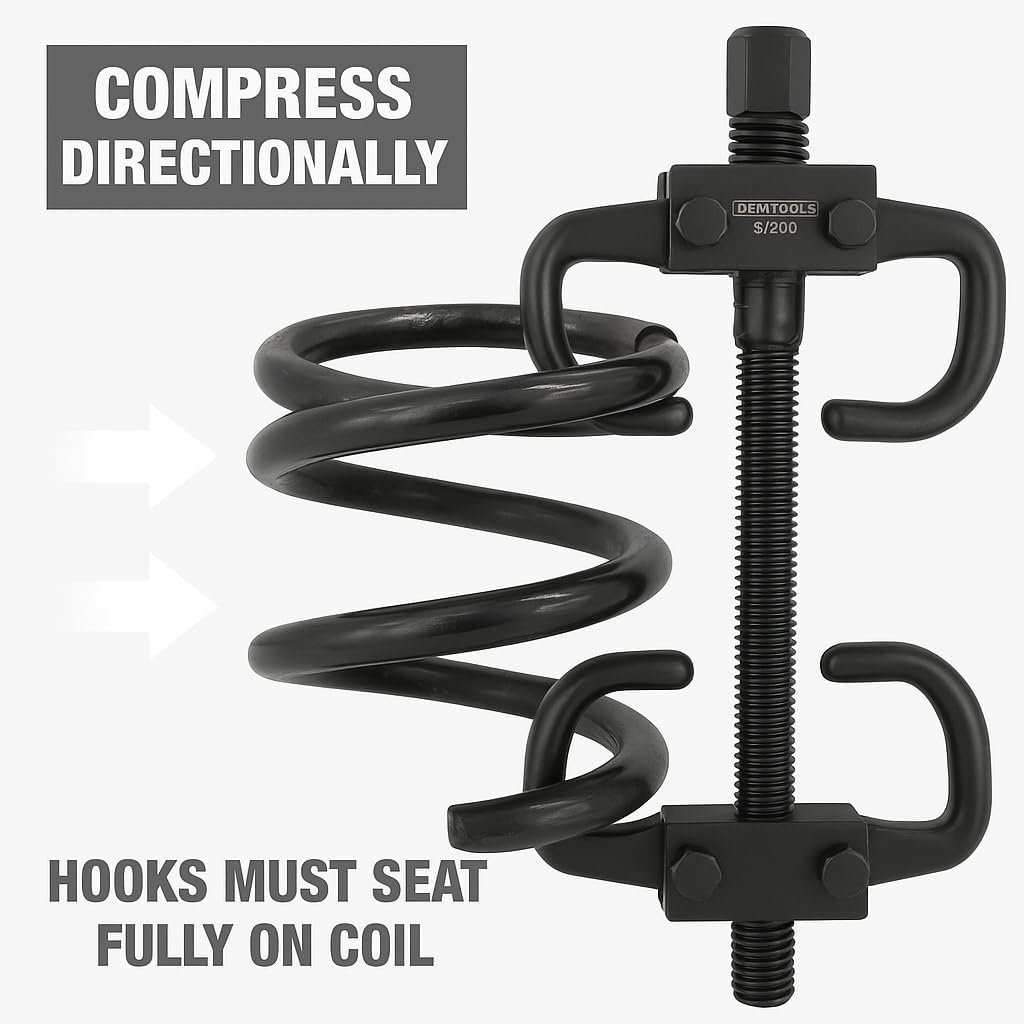
Figure 4.2: Proper seating of the hooks on the coil spring for safe compression.
5. Operasyon Enstriksyon
Follow these steps carefully to safely compress and decompress coil springs:
- Prepare prentan an: Ensure the vehicle is safely supported and the suspension component containing the coil spring is accessible. Remove any retaining bolts or nuts that secure the spring or strut assembly, as required by your vehicle's service manual.
- Attach the Compressor: With the yokes securely attached and positioned, place the compressor onto the coil spring. The hooks should grip the spring coils firmly. Ensure the compressor is centered and balanced on the spring.
- Begin Compression: Using a suitable wrench or impact gun (set to a low torque setting initially), begin to slowly and evenly tighten the threaded rod. Alternate between tightening each side of the compressor to ensure even compression and prevent the spring from tilting or binding.
- Siveye Pwogrè: Continuously observe the spring and compressor during the process. Ensure the hooks remain securely seated and the spring compresses uniformly. Compress the spring only enough to relieve its tension and allow for removal or installation of the associated components.
- Remove/Install Components: Once the spring is sufficiently compressed, you can safely remove the shock absorber or other suspension components.
- Dekonpresyon: After installing the new components, slowly and evenly loosen the threaded rod, alternating between sides, until the spring expands back to its original position and tension is restored. Remove the compressor only after the spring is fully decompressed and all retaining hardware is secured.

Figure 5.1: Basic steps for using the coil spring compressor.

Figi 5.2: Egzample of the compressor in use on a coil spring.
6. Antretyen
Proper maintenance will extend the life of your OEMTOOLS 37200 Coil Spring Compressor:
- Netwayaj: After each use, clean the threaded rod and yokes to remove any dirt, grease, or debris.
- Lubrifikasyon: Periodically apply a light coat of grease or oil to the threaded rod to ensure smooth operation and prevent corrosion.
- Enspeksyon: Regularly inspect all components for signs of wear, damage, or deformation. Pay close attention to the hooks, threaded rod, and detent latches. Replace any damaged parts immediately.
- Depo: Store the compressor and its components in the provided sturdy blow-mold case in a dry, clean environment to protect it from damage and corrosion.

Figure 6.1: The blow-mold case provides convenient and secure storage.
NAN. Depanaj
If you encounter issues while using the coil spring compressor, consider the following:
- Spring Slippage: Ensure the correct yoke size is used and the hooks are fully seated on the spring coils. Tighten evenly and gradually.
- Difikilte pou sere boulon: Check for debris on the threaded rod or in the nuts. Apply lubrication if necessary. Ensure the spring is not binding due to uneven compression.
- Domaj Zouti: Discontinue use immediately if any part of the tool appears damaged. Contact customer support for replacement parts or warranty information.
8. Garanti ak sipò
The OEMTOOLS 37200 Coil Spring Compressor is backed by a Garanti pou tout lavi limite, ensuring quality and durability. For specific warranty details, claims, or technical support, please refer to the official OEMTOOLS websit oswa kontakte depatman sèvis kliyan yo.
Pou plis asistans, tanpri vizite OEMTOOLS Store on Amazon oubyen konsilte enfòmasyon kontak ki nan anbalaj pwodwi w la.


