1. Entwodiksyon
This manual provides comprehensive instructions for the proper use and maintenance of your Pet Control HQ Blood Sugar Glucose Monitoring Kit V3.0. This system is designed to assist pet owners in monitoring their dog's or cat's blood glucose levels at home, providing timely and accurate results. Regular monitoring, as advised by your veterinarian, is crucial for managing pet diabetes effectively.
Video: iPet PRO Instructions. This video provides a general overview of the iPet PRO Blood Glucose Monitoring System, including its components and basic usage. For detailed instructions, please refer to this manual.
2. Pake kontni
The Pet Control HQ Blood Sugar Glucose Monitoring Kit V3.0 includes the following items:
- Glucometer (Blood Glucose Monitor)
- 50 Blood Glucose Test Strips
- 2 Code-Chips (one for dogs, one for cats)
- 50 Lansèt
- Lancing Aparèy
- Solisyon kontwòl
- Ka pote
- Journal
- Manyèl Itilizatè a (dokiman sa a)
- Gid referans rapid

Image: A visual representation of the complete Pet Control HQ Blood Sugar Glucose Monitoring System, including the monitor, test strips, code chips, lancing device, control solution, lancets, user manual, and carrying case.
3. Enstalasyon
3.1. Enstalasyon batri
The monitor requires 1 CR2032 battery (included). Open the battery compartment on the back of the device, insert the battery with the correct polarity, and close the compartment securely.
3.2. Setting Up the Meter (Code-Chips & Customization)
Before initial use, the meter must be coded to match the test strips and calibrated for your pet's species (dog or cat).
- Insert the appropriate code-chip (dog or cat) into the meter's designated slot.
- Turn on the meter and use the arrow keys to select the correct animal type.
- Confirm the code number displayed on the meter matches the code number on the test strip vial by pressing the 'M' button. The animal icon will stop flashing once confirmed.
- The meter will retain the last pet type and code previously selected for subsequent tests.
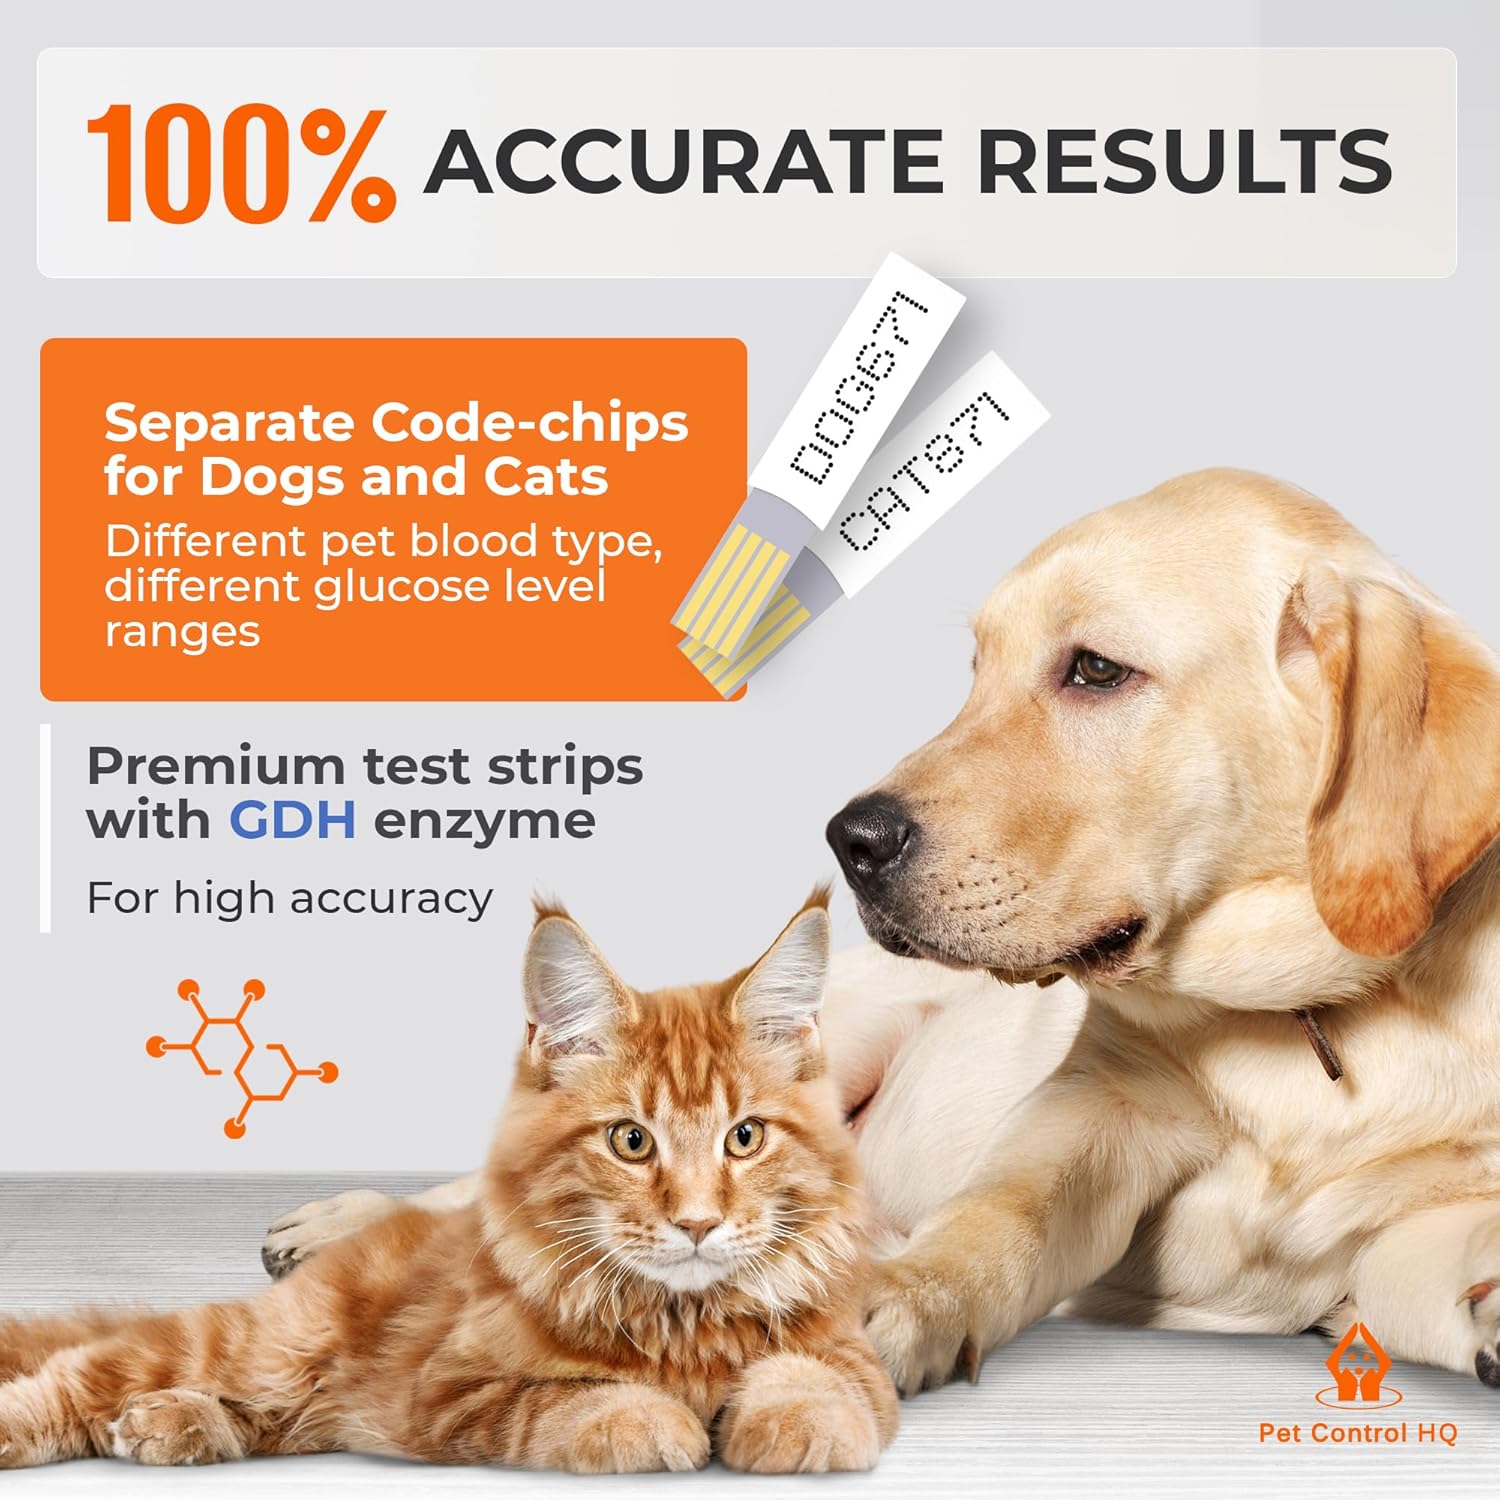
Image: The Pet Control HQ Blood Sugar Glucose Monitoring Kit V3.0 highlighting the separate code-chips for dogs and cats, ensuring accurate results based on species-specific glucose levels.
Video: Calibration - Pet Control HQ Glucose Monitor for Dogs & Cats. This video demonstrates the process of calibrating the glucose monitor using the appropriate code-chip for your pet.
Video: Customize Settings - Pet Control HQ Glucose Monitor for Pets. This video guides you through customizing the settings on your glucose monitor.
3.3. Control Solution Test (Quality Check)
A control solution test is recommended for initial use, with each new vial of test strips, if the test strip vial has been left open, for troubleshooting, or if results are inconsistent. This test ensures the meter and test strips are working correctly.
- Mete yon bann tès nan mèt la.
- Press and hold the 'M' button for 2 seconds to enter control solution test mode. This prevents the result from being stored in memory.
- Shake the control solution bottle well. Discard the first drop.
- Squeeze a second drop onto a non-absorbent surface (e.g., wax paper).
- Touch the target area of the test strip to the control solution drop, ensuring the confirmation window fills completely.
- After 5 seconds, the result will appear. Compare this result to the control solution range printed on the test strip vial.
- If the result is within the specified range, the meter is working correctly. If not, refer to the troubleshooting section or contact customer support.
Video: Control Solution - Pet Control HQ Glucose Monitor for Pets. This video demonstrates how to perform a control solution test to ensure the accuracy of your glucose monitor.
Video: How to Perform a Quality Check on Your iPet Pro. This video provides instructions on conducting a quality check using the control solution for the iPet Pro meter.
3.4. Prepare Aparèy Lansè a
The lancing device is used to obtain a small blood sample from your pet.
- Devise bouchon aparèy lansman an.
- Insert a new lancet with the circular shape facing up.
- Twist off the round safety cap from the lancet to expose the sterile needle tip.
- Screw the lancing device cap back on.
- Select the skin penetration depth (1 to 5) by rotating the cap. Consult your veterinarian for the appropriate depth for your pet.
- Pull the barrel back until you hear a click, indicating it is ready to use.

Image: A visual guide demonstrating the six steps to operate the lancing device, from twisting open the lid to pulling back the plunger.
Video: Loading the Lancet - Pet Control HQ Glucose Monitor for Pets. This video illustrates the correct procedure for loading a lancet into the lancing device.
3.5. Suggested Blood Collection Sites
Consult your veterinarian to determine the best blood draw site for your pet. Common sites include the ear, inner lip, paw, or callus of the leg.

Image: An illustration showing suggested blood draw sites for cats and dogs, including the ear, inner lip, paw, and callus of the leg.
4. Operating (Performing a Blood Glucose Test)
Follow these steps to perform a blood glucose test on your pet:
- Lave epi siye men ou byen.
- Remove a new test strip from the vial and immediately recap the vial to prevent contamination.
- Insert the contact-bar end of the test strip into the meter. The meter will display the last pet type and code. Confirm it matches the test strip vial.
- A flashing droplet icon will appear, indicating the meter is ready for a blood sample.
- Place the lancing device softly against your pet's chosen blood draw site and press the trigger button to release the lancet.
- Gently squeeze the area around the puncture site to form a small drop of blood. (You may choose to place a thin layer of petroleum jelly on the site to help the blood form a droplet).
- Place the test strip against the drop of blood, ensuring the confirmation window fills completely.
- A beep will confirm the analysis has started. Results will appear after 5 seconds.
- Record the result in your logbook.

Image: The Pet Control HQ Blood Sugar Glucose Monitor demonstrating its one-button operation for simple use, featuring a large, easy-to-read display and quick 10-second test results.
Video: Blood Glucose Monitor Setup Tutorial. This video provides a tutorial on setting up and using a blood glucose monitor, including preparing the device and performing a test.
Video: Glucose Meter Kit for Pet. This video demonstrates the operation of a pet glucose meter kit, showing how to prepare the device and perform a blood glucose test.
5. Recording and Reviewrezilta yo
It is important to record all information pertaining to your testing routine as outlined in your logbook. This information should be shared with your veterinarian.
The iPet PRO meter stores the 500 most recent blood glucose results and also provides 7, 14, and 30-day averages. To review stored results, press the 'M' button when the meter is off. Use the arrow keys to navigate through the readings and averages.

Image: The Pet Control HQ Blood Glucose Monitoring System with a logbook, emphasizing accurate results, 450 saved readings for easy tracking, and stress-free home monitoring.
6. Antretyen
- Always recap the test strip vial immediately after removing a strip to prevent contamination and ensure accuracy.
- Store test strips in their original vial in a cool, dry place, away from direct sunlight and heat.
- Discard used lancets and test strips in a sharps container or according to local regulations for biohazard waste.
- Clean the meter's exterior with a soft, damp twal. Pa plonje mèt la nan dlo epi pa sèvi ak pwodui netwayaj ki agresif.
NAN. Depanaj
If you encounter issues with your glucose monitor, consider the following:
- Lekti ki pa kòrèk: Ensure the meter is correctly coded for your pet's species and that the test strips are not expired or contaminated. Perform a control solution test.
- Mesaj erè: Refer to the Quick Reference Guide or the full user manual for specific error code meanings and solutions.
- Insufficient Blood Sample: Ensure the lancing device depth is appropriate for your pet's skin. Gently massage the area to encourage blood flow.
- Kontè a pa limen: Tcheke batri a. Ranplase li si sa nesesè.
Si pwoblèm pèsiste, kontakte sipò kliyan.
8. Espesifikasyon
- Pwa atik: 8 ons
- Nimewo Modèl Atik: RA1A01
- Batri: 1 batri CR2032 obligatwa (enkli)
- Dimansyon pake atik L x W x H: 6 x 4 x 2 pous
- Non modèl: Pet Glucose Monitor
- Koulè: Pèl blan
- Kantite atik: 1
- Style: V3.0
- Itilizasyon espesifik pou pwodwi: Bèt kay
9. Sipò
For further assistance or inquiries regarding your Pet Control HQ Blood Sugar Glucose Monitoring Kit V3.0, please contact Pet Control HQ customer service.
Contact information was not explicitly provided in the product details. Please refer to the product packaging or the official Pet Control HQ websit pou detay sipò.


