1. Entwodiksyon
The OASE Filtosmart Thermo 300 is an advanced external aquarium filter system designed to provide comprehensive mechanical, biological, and chemical filtration, along with precise temperature control for your aquarium. This compact unit features an integrated heater, ensuring stable water temperatures and an unobstructed view within your tank. This manual provides essential information for the safe and efficient setup, operation, and maintenance of your Filtosmart Thermo 300.
2. Enstriksyon Sekirite
- Li tout enstriksyon yo ak anpil atansyon anvan enstalasyon ak operasyon.
- Asire ke ekipman pou pouvwa a matche ak voltage espesifye sou etikèt pwodwi a.
- Always disconnect the power supply to the filter and heater before performing any maintenance or cleaning.
- Pa sèvi ak filtè a si kòd kouran an oswa ploge a domaje.
- Do not immerse the filter head or electrical components in water.
- The filter is designed for indoor use only and for aquariums.
- Kenbe soti nan atenn timoun yo.
3. Konpozan souview
Familiarize yourself with the various parts of your OASE Filtosmart Thermo 300 filter system.
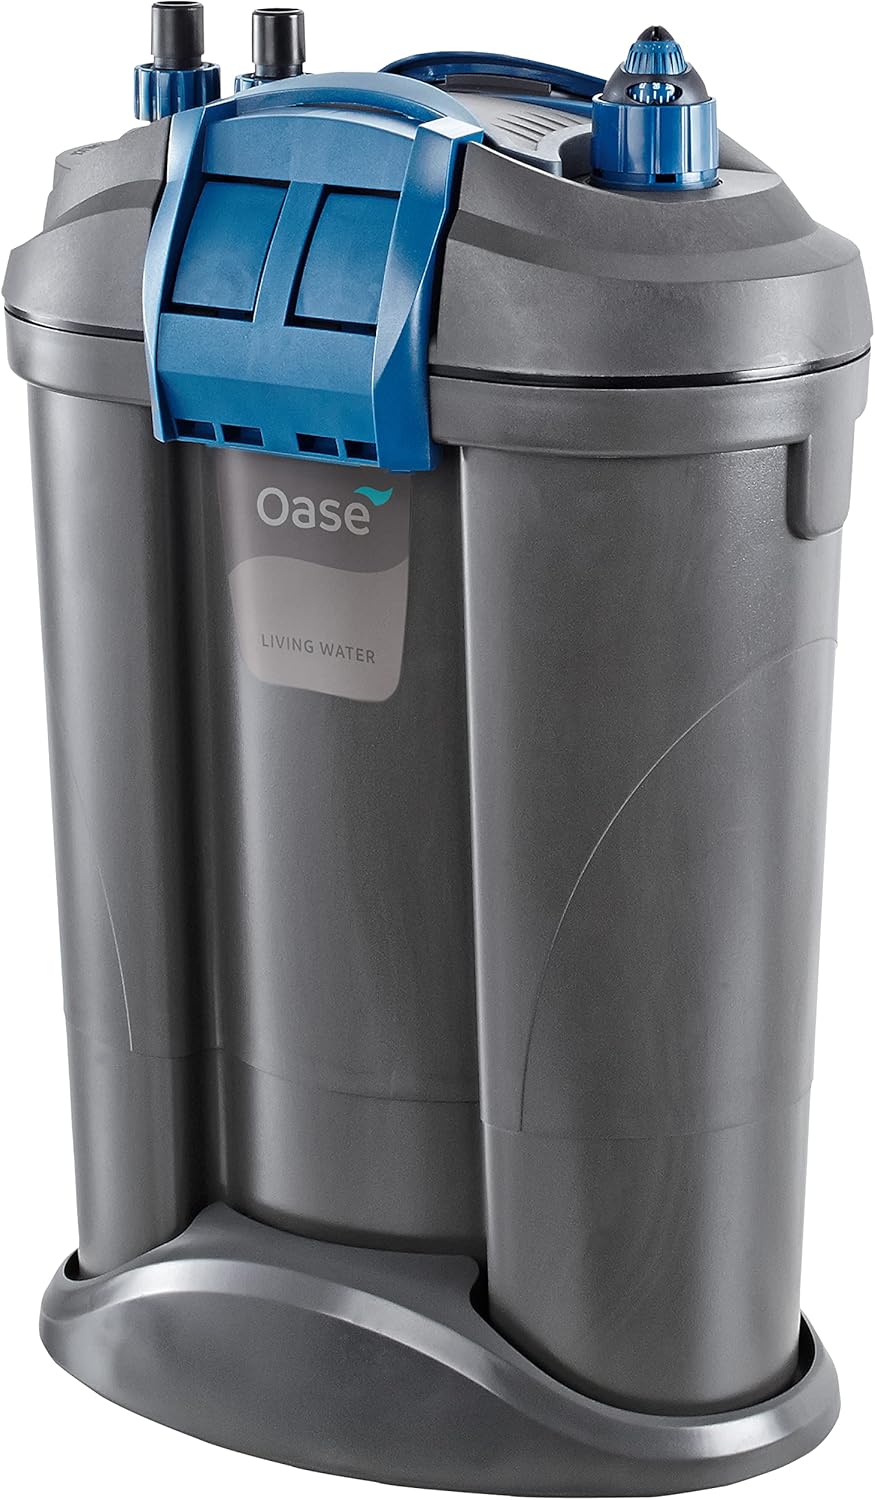
Figure 1: OASE Filtosmart Thermo 300 External Aquarium Filter main unit.

Figure 2: Included accessories: hoses, intake pipe, spray bar, and fittings.

Figure 3: Diagram illustrating the internal filter media arrangement within the unit.
4. Enstriksyon Enstalasyon
4.1 Debalaj ak enspeksyon
- Ak anpil atansyon retire tout eleman nan anbalaj la.
- Inspect all parts for any signs of damage. Do not proceed with installation if any components are damaged.
- Ensure all listed components are present: filter unit, integrated heater, filter media, tubing, diffuser, spray bar, fittings, and power cable.
4.2 Filter Placement
Place the filter unit below the aquarium, ensuring it is on a stable, level surface. The filter should be positioned so that the water level in the aquarium is higher than the filter unit to allow for proper water flow and priming.
4.3 Hose and Pipe Connection
- Attach the intake pipe and spray bar to the appropriate fittings. Secure them inside the aquarium using the provided suction cups.
- Connect the flexible tubing to the intake and outflow connectors on the filter head. Ensure a secure fit to prevent leaks.

Figure 4: Securely connect the hoses to the filter head's intake and outflow ports.
4.4 Filter Media Installation
The Filtosmart Thermo 300 utilizes a multi-stage filtration system. Ensure the filter media is correctly arranged in the baskets as per the diagram (Figure 3).
- Open the filter head by releasing the clips.
- Place the coarse filter foam at the bottom for mechanical pre-filtration.
- Add biological filter media (e.g., OASE Hel-X BioMedia) in the designated baskets for beneficial bacteria colonization.
- Insert fine filter pads or activated carbon (if desired for chemical filtration) in the top layers.

Figure 5: Removing a filter foam pad from the filter basket.

Figure 6: Inserting new filter media into the filter basket.

Figure 7: Placing activated carbon media into a filter compartment.
4.5 Priming the Filter
Before starting, the filter must be filled with water to remove air and initiate flow.
- Ensure all hose connections are secure and the intake/outflow pipes are correctly positioned in the aquarium.
- Open the shut-off valves on the hose adapter.
- Use the integrated priming button or pump on the filter head (if available) to draw water from the aquarium into the filter unit until it is full. Alternatively, you may need to manually fill the filter canister with water before closing the lid.
- Once water flows freely through the outflow pipe, the filter is primed.
4.6 Premye demaraj
- Plug the filter's power cord into a grounded electrical outlet.
- The filter pump will start, and water will begin circulating.
- Check for any leaks at connections. Tighten if necessary.
5. Operasyon Enstriksyon
5.1 Power On/Off
To turn the filter on or off, simply plug or unplug the power cord from the electrical outlet. There is no separate power switch on the unit.
5.2 Integrated Heater Operation
The Filtosmart Thermo 300 features an integrated heater for precise and uniform temperature levels.
- The heater is pre-set to a standard aquarium temperature. Refer to the heater's specific dial or controls for adjustment.
- Monitor the aquarium temperature with a separate thermometer to ensure the desired temperature is maintained.
- Adjust the heater setting gradually to avoid sudden temperature fluctuations in the aquarium.
5.3 Ajisteman Debi
The filter's flow rate can typically be adjusted using the flow control valve located on the hose adapter. Rotate the valve to increase or decrease water flow as needed for your aquarium's inhabitants and plant life.
6. Antretyen
Regular maintenance is crucial for the optimal performance and longevity of your filter. Always disconnect power before performing any maintenance.
6.1 Routine Cleaning (Monthly/Bi-Monthly)
- Disconnect the filter from the power supply.
- Close the shut-off valves on the hose adapter and disconnect it from the filter head.

Figure 8: Disconnecting the hose adapter from the filter head for maintenance.
- Carefully carry the filter unit to a suitable cleaning area.
- Open the filter head clips and remove the filter media baskets.
- Rinse mechanical filter media (foams) in old aquarium water to preserve beneficial bacteria. Replace if heavily clogged or deteriorated.
- Clean the inside of the filter canister and the filter head, including the impeller chamber.
- Reassemble the filter media baskets and close the filter head securely.
6.2 Heater Maintenance
The integrated heater can be removed for cleaning or replacement.

Figure 9: Removing the integrated heater from its housing for inspection or cleaning.
- Ensure the filter is unplugged.
- Gently pull the heater unit upwards from its designated slot in the filter head.
- Clean any algae or debris from the heater element.
- Reinsert the heater, ensuring it is fully seated.
6.3 Filter Media Replacement
Biological media should generally not be replaced unless severely degraded. Chemical media (like activated carbon) should be replaced every 2-4 weeks, or as recommended by the manufacturer, as its effectiveness diminishes over time. Mechanical media (foams) can be replaced when rinsing no longer restores adequate flow.
NAN. Depanaj
| Pwoblèm | Kòz posib | Solisyon |
|---|---|---|
| Filter not starting/no flow | No power; Air in filter; Clogged impeller; Kinked hoses. | Check power connection; Re-prime the filter; Clean impeller; Straighten hoses. |
| Redwi pousantaj koule | Clogged filter media; Dirty impeller; Kinked hoses; Flow control valve partially closed. | Clean/replace filter media; Clean impeller; Straighten hoses; Open flow control valve. |
| Twòp bri | Air in filter; Dirty/damaged impeller; Filter not level. | Re-prime the filter; Clean/inspect impeller for damage; Ensure filter is on a level surface. |
| Heater not maintaining temperature | Heater setting too low; Heater malfunction; Insufficient heater wattage for tank size/ambient temperature. | Adjust heater setting; Contact support if malfunction suspected; Consider additional heating if necessary. |
| Dlo ap koule | Loose hose connections; Damaged O-ring/gasket; Improperly closed filter head. | Tighten connections; Inspect and replace O-rings/gaskets; Ensure filter head is securely clipped. |
8. Espesifikasyon
| Karakteristik | Detay |
|---|---|
| Non mak | OASIS |
| Non modèl | 55165 |
| Style | Filtosmart Thermo 300 |
| Pwa atik | 1.1 liv |
| Dimansyon atik (LxWxH) | 11 x 7 x 16.9 pous |
| Manifakti | OASIS |
| Itilizasyon espesifik pou pwodwi | Indoor Aquarium Filtration and Heating |
| Konpozan ki enkli | Aquarium Filter with heater, filter media, tubing, diffuser, spray bar, fittings, power cable, and stable base |
| Peyi orijin | Itali |
9. Enfòmasyon sou Garanti
The OASE Filtosmart Thermo 300 comes with a 3-ane garanti limite. Please retain your proof of purchase for warranty claims. For specific terms and conditions, refer to the warranty documentation included with your product or visit the official OASE websit.
10. Sipò pou Kliyan
For further assistance, technical support, or spare parts, please contact OASE customer service. Contact information can typically be found on the OASE official websit la oubyen sou anbalaj pwodwi a.


