1. Enfòmasyon enpòtan sou sekirite
Before operating the Toorx Fitness ERX-100-B Crosstrainer, please read and understand all instructions in this manual. Retain this manual for future reference.
- Konsilte doktè ou anvan ou kòmanse nenpòt pwogram egzèsis.
- Asire w tout pyès yo byen reyini epi sere byen anvan chak itilizasyon.
- Kenbe timoun ak bèt kay lwen ekipman an pandan operasyon an.
- Place the crosstrainer on a flat, stable surface with adequate clearance around it.
- Pwa maksimòm itilizatè a pou ekipman sa a se 150 kg.
- Sispann fè egzèsis imedyatman si ou santi ou ap fèb, ou gen vètij, oswa ou gen doulè.
2. Pwodwi souview
The Toorx ERX-100-B is a rear-wheel elliptical trainer designed for home fitness. It features a 14 kg flywheel and a belt drive system for smooth and quiet operation. The unit includes an electromagnetic resistance system with 16 adjustable levels and a backlit LCD display with a built-in stand for smartphones or tablets.
Figi 2.1: Konplè view of the Toorx Fitness ERX-100-B Crosstrainer. This image shows the complete elliptical machine, highlighting its overall design and structure.
3. Asanble ak Enstalasyon
The Toorx ERX-100-B Crosstrainer requires assembly. While specific step-by-step instructions are provided in the separate assembly guide, the general process involves attaching the main frame components, handlebars, pedals, and console.
3.1 Debake
Carefully remove all components from the packaging. Check against the parts list (provided in the assembly guide) to ensure all items are present and undamaged.
3.2 Etap Asanble
Follow the detailed instructions in the dedicated assembly manual. Pay close attention to the secure fastening of all bolts and screws. Ensure all connections are tight to prevent instability during use. It is recommended to have a second person assist with assembly.

Figure 3.1: Close-up of a base joint connection. This image illustrates how the main frame components connect, emphasizing the importance of secure fastening during assembly.
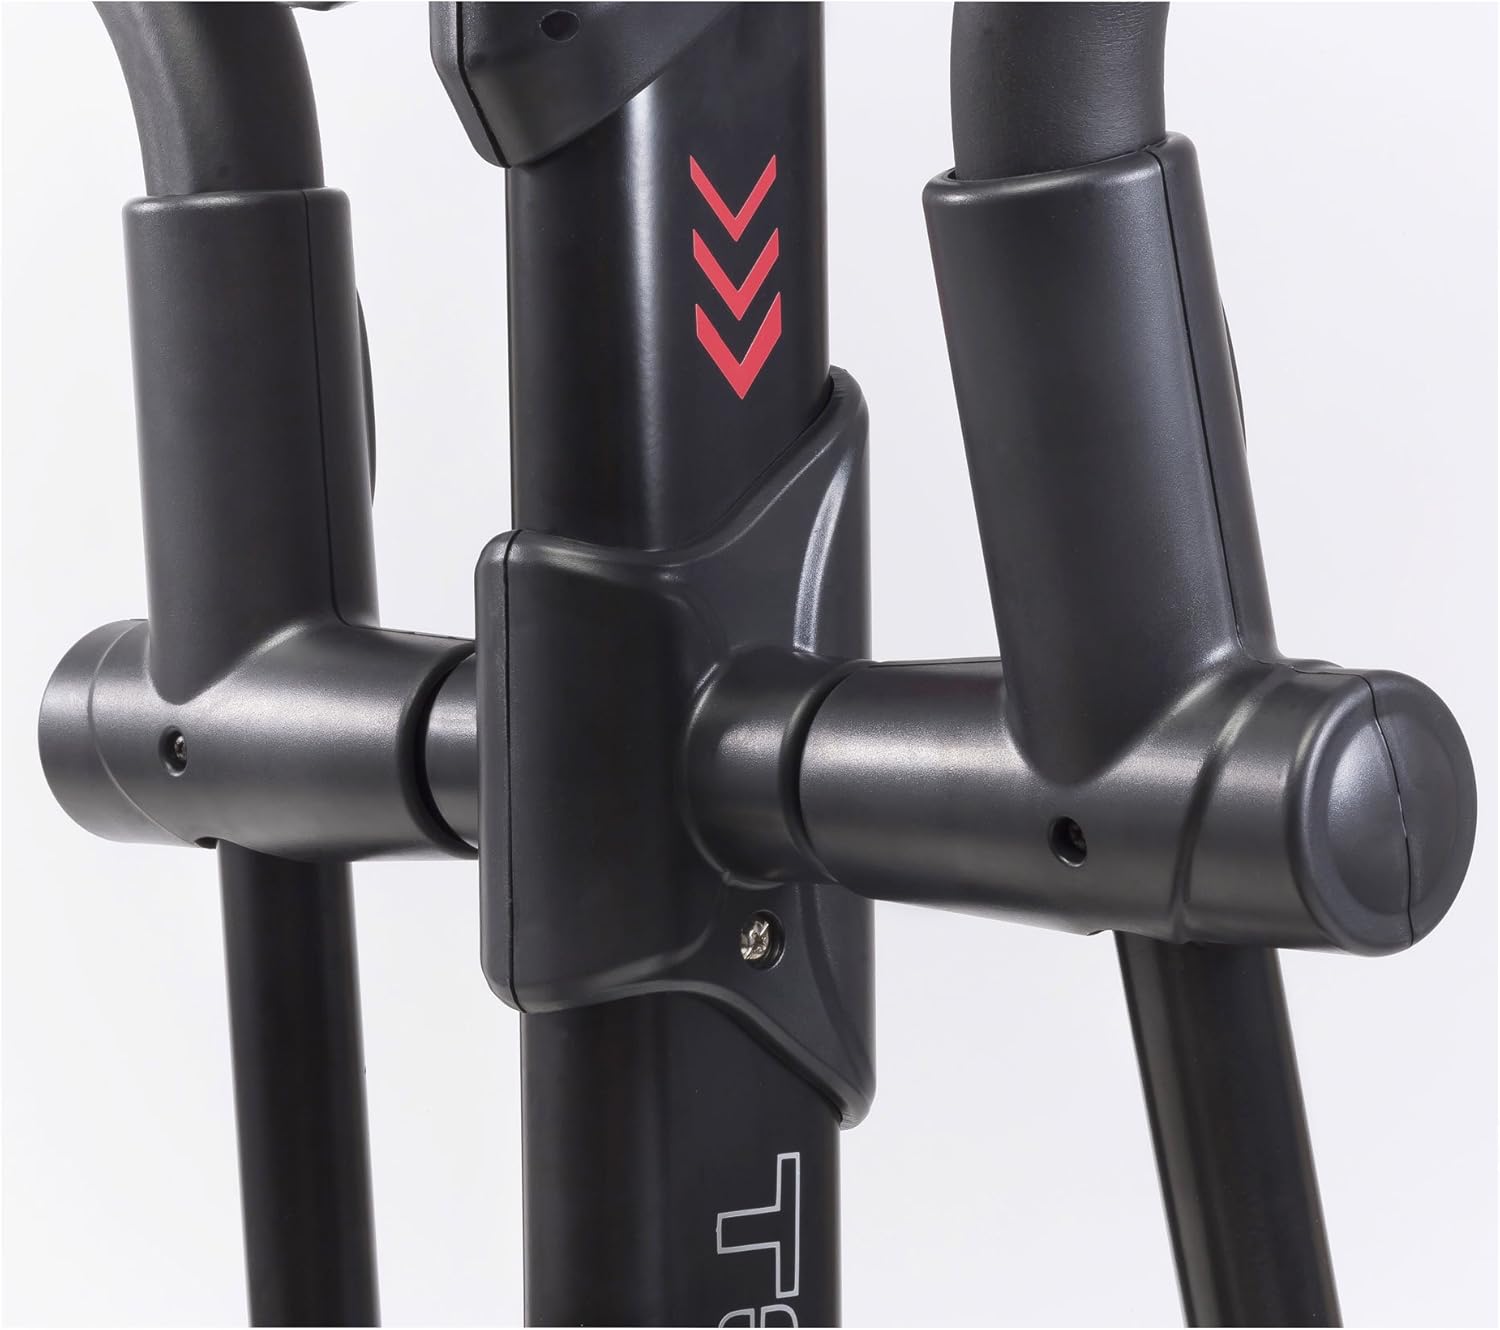
Figure 3.2: Detail of the pedal arm connection. This view shows the attachment point for the pedal arms, which must be correctly installed for proper function.
3.3 Plasman
Position the crosstrainer on a level, solid surface. Ensure there is at least 0.6 meters (2 feet) of clear space around the equipment for safe operation and access.
4. Operasyon Enstriksyon
The ERX-100-B Crosstrainer features an intuitive console for managing your workout.
4.1 Fonksyon Konsòl
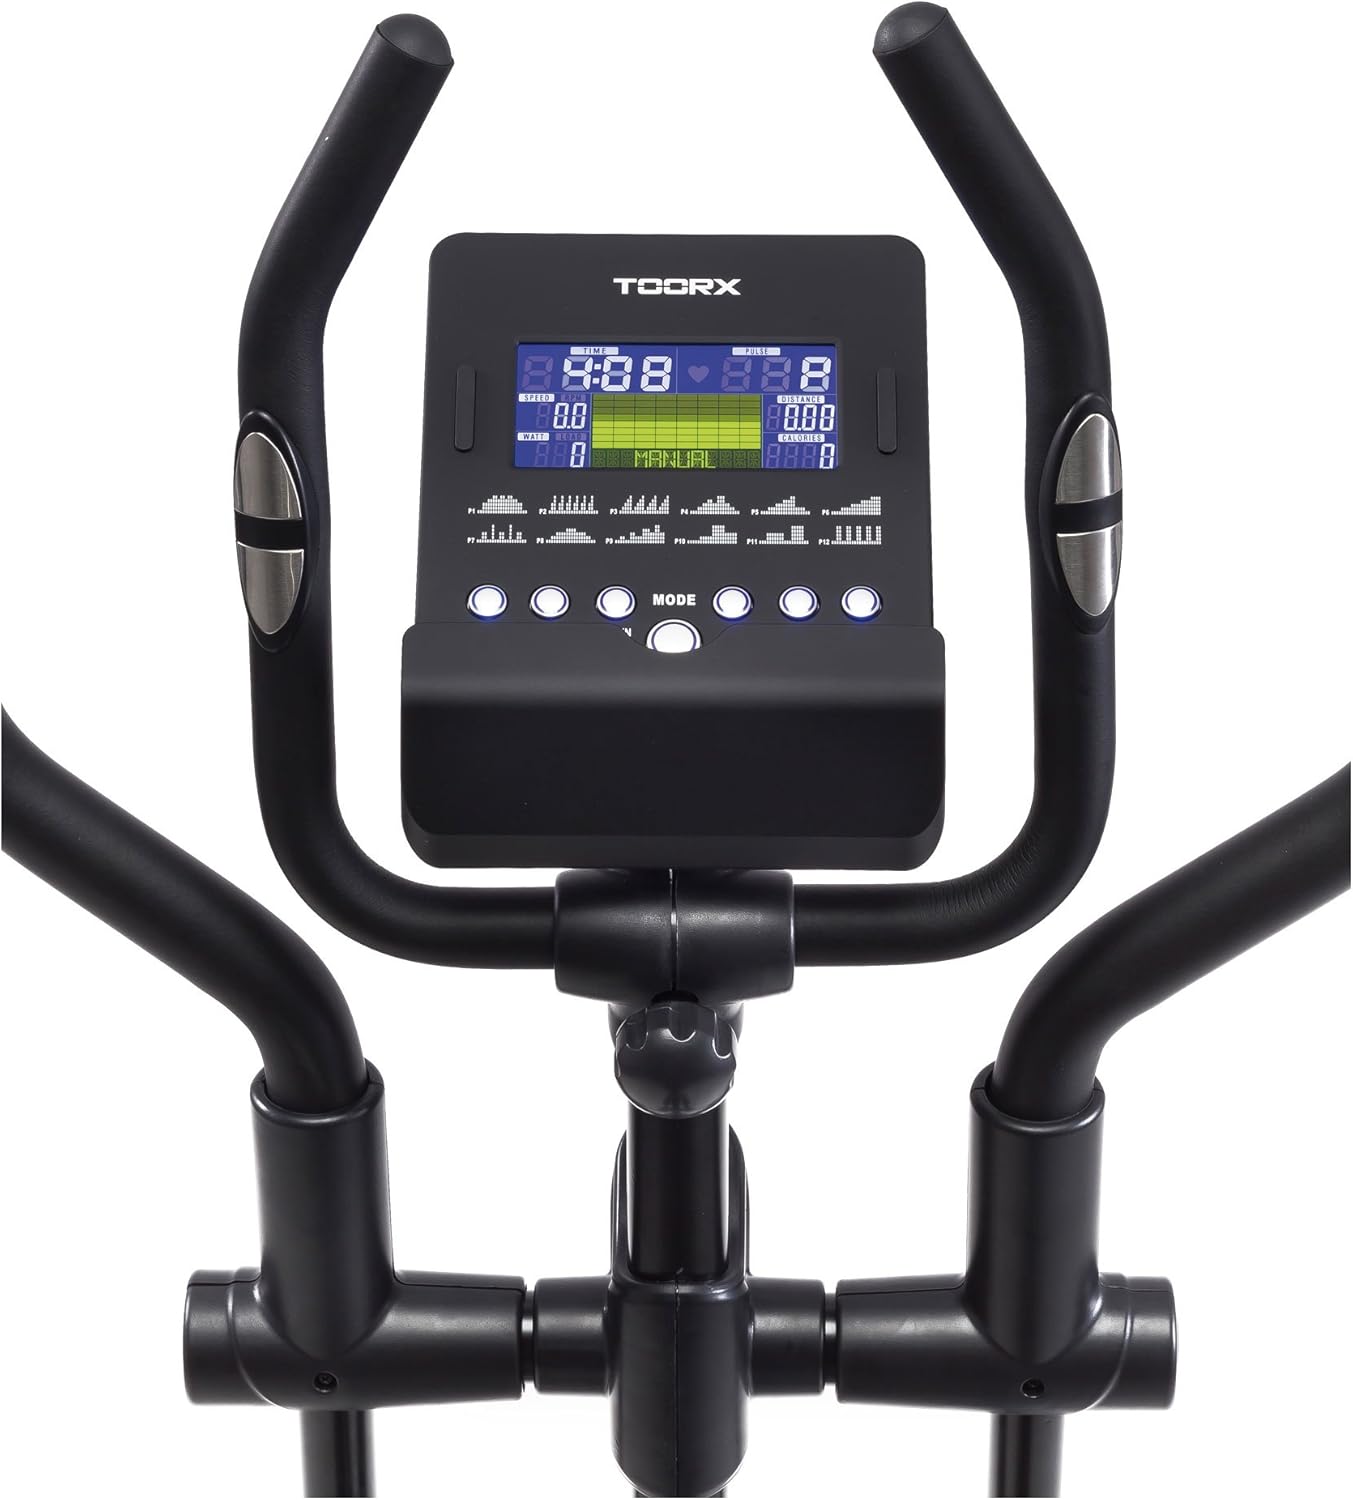
The backlit LCD display shows key workout data such as time, speed, distance, calories, and heart rate. Use the buttons below the display to navigate through modes and adjust settings.

Figure 4.1: Close-up of the LCD console. This image displays the backlit screen and control buttons for adjusting workout parameters and viewdone yo.
4.2 Ajisteman Rezistans
The electromagnetic resistance can be adjusted to 16 different levels. Use the console controls to increase or decrease the resistance, tailoring the intensity of your workout.
4.3 Siveyans batman kè
Grip the integrated heart rate sensors on the handlebars to monitor your pulse during exercise. Ensure a firm and consistent grip for accurate readings.

Figure 4.2: Detail of the heart rate sensors on the handlebars. These metallic pads detect your pulse when gripped during exercise.
4.4 Smartphone/Tablet Stand
The console includes a stand designed to hold your smartphone or tablet, allowing you to use your device during workouts.
5. Antretyen
Regular maintenance ensures the longevity and optimal performance of your crosstrainer.
5.1 Netwayaj
Siye ekipman an avèk piblisiteamp Siye twal la apre chak itilizasyon pou retire swe ak pousyè. Evite pwodui netwayaj abrazif oswa solvan.
5.2 Lubrification
It is essential to lubricate the plastic joints and moving parts weekly to prevent creaking and ensure smooth operation. Use a silicone-based lubricant suitable for fitness equipment.

Figi 5.1: View of the rear flywheel area. Regular inspection and lubrication of moving parts in this section are crucial for smooth operation.
5.3 Enspeksyon
Periodically inspect all bolts, nuts, and moving parts for tightness and wear. Tighten any loose fasteners. Replace worn components immediately to prevent injury or further damage.
NAN. Depanaj
This section addresses common issues you might encounter with your ERX-100-B Crosstrainer.
- Bri krakman: If the machine produces creaking sounds, especially from plastic joints, apply lubricant to all moving plastic-on-plastic or plastic-on-metal contact points. Refer to section 5.2 for lubrication details.
- Clicking Pedal: If a pedal clicks during rotation, check the assembly of the pedal arm and its connection points. Ensure all fasteners are securely tightened. Lubrication of the pedal axle and joint might also resolve the issue.
- Ekspozisyon pa travay: Check the power connection. If battery-operated, ensure batteries are correctly installed and have sufficient charge.
- Rezistans ki pa chanje: Verify that the console is powered on and the resistance adjustment buttons are functioning. If the issue persists, contact customer support.
7. Espesifikasyon
| Karakteristik | Spesifikasyon |
|---|---|
| Modèl | ERX-100 |
| Mak | Toorx |
| Pwa volan | 14 kg |
| Sistèm Rezistans | Electromagnetic, 16 levels |
| Sistèm kondwi | Belt |
| Pwa maksimòm itilizatè | 150 kg |
| Kalite ekspozisyon | Backlit LCD, Multicolor, 4 Inch |
| Materyèl | Fè |
| Dimansyon pwodwi (L x W x H) | 66 x 124 x 33 cm |
| Pwa atik | 56 kg |
| Sètifikasyon | CE-ROHS-EN957 |
8. Enfòmasyon sou Garanti
The Toorx ERX-100-B Crosstrainer comes with a 2-year warranty on all components. This warranty covers manufacturing defects and material faults under normal use conditions. Please retain your proof of purchase for warranty claims. The warranty does not cover damage resulting from improper assembly, misuse, lack of maintenance, or unauthorized modifications.
9. Sipò pou Kliyan
If you have any questions, require assistance with assembly, operation, or maintenance, or need to make a warranty claim, please contact your retailer or the Toorx customer service department. Refer to your purchase documentation for specific contact details.


