1. Pwodwi souview
The Midiplus Studio M is a compact and high-performance USB audio interface designed for studio recording. It features one input and two outputs, supporting high-quality microphone input and 24-bit/192kHz high-precision sampling. The device is powered via PC USB and includes 48V phantom power for condenser microphones. Its small, exquisite design is compatible with both Mac and Windows operating systems, making it a versatile tool for musicians and producers.
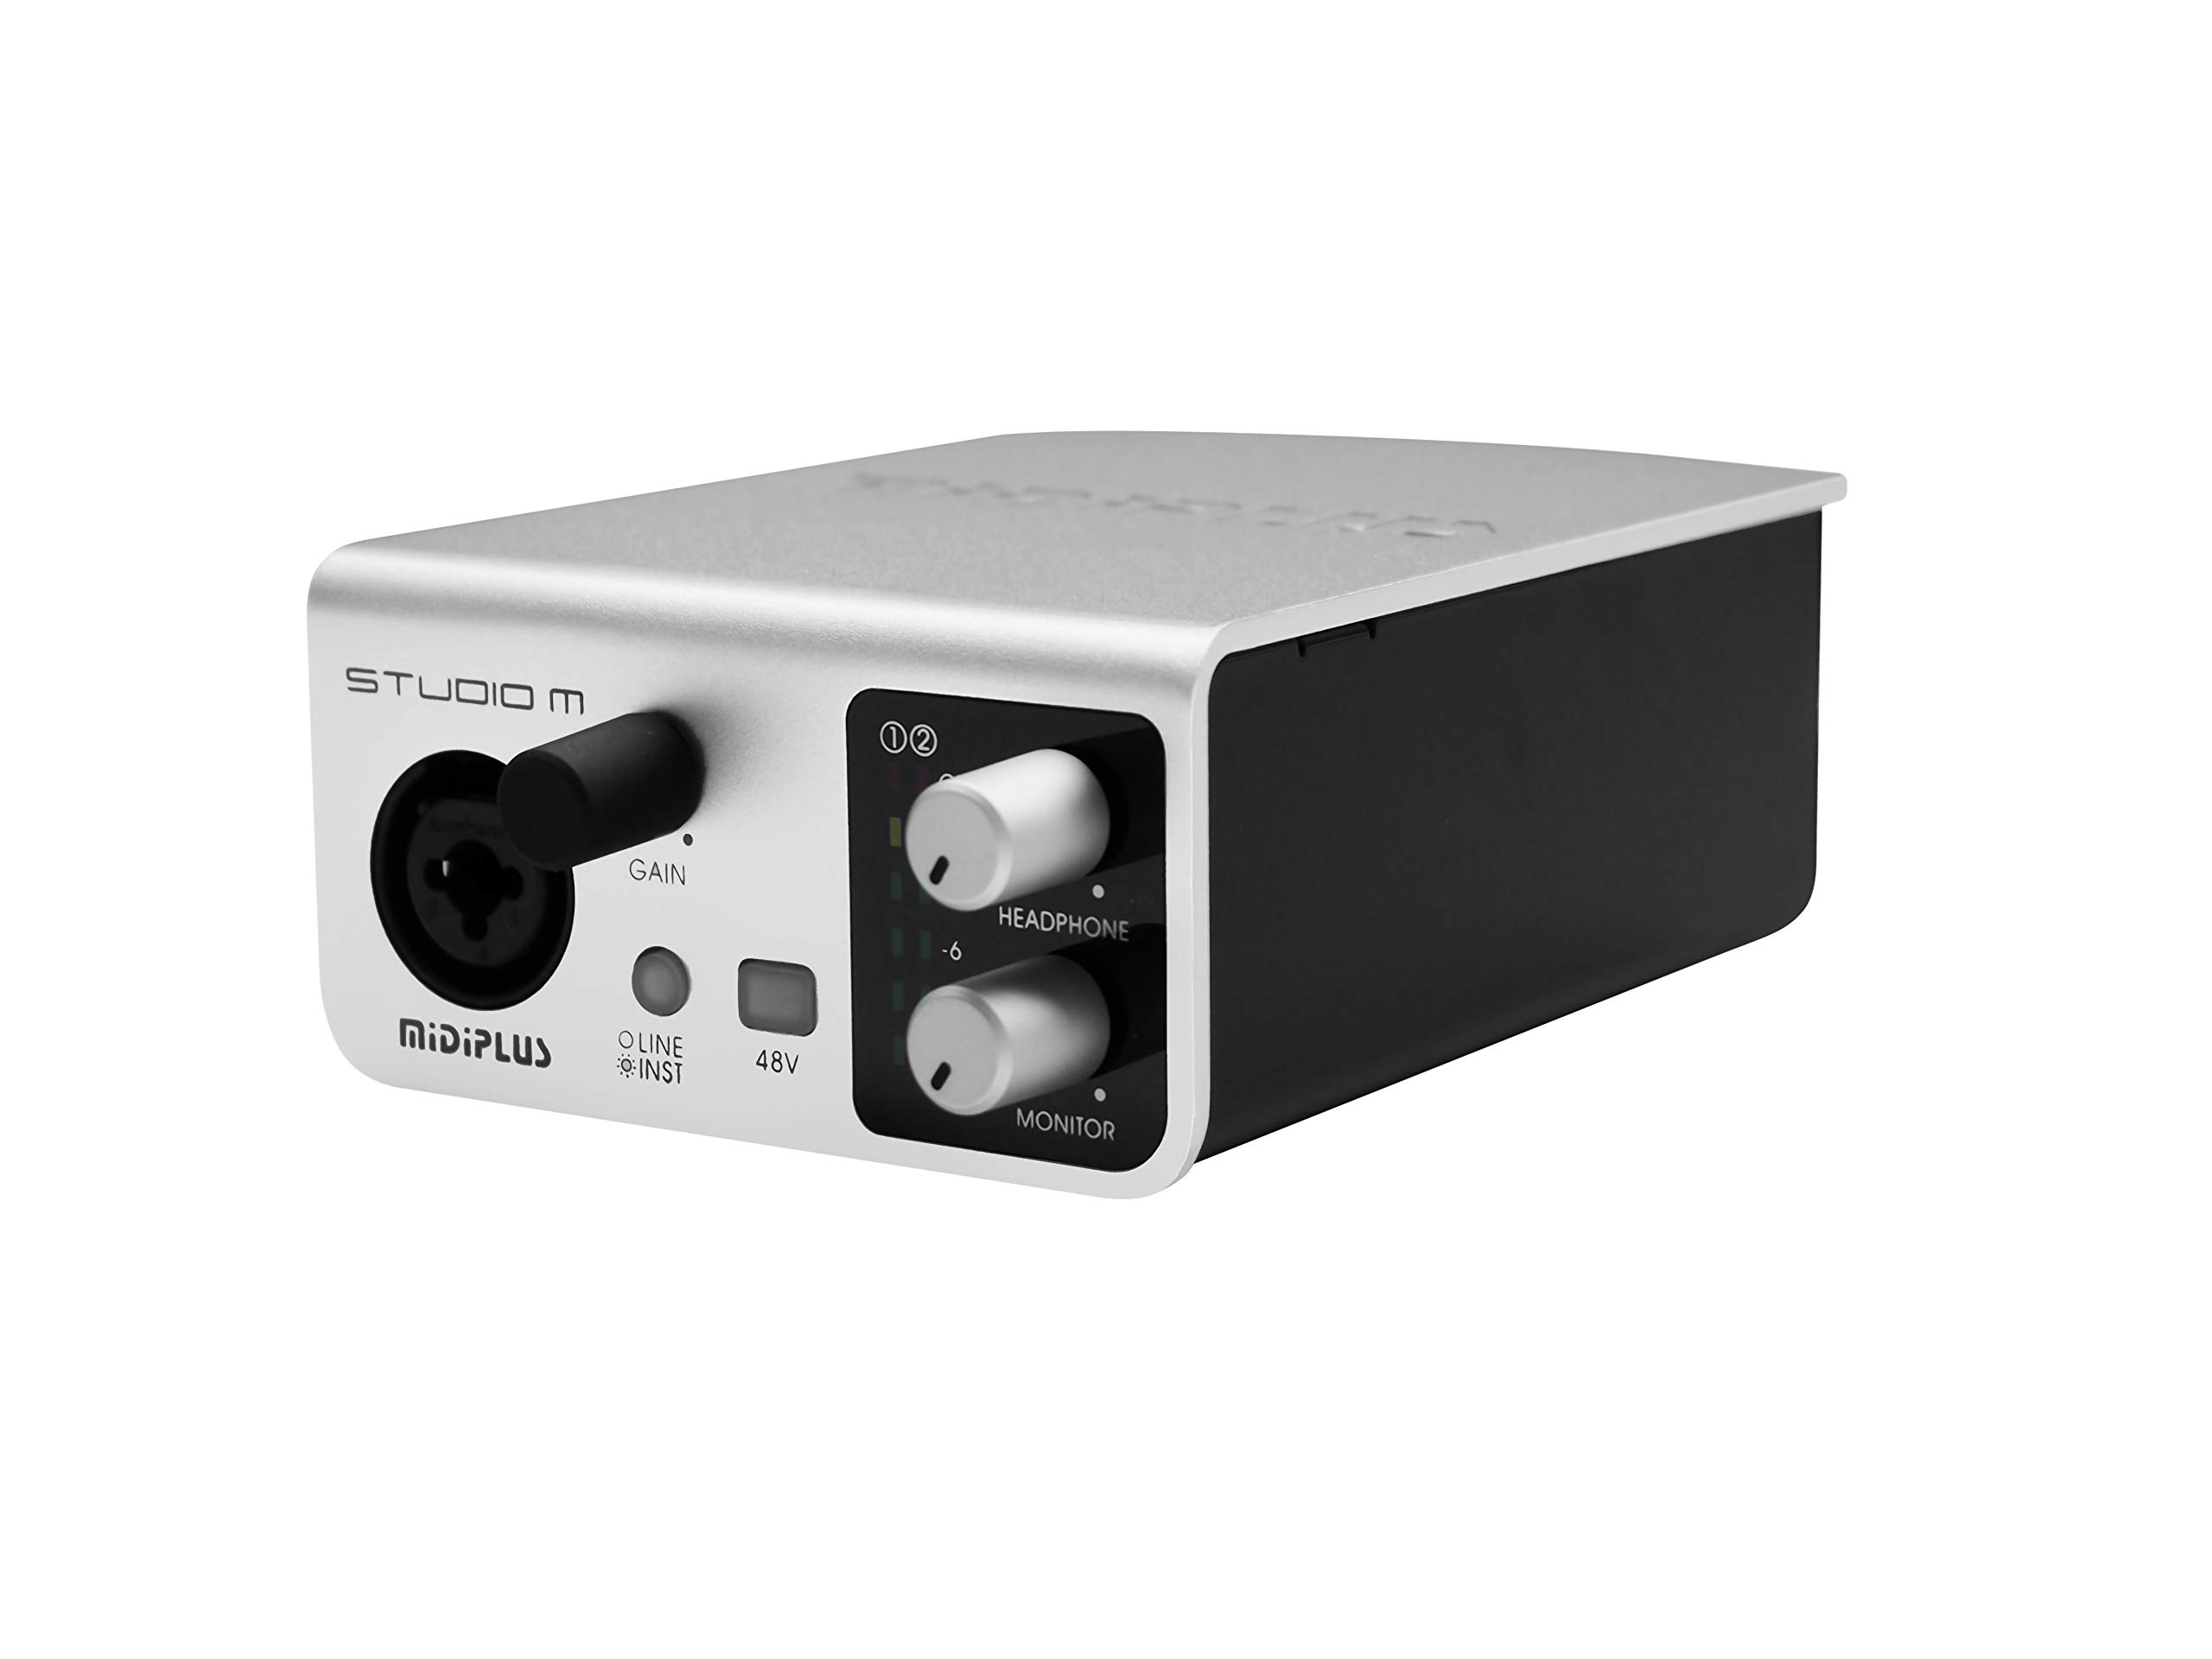
Figi 1: Devan ak dèyè view of the Midiplus Studio M USB Audio Interface.
2. Gid Enstalasyon
2.1 Kontni pake a
- Midiplus Studio M USB Audio Interface
- USB kab
- Manyèl Pwopriyetè a (dokiman sa a)
- Kat Enfòmasyon
2.2 Kondisyon Sistèm
- Sistèm operasyon: Windows, macOS
- Compatible Devices: Personal Computer with USB port
2.3 Konekte aparèy la
- Connect the Midiplus Studio M to your computer using the provided USB cable. The device is USB-powered.
- Ensure your operating system (Windows or macOS) recognizes the device. Drivers may be required for optimal performance; refer to the Midiplus websit entènèt pou telechaje dènye chofè yo.
- Connect your microphone or instrument to the Input (MIC/Line/Hi-z) interface on the front panel.
- Connect your headphones to the headphone interface on the front panel, or your studio monitors to the Output interface (Left/Right) on the rear panel.

Figure 2: Midiplus Studio M connected to a computer, showing input and output cables.
3. Operasyon Enstriksyon
3.1 Kontwòl Panel Front
- Input Gain Control Knob: Ajiste nivo antre a pou mikwofòn oswa enstriman ki konekte a.
- Switch (Mic/Instrument) Button: Toggles between microphone and instrument input modes.
- 48V Phantom Power ON/OFF: Activates or deactivates 48V phantom power for condenser microphones.
- Headphone Volume Control Button: Adjusts the output volume for connected headphones.
- Output Volume Control Button: Adjusts the main output volume for connected studio monitors.

Figure 3: Midiplus Studio M in a studio setup, demonstrating its compact size and integration.
3.2 Koneksyon Panèl Dèyè
- Entèfas USB: USB2.0 port for connection to your computer and power supply.
- Output Interface (Left/Right): Connects to your studio monitors or other output devices.
- Extensible Device Interface: Provides additional connectivity options for other devices.
4. Antretyen
- Kenbe aparèy la pwòp lè w siye l avèk yon twal mou epi sèk. Evite itilize pwodui chimik ki agresif oswa materyèl abrazif.
- Asire w tout kab yo byen konekte pou anpeche pèt oswa domaj siyal.
- Sere koòdone a nan yon kote ki fre epi sèk, lwen limyè solèy dirèk ak tanperati ekstrèm.
- Evite mete objè lou sou tèt inite a.
NAN. Depanaj
5.1 Pa gen Sòti Son
- Check all cable connections (USB, input, output, headphones).
- Ensure the device is powered on and recognized by your computer.
- Verify that the output volume controls (headphone and main output) are turned up.
- Check your computer's sound settings to ensure the Midiplus Studio M is selected as the output device.
5.2 Input Signal Issues
- Adjust the Input Gain Control Knob.
- Ensure the correct input mode (Mic/Instrument) is selected.
- If using a condenser microphone, verify that 48V Phantom Power is enabled.
- Check the microphone/instrument cable for damage.
5.3 Aparèy pa rekonèt pa òdinatè a
- Eseye konekte kab USB a nan yon pò USB diferan sou òdinatè w lan.
- Rekòmanse òdinatè w lan.
- Ensure the latest drivers for the Midiplus Studio M are installed from the official Midiplus websit.
- Teste avèk yon lòt kab USB si ou genyen.
6. Espesifikasyon teknik
| Karakteristik | Detay |
|---|---|
| Nimewo Modèl | Studio M |
| Mak | Midiplus |
| Koneksyon Teknoloji | USB (USB2.0) |
| Rezolisyon odyo | 24-ti jan / 192kHz |
| Antre | 1 (MIC/Line/Hi-z) |
| Sòti yo | 2 (Left/Right) |
| Phantom pouvwa | 48V (chanjabl) |
| Sistèm operasyon konpatib | Windows, macOS |
| Dimansyon pwodwi | 5.28 x 3.54 x 1.89 pous |
| Pwa atik | 14.1 ons (0.4 kilogram) |
7. Garanti ak sipò
For warranty information and technical support, please refer to the official Midiplus website or contact your local dealer. Keep your purchase receipt as proof of purchase for any warranty claims.


