
1. Entwodiksyon
This manual provides essential instructions for the proper setup, operation, and maintenance of your GEOID CC700 Pro Cycling Computer and BM05 Mount. Please read this manual thoroughly before using the product to ensure optimal performance and safety.
2. Pwodwi souview
The GEOID CC700 Pro is an advanced cycling computer designed to enhance your riding experience with comprehensive navigation and data tracking capabilities. It features a 2.8-inch touchscreen display and supports both ANT+ and Bluetooth protocols for wide compatibility with various sensors. The BM05 is a high-strength handlebar mount designed specifically for the CC700 Pro.
Karakteristik kle:
- 2.8-inch Touchscreen Display
- GPS Navigation with Turn Prompts
- Dual Perspective Map Navigation (North-Up, Head-Up)
- Zoom In/Out Functionality for Maps
- Instant Rerouting
- Universal Compatibility with ANT+ and Bluetooth Sensors (Speed, Cadence, Heart Rate, Power Meter, Smart Trainer, Electronic Shifting, Radar, Bike Light, Camera)
- Mobile Phone Message Notifications
3. Enstalasyon
3.1 BM05 Mount Installation
The BM05 mount provides a secure and stable platform for your CC700 Pro cycling computer on your handlebars.
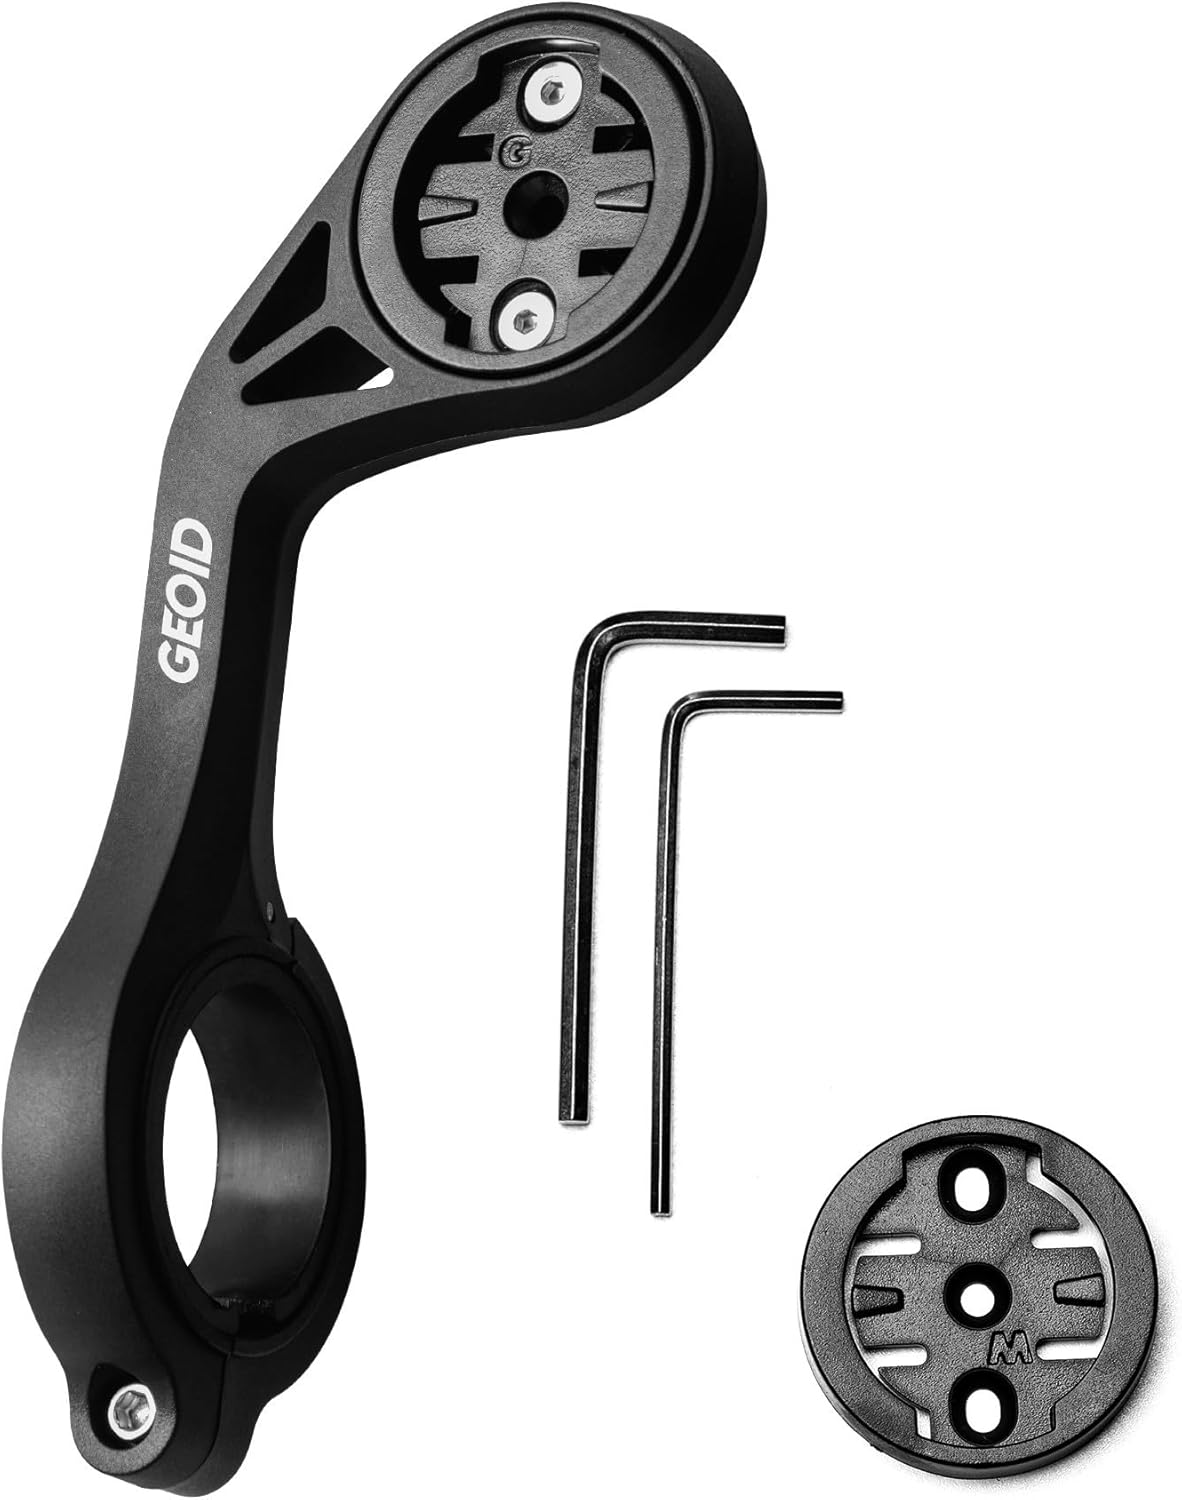
Image: Components of the GEOID BM05 mount, including the main arm, two hex wrenches for installation, and a circular adapter for the cycling computer.
- Identify a suitable position on your bicycle's handlebars for the mount.
- Attach the BM05 mount to the handlebars using the provided screws and hex wrenches. Ensure it is securely fastened and does not obstruct your view oubyen kontwòl bisiklèt la.
- Once the mount is installed, align the CC700 Pro cycling computer with the mount's interface and twist it clockwise until it locks into place.
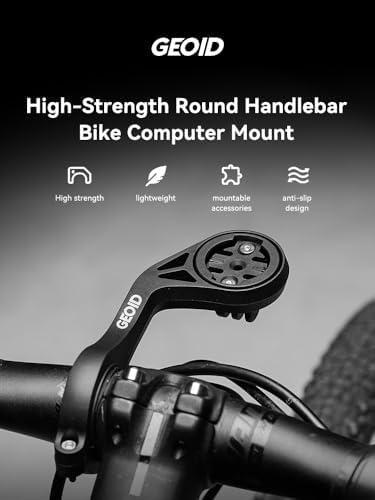
Image: The BM05 mount securely installed on a bicycle handlebar, with the GEOID cycling computer attached and ready for use.
3.2 Premye Limen ak Chaje
- To power on the CC700 Pro, press and hold the power button located on the side of the device.
- Before first use, fully charge the device using a standard USB-C cable and a compatible power adapter.
3.3 App Connection and Sensor Pairing
The CC700 Pro requires connection to a designated mobile application for full functionality, including route planning and advanced settings.
- Download the official GEOID companion app from your smartphone's app store.
- Follow the in-app instructions to pair your CC700 Pro with your smartphone via Bluetooth.
- Within the app or on the device, navigate to the sensor pairing menu. The CC700 Pro supports both ANT+ and Bluetooth sensors. Follow the on-screen prompts to search for and connect your speed, cadence, heart rate, power meter, or other compatible sensors.
4. Operasyon Enstriksyon
4.1 Navigation and Map Display
The CC700 Pro offers detailed map navigation with clear prompts.
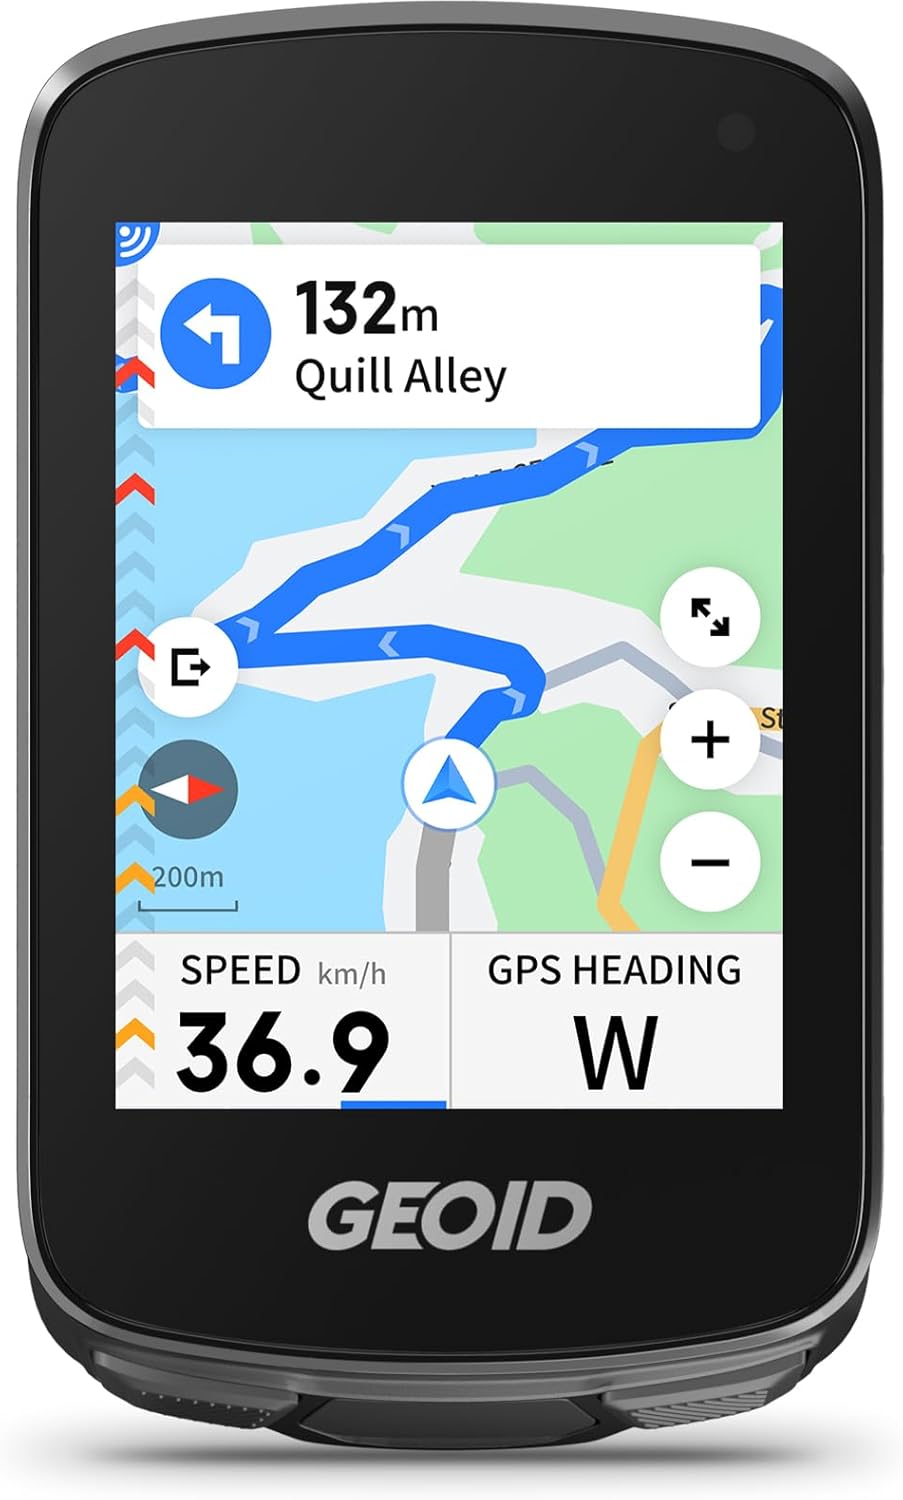
Image: The GEOID CC700 Pro display showing an active navigation map with a highlighted route, current speed, and GPS heading.
- Dual Perspective Map Navigation: Switch between 'North-Up' and 'Head-Up' views for preferred orientation.
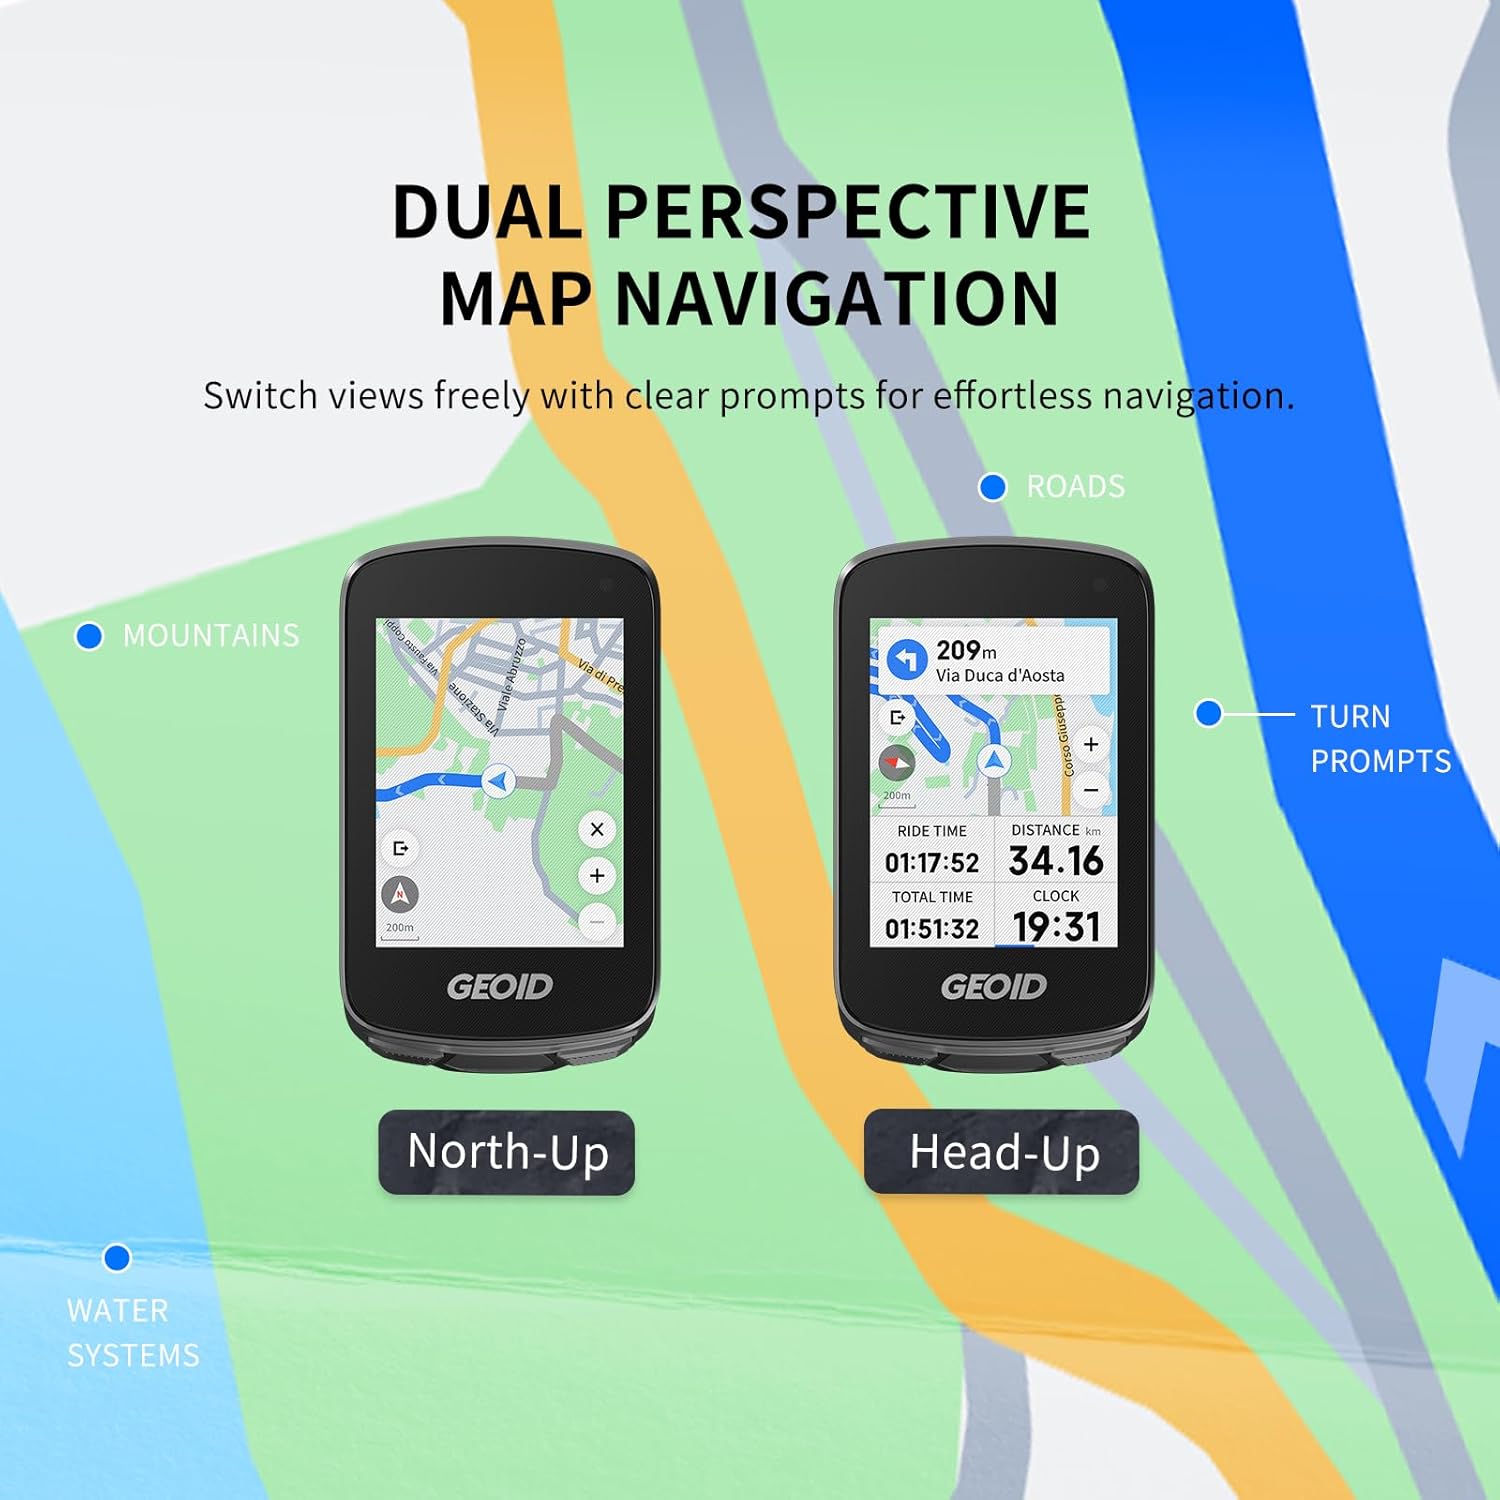
Image: Comparison of 'North-Up' and 'Head-Up' map navigation modes on the GEOID CC700 Pro, showing different orientations of the map relative to the rider.
- Fonksyon Zoom: Use touch gestures to zoom in or out on the map to view details or the overall route.

Image: The GEOID CC700 Pro demonstrating map zoom functionality, showing a wider 200m view and a more detailed 50m view.
- Instant Rerouting: If you deviate from your planned route, the device will automatically recalculate and provide new directions. This feature requires an active app connection.

Image: The GEOID CC700 Pro actively rerouting, displaying a 'Replanning...' message and updating the map to guide the rider back on track.
4.2 Data Display
The CC700 Pro displays various ride metrics. Customize data fields through the device settings or the companion app.
- Commonly displayed data includes Speed, Distance, Time, GPS Heading, Cadence, Heart Rate, and Power (when connected to compatible sensors).
4.3 Mobile Phone Notifications
When connected to your smartphone via the companion app, the CC700 Pro can display notifications.
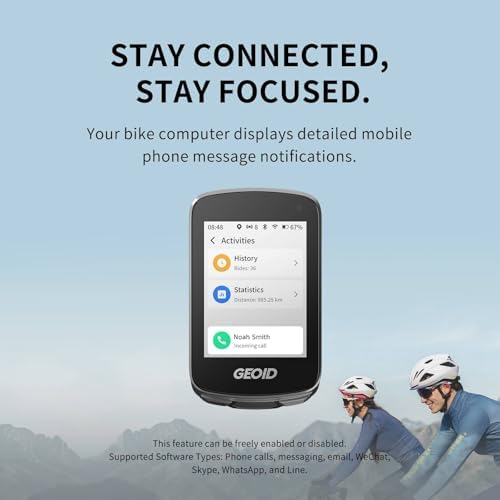
Image: The GEOID CC700 Pro displaying an incoming call notification from 'Noah Smith', demonstrating its message notification feature.
- Supported notification types include phone calls, messages, email, and various messaging apps.
- This feature can be enabled or disabled in the device settings or the companion app.
5. Antretyen
- Netwayaj: Siye aparèy la ak yon mou, damp twal. Evite itilize pwodwi chimik piman bouk oswa materyèl abrazif.
- Depo: Sere aparèy la nan yon kote ki fre, sèk lwen limyè solèy la dirèk lè li pa itilize.
- Swen batri: For optimal battery life, avoid fully discharging the battery frequently. Charge the device regularly, especially if storing it for extended periods.
- Enspeksyon mòn: Periodically check the BM05 mount for any signs of wear or loosening. Ensure all screws are tight before each ride.
NAN. Depanaj
- Aparèy pa limen: Ensure the device is fully charged. If the issue persists, try performing a soft reset (refer to the app or GEOID support for specific instructions).
- Pèt siyal GPS: Asire w ou nan yon zòn ouvè ki klè view nan syèl la. Evite zòn ki gen gwo bilding oswa feyaj epè.
- Sensor Not Connecting: Check that the sensor's battery is not depleted. Ensure the sensor is awake and within range of the CC700 Pro. Re-pair the sensor if necessary.
- Pwoblèm koneksyon aplikasyon an: Ensure Bluetooth is enabled on your smartphone and the GEOID app is running in the background. Try restarting both the device and your smartphone.
- Done ki pa egzak: Calibrate sensors if applicable (e.g., power meters). Ensure the device firmware is up to date via the companion app.
7. Espesifikasyon
| Mak | GEOID |
| Nimewo Modèl | CC700 Pro |
| Gwosè ekran | 2.8 pous |
| Antre Entèfas Imèn | Touchscreen |
| Koneksyon | ANT+, Bluetooth |
8. Garanti ak sipò
Pou enfòmasyon sou garanti, sipò teknik, oswa demann sèvis, tanpri al gade GEOID ofisyèl la. website or contact GEOID customer service directly. Keep your purchase receipt as proof of purchase for warranty claims.
GEOID Official Websit: Visit the GEOID Store on Amazon