1. Entwodiksyon
Thank you for choosing the FLYBIRD Twister Arm Trainer. This device is designed to assist in strengthening various upper body muscle groups, including the chest, arms, back, and shoulders. Its adjustable resistance feature allows for progressive training suitable for different fitness levels. Please read this manual thoroughly before initial use to ensure safe and effective operation.
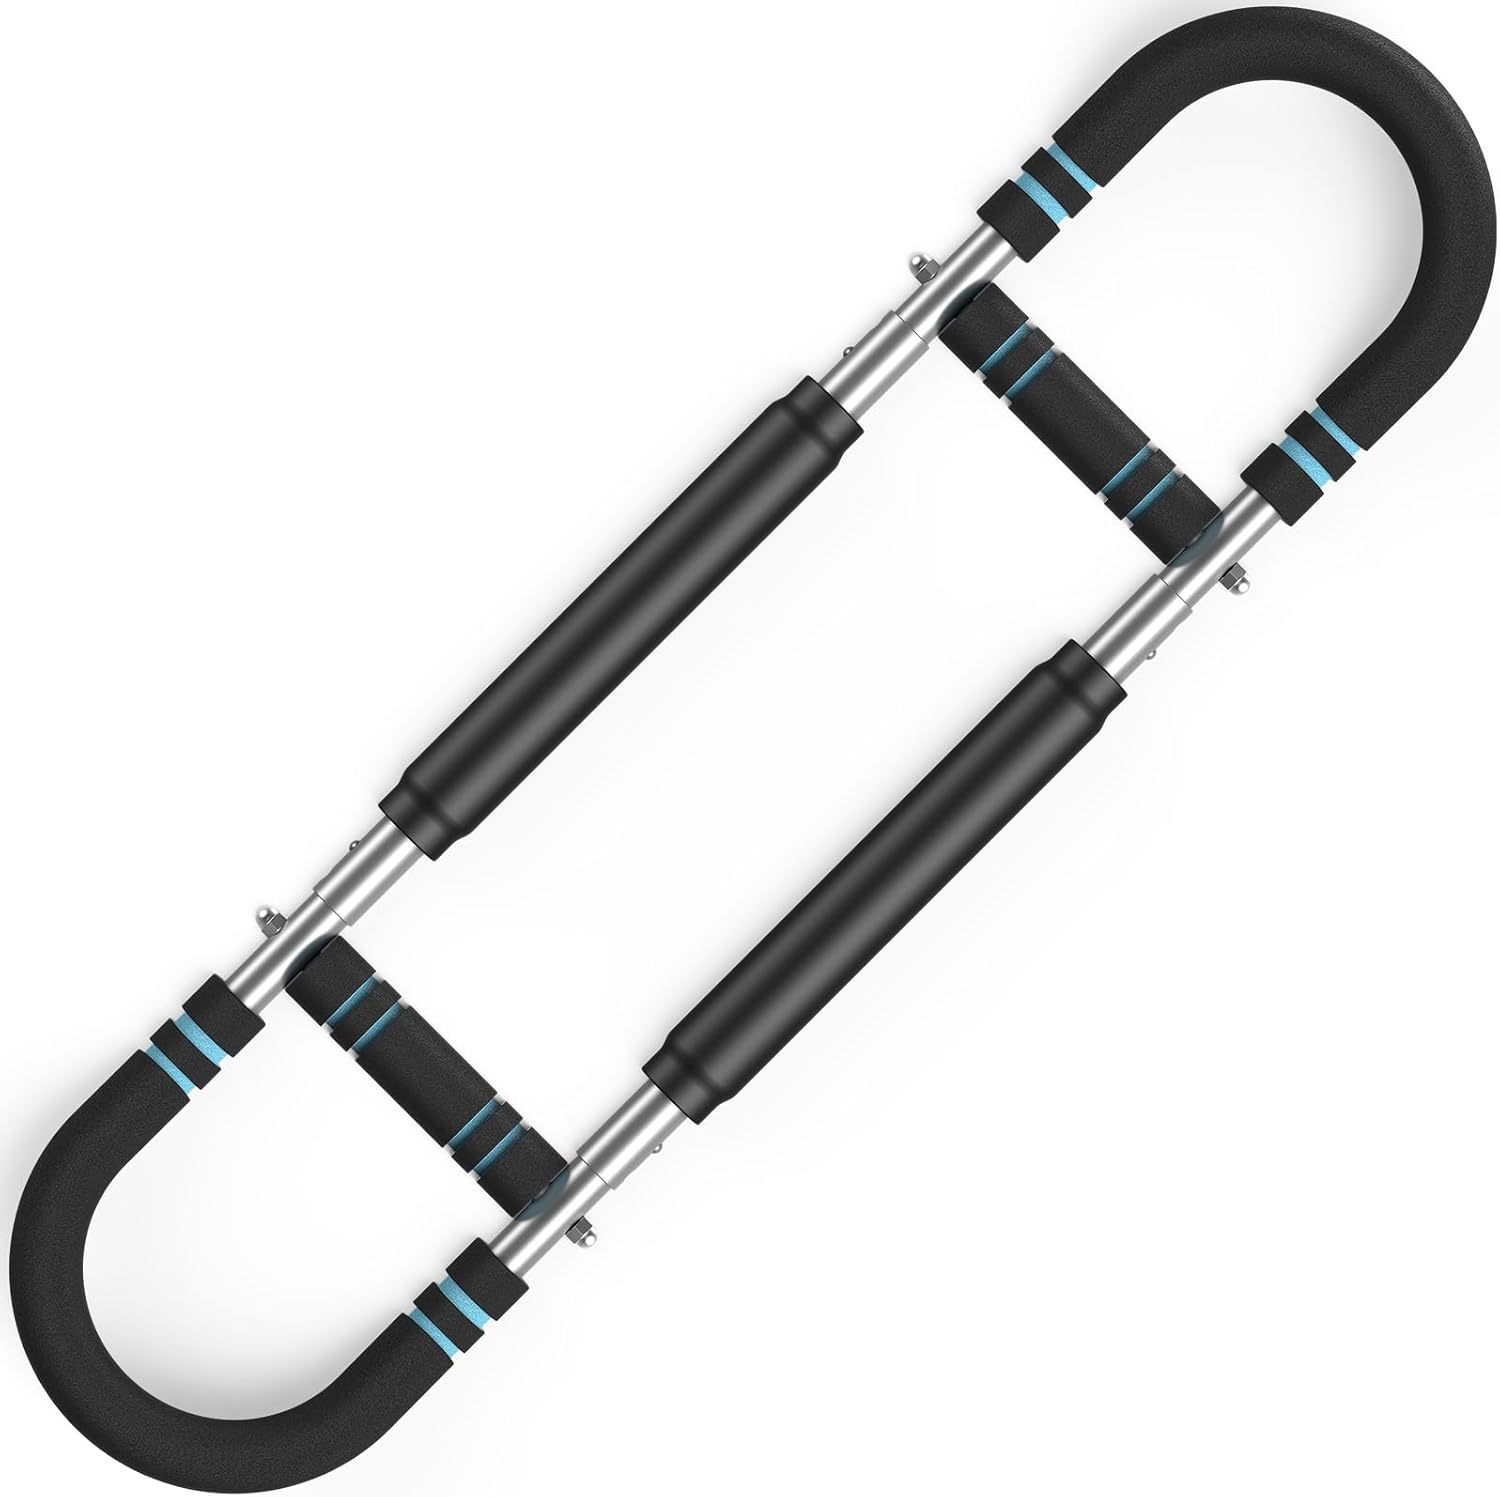
Image 1.1: The FLYBIRD Twister Arm Trainer, showcasing konsepsyon ak estrikti jeneral li yo.
2. Enfòmasyon sou Sekirite
- Konsilte yon doktè anvan ou kòmanse nenpòt nouvo pwogram egzèsis.
- Toujou chofe anvan ou fè egzèsis ak fre apre.
- Inspect the device for any damage or loose parts before each use. Do not use if damaged.
- Ensure the resistance setting is securely locked before beginning an exercise.
- Perform exercises with controlled movements. Avoid sudden jerks or excessive force.
- Sispann fè egzèsis imedyatman si ou santi doulè, vètij, oswa malèz.
- Kenbe timoun ak bèt kay lwen ekipman an pandan w ap itilize.
- Use the device on a stable, non-slip surface.
3. Pwodwi konpozan
The FLYBIRD Twister Arm Trainer consists of the main adjustable resistance unit with ergonomic non-slip foam grips and a U-shaped double steel spring mechanism for resistance.

Image 3.1: Detail of the U-shaped double steel spring and comfort grip handles.
4. Enstalasyon ak Asanble
The FLYBIRD Twister Arm Trainer is designed for easy assembly and disassembly for portability. Follow these steps to assemble the device:
- Step 1: Hole Alignment - Align the inner connector of one handle with the corresponding hole on the main bar.
- Step 2: Align Holes on Other Side - Repeat the alignment process for the other handle on the opposite side of the main bar.
- Etap 3: Peze desann - Firmly press down on the handles to secure them into place. Ensure the locking pins engage.
- Step 4: It's Done! - Verify that all connections are secure before use.

Image 4.1: Step-by-step visual guide for assembling the arm trainer.
To disassemble for storage or travel, press the release buttons (if present) or pull the components apart with firm, controlled force, reversing the assembly steps.
5. Operasyon Enstriksyon
5.1. Ajisteman Rezistans lan
The FLYBIRD Twister Arm Trainer offers adjustable resistance levels from 22 lbs to 440 lbs. To adjust the resistance:
- Locate the adjustment pins on the main bar.
- Press the pin and slide the inner connector to the desired position.
- Ensure the pin locks securely into one of the designated holes for the chosen resistance level.
- Level 1 (e.g., 60 lbs): Inner connectors on both ends.
- Level 2 (e.g., 80 lbs): One for each of the inner and outer connectors.
- Level 3 (e.g., 120 lbs): Outer connector on both ends.
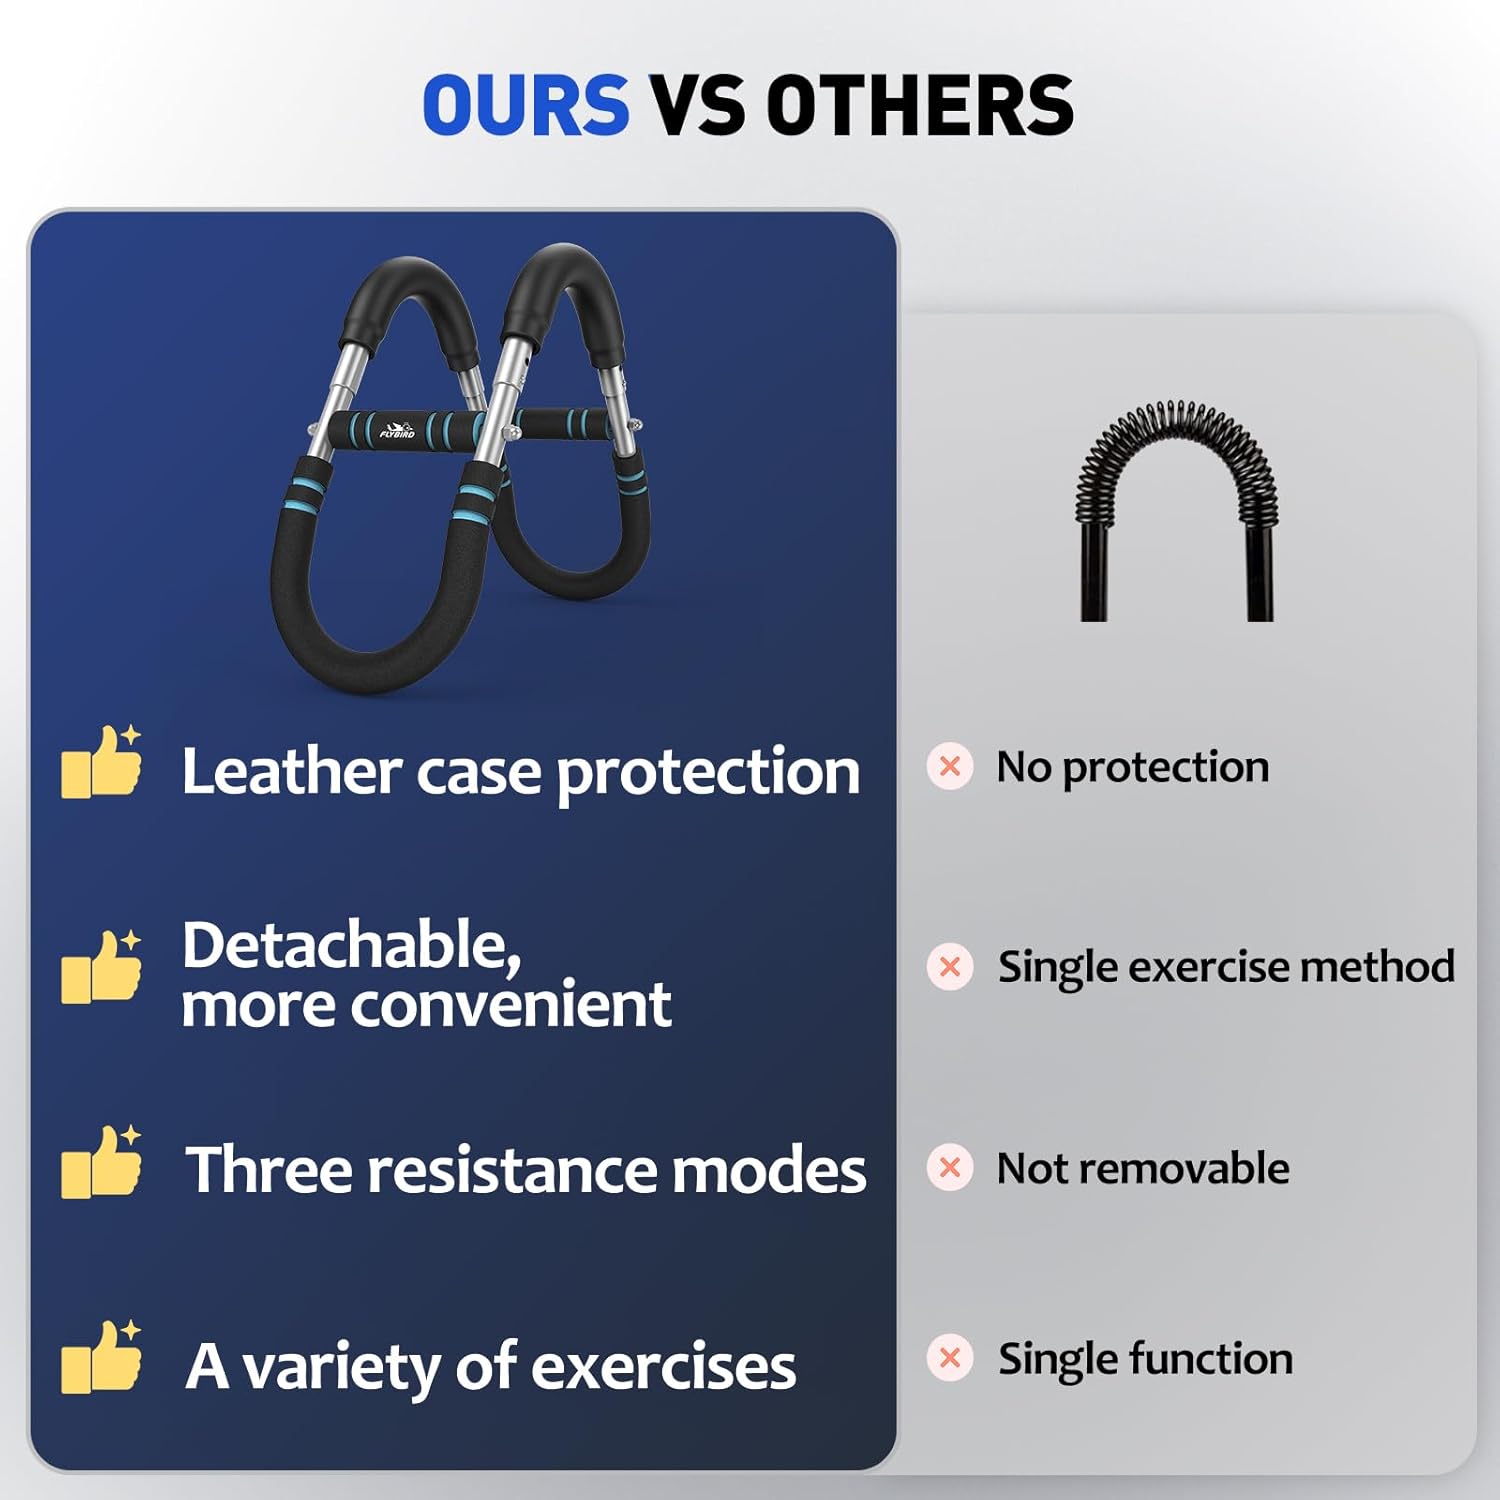
Image 5.1: Resistance adjustment mechanism and corresponding intensity levels.
5.2. Gid Egzèsis
The Twister Arm Trainer can be used for a variety of exercises targeting different muscle groups. Always maintain proper form and controlled movements.
- Chest Exercise: Hold the trainer with both hands, palms facing each other, and press inward towards your chest.
- Biceps Exercise: Hold the trainer with one hand, palm up, and curl it towards your shoulder.
- Egzèsis pou do: Hold the trainer behind your back and pull outwards.
- Triceps Exercise: Hold the trainer overhead and extend your arms.
- Forearm Training: Grip the handles and perform wrist curls or extensions.
- Leg Training: Place the trainer between your thighs and squeeze inward.

Imaj 5.2: Egzanpamples of exercises targeting different muscle groups.
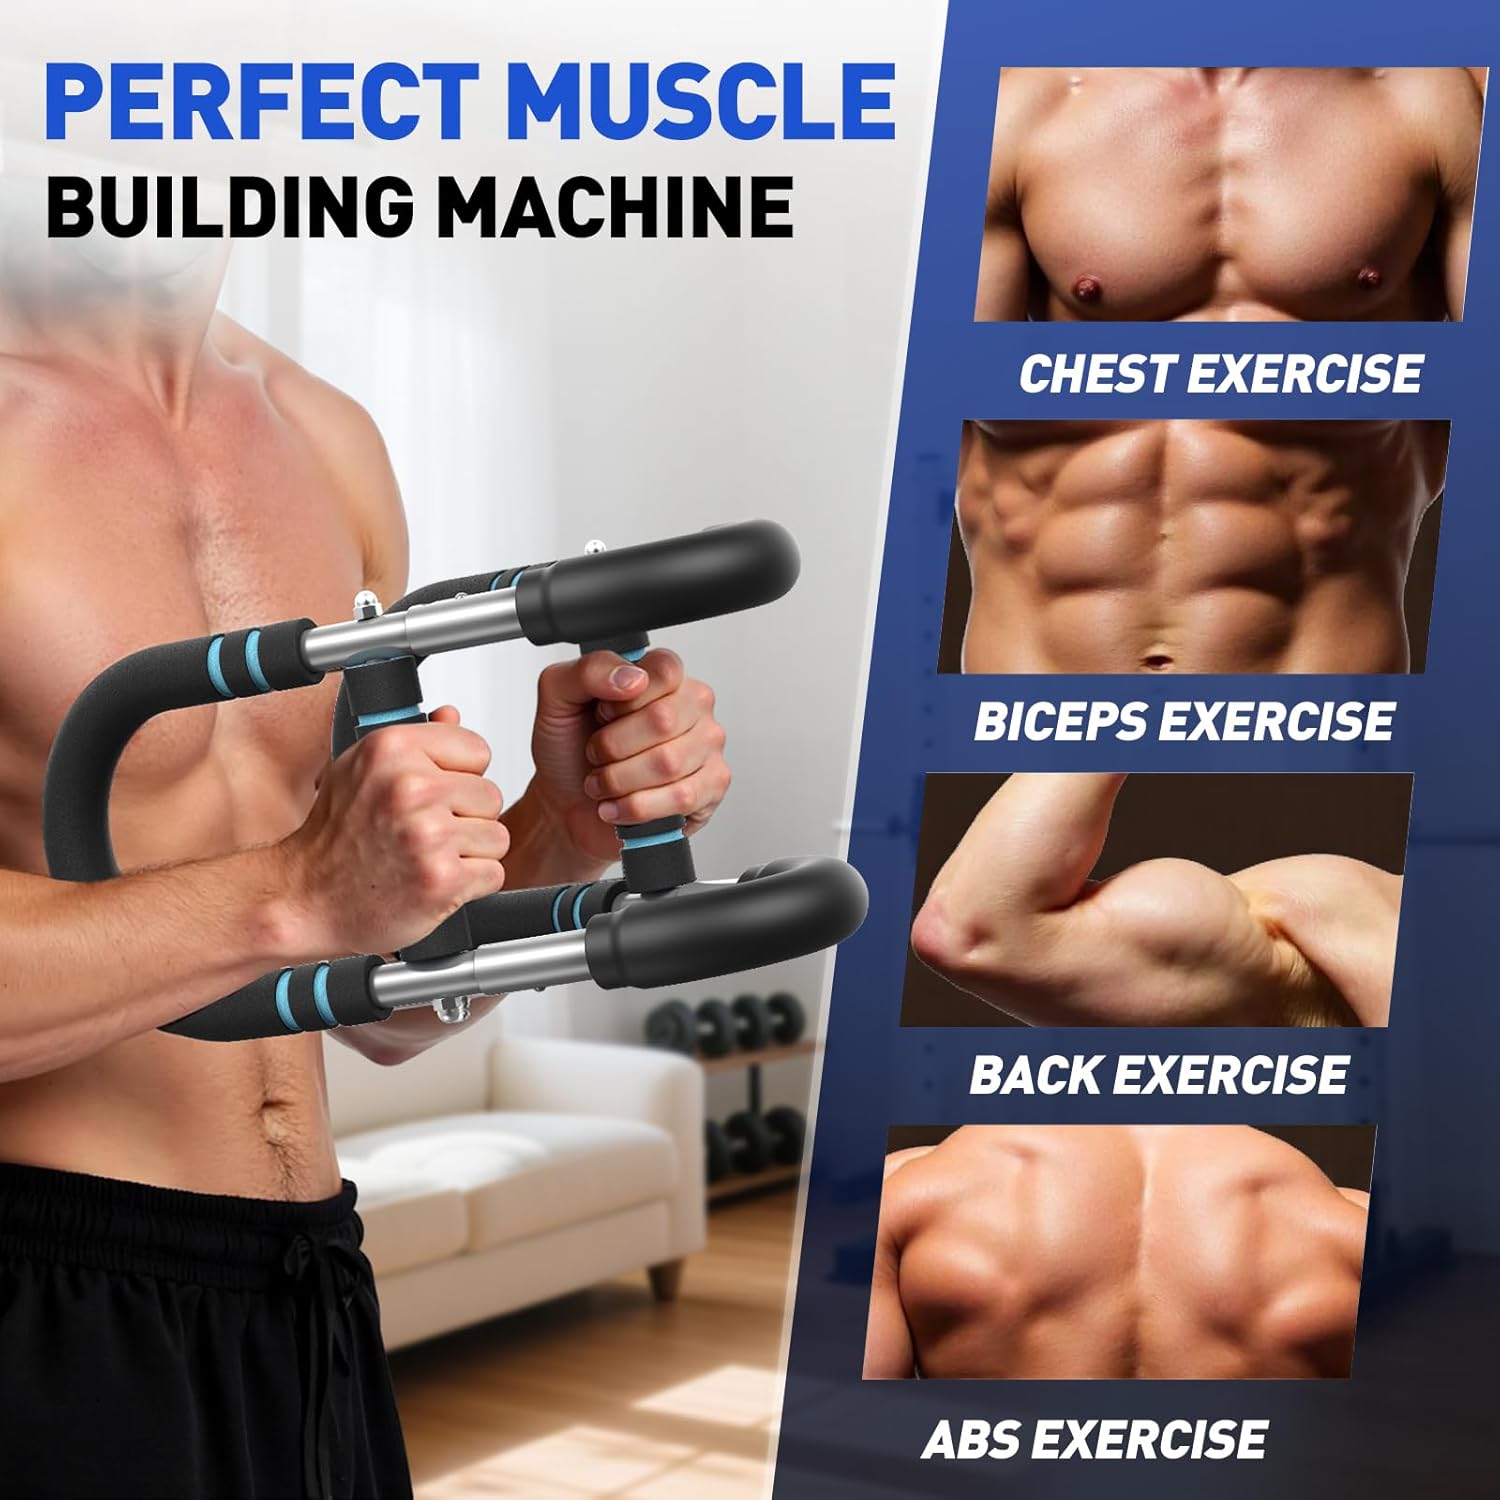
Image 5.3: Visual representation of muscle groups engaged during training.
6. Antretyen
- Netwayaj: Siye aparèy la ak anonsamp Apre chak itilizasyon, sèvi ak yon twal pou retire swe ak pousyè tè. Evite pwodui netwayaj abrazif.
- Depo: Store the arm trainer in a cool, dry place away from direct sunlight and extreme temperatures. For portability, the device can be disassembled and stored compactly.
- Enspeksyon: Periodically check all components for wear and tear, especially the springs and connection points.

Image 6.1: The arm trainer disassembled for compact storage and portability.
NAN. Depanaj
- Resistance feels inconsistent: Ensure the adjustment pins are fully engaged and locked into the desired resistance holes.
- Device feels loose: Re-check all assembly points to ensure components are securely connected. Do not use if any part feels unstable.
- Bri k ap grinnen: A small amount of silicone-based lubricant can be applied to the spring mechanism if squeaking occurs. Avoid oil-based lubricants.
8. Espesifikasyon
- Non modèl: JH-FB-BLQ-01
- Mak: FLYBIRD
- Materyèl: Metal
- Koulè: NWA
- Dimansyon atik (LxWxH): 13.59 x 2.76 x 9.06 pous
- Dimansyon pwodwi: 13.59"D x 2.76"W x 9.06"H
- Dimansyon pake atik (LxWxH): 10.24 x 8.94 x 3.19 pous
- Pwa pake: 3.5 liv
- Rekòmandasyon pou pwa maksimòm: 440 Pounds (Resistance)
- Eleman ki enkli: Arm Workout Equipment
- Itilizatè yo sijere: inisèks-granmoun
9. Garanti ak sipò
The FLYBIRD Twister Arm Trainer comes with a 1 Ane Manifakti Garanti. For warranty claims, technical support, or any questions regarding your product, please contact FLYBIRD customer service through the retailer where the product was purchased or visit the official FLYBIRD websit.
Manifakti: FLYBIRD