1. Entwodiksyon
Mèsi pou acha aasing the VELATEMOR 2.4 Inch 16MP Portable Digital Camera. This manual provides essential information for the safe and efficient operation of your device. Please read it thoroughly before use and retain it for future reference.
2. Pwodwi souview
The VELATEMOR Digital Camera is a compact and versatile device designed for capturing high-quality photos and videos. It features a 2.4-inch rotatable screen, 16X digital zoom, and a built-in fill light for various lighting conditions.
2.1 Kontni pake a
- VELATEMOR 16MP Digital Camera
- USB Chaje Kab
- Manyèl itilizatè
2.2 Konpozan Kamera

Imaj 1: Devan view of the camera, showing the lens and fill light.
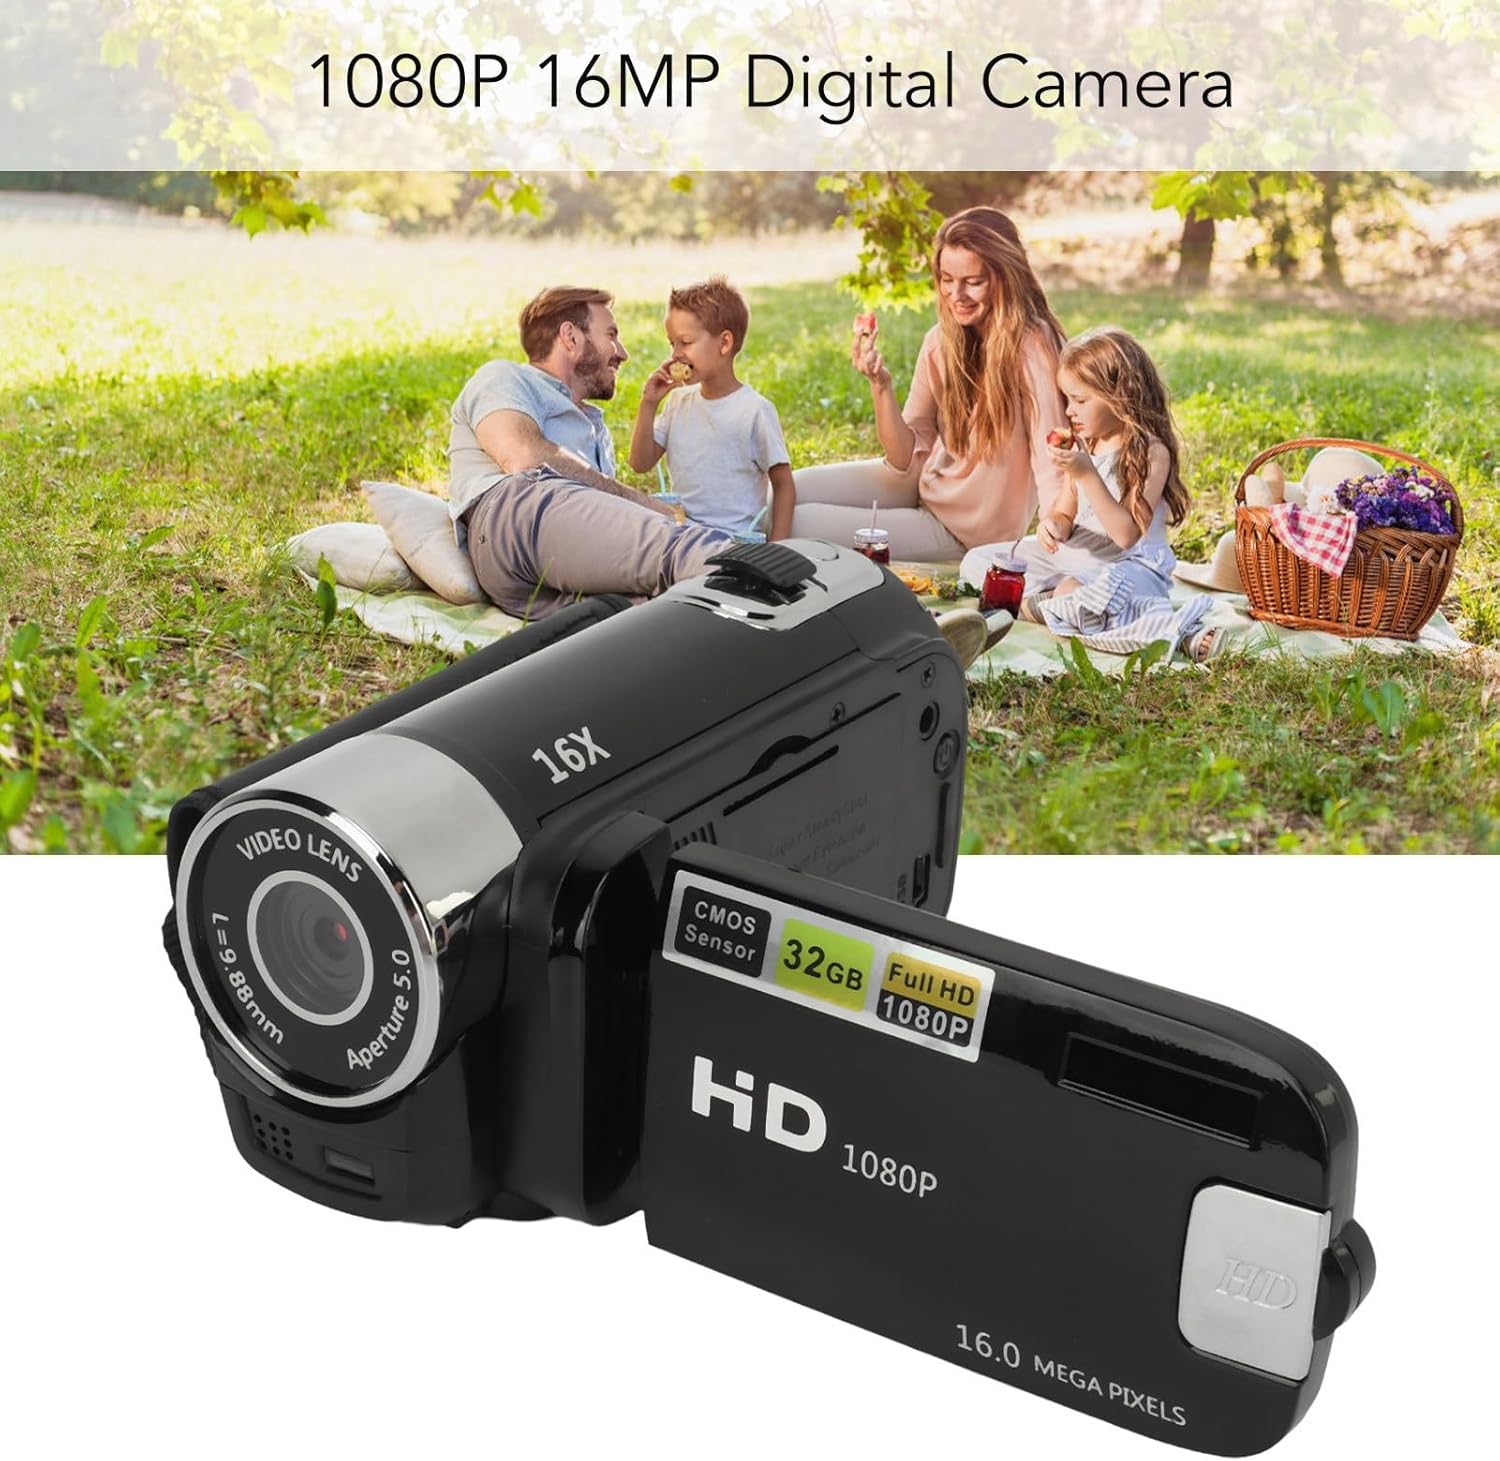
Imaj 2: Dèyè view of the camera with the rotatable screen open, displaying controls and ports.

Imaj 3: Detaye view of the camera lens, showing aperture and focal length markings.

Imaj 4: Close-up of the camera's control buttons (Menu, Mode) and USB port.
3. Enstalasyon
3.1 Chaje batri a
The camera uses a built-in BL-5C Li-ion battery. Before first use, fully charge the camera.
- Connect the small end of the provided USB charging cable to the camera's USB port.
- Konekte gwo bout kab USB a nan yon adaptè kouran USB (pa enkli) oubyen nan yon pò USB òdinatè.
- The charging indicator light will illuminate. Once charging is complete, the light will change or turn off.
The camera supports recording while charging.
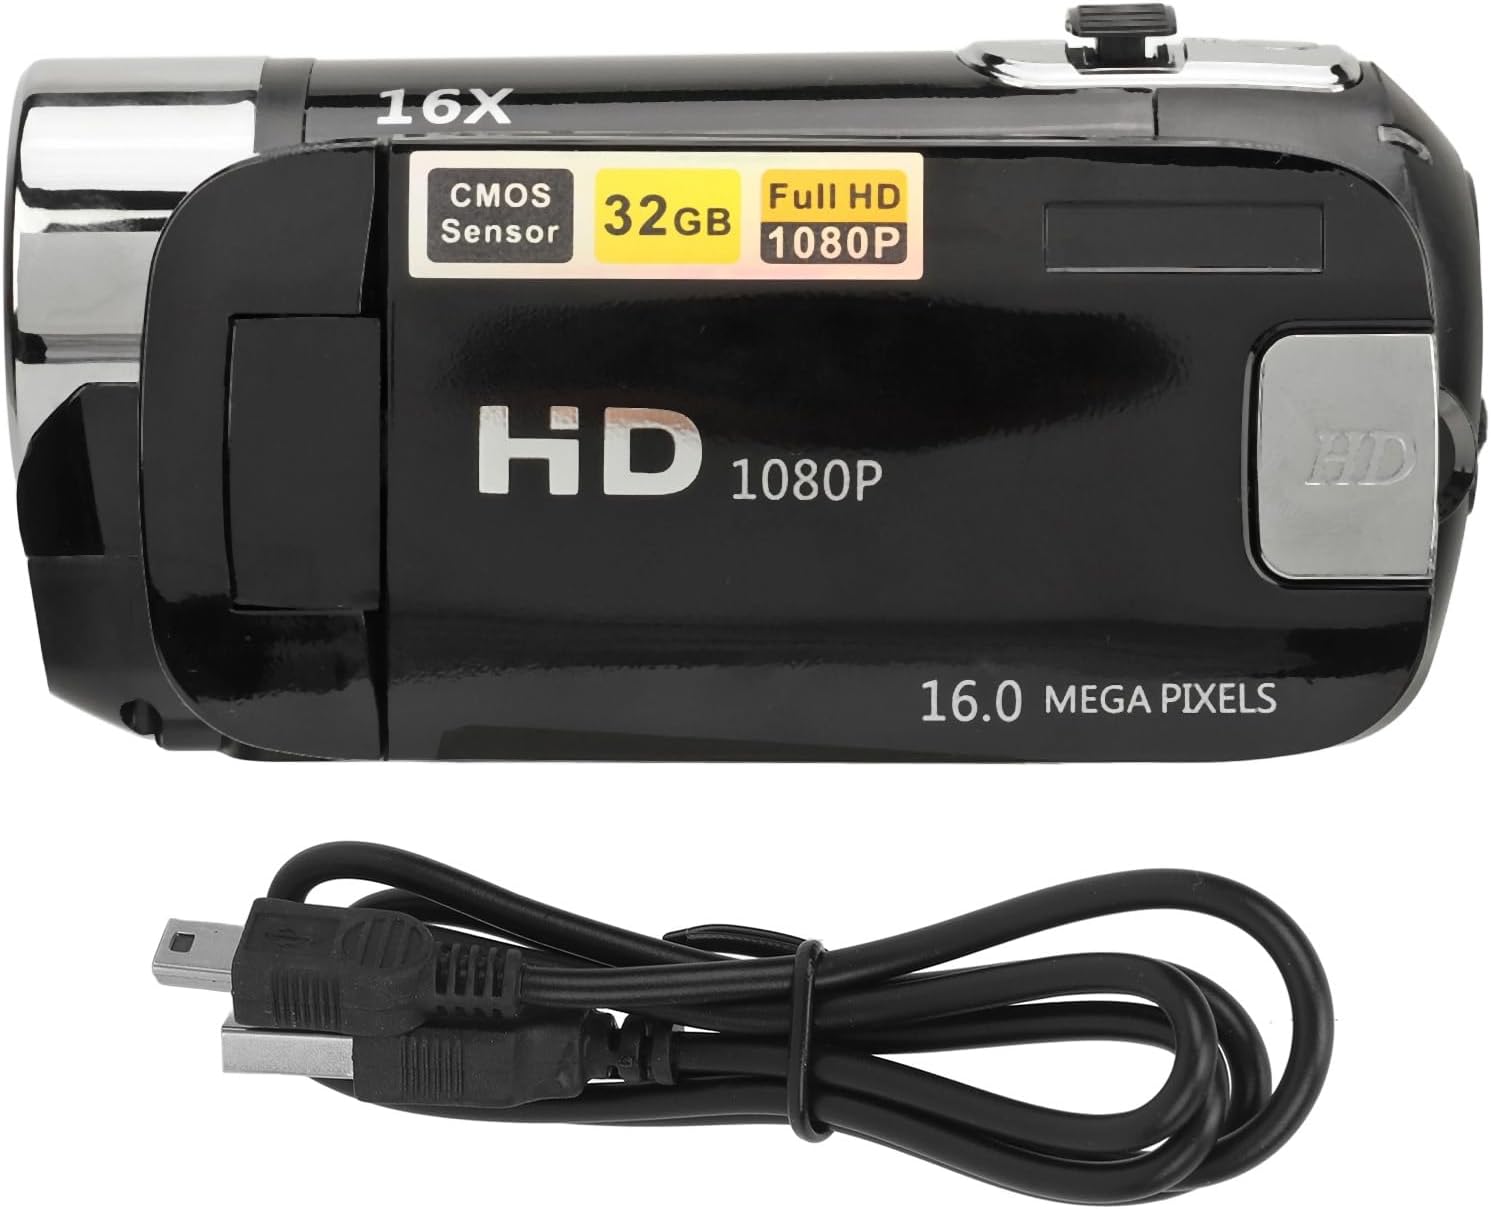
Imaj 5: The camera and its USB charging cable.
3.2 Mete yon kat memwa
The camera requires a standard memory card (up to 128GB, not included) for storing photos and videos.
- Jwenn fant kat memwa a, anjeneral sou bò oswa anba kamera a.
- Insert the memory card with the metal contacts facing the correct direction (refer to the diagram near the slot if available) until it clicks into place.
- Pou retire li, pouse kat la dousman jiskaske li soti.
Note: Ensure the camera is powered off before inserting or removing the memory card to prevent data loss or damage.
4. Operasyon Enstriksyon
4.1 Limen/Etenyen
- To power on: Press and hold the Power button (usually located near the screen or top panel) for a few seconds.
- To power off: Press and hold the Power button again until the screen turns off.
4.2 Kaptire Foto ak Videyo Debaz
- Chanje mòd: Use the 'Mode' button to switch between photo mode and video recording mode.
- Lè w ap pran foto: In photo mode, press the Shutter button (usually a larger button on top) to capture an image.
- Anrejistreman Videyo: In video mode, press the Record button (often marked with a red dot or video camera icon) to start recording. Press it again to stop.
4.3 Using the Rotatable Screen
The 2.4-inch screen can be rotated to various angles, including facing forward for selfies or vlogging. Adjust the screen to your desired viewang ang.

Imaj 6: The rotatable screen positioned for a selfie.
4.4 Zoom dijital
Use the zoom controls (often marked with 'W' for Wide and 'T' for Telephoto) to adjust the 16X digital zoom. Press 'T' to zoom in and 'W' to zoom out.

Imaj 7: The camera highlighting its 16X Digital Zoom capability.
4.5 Limyè ranpli
The camera is equipped with a front fill light to assist in low-light conditions. Activate or deactivate the fill light through the camera's menu settings or a dedicated button, if available.
4.6 Fonksyon avanse
- Selfie: Utilize the rotatable screen to frame yourself for self-portraits.
- Electronic Anti-Shake: This feature helps stabilize images and videos, reducing blur from camera movement.
- Anrejistreman bouk: When enabled, the camera will continuously record, overwriting the oldest files lè kat memwa a plen.
- Time Watermarking: Add a date and time stamp to your photos and videos.
- External Microphone Support: Connect an external microphone (not included) for improved audio quality during video recording.
- Recording Pause: Mete yon poz epi rekòmanse anrejistreman videyo san ou pa bezwen kreye plizyè files.
4.7 Konekte sou yon òdinatè
To transfer photos and videos:
- Konekte kamera a nan òdinatè w lan lè l sèvi avèk kab la USB.
- The camera should appear as a removable disk or media device on your computer.
- Browse the camera's folders to access and transfer your files.
4.8 Tripod Connection
The camera features a 1/4 inch thread hole on the bottom, allowing it to be mounted on a standard tripod (not included) for stable shots.
5. Antretyen
5.1 Netwayaj Kamera a
- Sèvi ak yon twal mou ki pa gen pousyè pou netwaye kò kamera a.
- For the lens and screen, use a specialized lens cleaning cloth and solution. Avoid harsh chemicals.
- Gently wipe away dust and smudges.
5.2 Swen Batri
- Evite ekspoze batri a nan tanperati ekstrèm.
- Charge the battery regularly, even if the camera is not in use, to maintain its lifespan.
5.3 Depo
- Store the camera in a cool, dry place away from direct sunlight and moisture.
- If storing for an extended period, remove the memory card and ensure the battery is partially charged.
NAN. Depanaj
Si ou rankontre pwoblèm ak kamera ou a, gade pwoblèm ak solisyon komen sa yo:
| Pwoblèm | Kòz posib | Solisyon |
|---|---|---|
| Kamera a pa limen. | Pil fèb; pil la pa byen mete. | Charge the battery fully. Ensure the battery is properly seated. |
| Pa ka pran foto/videyo. | Memory card full or not inserted; incorrect mode. | Insert a memory card or free up space. Ensure you are in the correct mode (photo/video). |
| Imaj yo flou. | Camera shake; dirty lens; insufficient light. | Hold the camera steady or use a tripod. Clean the lens. Use the fill light or shoot in brighter conditions. |
| Computer does not recognize camera. | Faulty USB cable; driver issue; camera not in transfer mode. | Try a different USB cable or port. Restart computer and camera. Check camera settings for USB connection mode. |
7. Espesifikasyon
| Karakteristik | Deskripsyon |
|---|---|
| Rezolisyon imaj | 1MP, 2MP, 3MP, 5MP, 8MP, 10MP, 12MP, 16MP |
| Fòma Imaj | JPG |
| Rezolisyon videyo | 1080P (maximum) |
| Fòma videyo | AVI |
| Gwosè ekran | 2.4 Inch Rotatable Screen |
| Zoom dijital | 16X |
| Panno | Elektwonik |
| Depo | Supports up to 128GB standard memory card (not included) |
| Batri | 1 x BL-5C Li Battery, 600mAh (built-in) |
| Lang | 17 Lang |
| Nimewo Modèl | VELATEMOR7brac0d4pq-11 |
8. Garanti ak sipò
8.1 Enfòmasyon sou Garanti
This VELATEMOR product is covered by a manufacturer warranty for 90 days from the date of purchase. This warranty covers manufacturing defects and workmanship. It does not cover damage caused by misuse, accidents, unauthorized modifications, or normal wear and tear.
8.2 Sipò pou Kliyan
For technical assistance, warranty claims, or any questions regarding your VELATEMOR Digital Camera, please refer to the contact information provided with your purchase or visit the official VELATEMOR brand store on Amazon: VELATEMOR Store.