
1. Entwodiksyon
Thank you for choosing the Paruu P10 Hands-Free Electric Breast Pump. This device is designed to provide a comfortable, efficient, and discreet milk expression experience for mothers. Please read this manual thoroughly before first use to ensure proper operation, safety, and maintenance of your breast pump. Keep this manual for future reference.
2. Enfòmasyon sou Sekirite
Garanti enpòtan:
- Always inspect the pump and its components for damage before each use. Do not use if any part is damaged.
- Ensure all parts are clean and sterilized before initial use and after each subsequent use.
- This product is intended for personal use only. Sharing the pump may pose health risks.
- Do not immerse the pump motor unit in water or other liquids.
- Kenbe soti nan rive nan timoun yo. Sa a se pa yon jwèt.
- Use only the provided charging cable and a compatible 5V 1A adapter.
- If you experience pain or discomfort during pumping, stop immediately and consult a healthcare professional.
- Store breast milk according to recommended guidelines to maintain its quality and safety.
3. Pwodwi souview ak Konpozan
The Paruu P10 breast pump consists of several key components designed for easy assembly and effective milk expression.

Imaj: Plis paseview of the Paruu P10 Hands-Free Electric Breast Pump, showing two pump units, charging cables, and various flange inserts (19mm, 21mm, 24mm) alongside the standard 28mm flange.
Eleman prensipal yo:
- Pump Motor Unit: Contains the motor, control panel, and rechargeable battery.
- Milk Collector Cup: Collects expressed milk, with a capacity of up to 150ml (optimal collection 120ml).
- Flange (28mm): The part that comes into contact with the breast.
- Flange Inserts (19mm, 21mm, 24mm): For adjusting the flange size to ensure a comfortable and effective fit.
- Silicone Diaphragm: Creates the vacuum for suction.
- Valv: Directs milk flow into the collector cup and prevents backflow.
- USB Chaje Kab: For recharging the pump's battery.
4. Enstalasyon ak Asanble
Proper assembly is crucial for the pump's performance and hygiene.
4.1. Cleaning Before First Use
Before using your breast pump for the first time, disassemble all parts that come into contact with breast milk (milk collector cup, flange, flange inserts, silicone diaphragm, valve). Wash them thoroughly with warm soapy water, rinse well, and then sterilize them according to the manufacturer's instructions (e.g., boiling for 5 minutes or using a sterilizer).

Imaj: A woman washing the disassembled components of a breast pump in a kitchen sink, demonstrating the cleaning process.
4.2. Flange Size Selection
Choosing the correct flange size is essential for comfort and efficient milk expression. The pump comes with a 28mm flange and inserts for 19mm, 21mm, and 24mm. Use the provided nipple measurement card to determine your ideal size.

Imaj: A four-step diagram illustrating how to find the correct flange size: 1. Stimulate the nipple, 2. Find the measuring place (nipple base), 3. Measure nipple diameter with a ruler/card, 4. Get your flange size from the chart.
4.3. Etap Asanble
Assemble the dry and clean parts as follows:
- Insert the Valve: Gently push the valve into the bottom of the milk collector cup, ensuring there are no gaps.
- Attach the Flange: Securely push the flange (or flange with insert) into the top of the milk collector cup, ensuring a tight seal.
- Place the Diaphragm: Attach the silicone diaphragm onto the top of the flange, pressing down firmly around the edges to create a complete seal.
- Connect the Motor Unit: Align the pump motor unit with the assembled milk collector cup and press down firmly until it clicks into place, ensuring a secure connection without gaps.

Imaj: A visual guide demonstrating the four steps for correct breast pump assembly: 1. Inserting the valve, 2. Attaching the flange, 3. Sealing the diaphragm, and 4. Assembling the pump motor with the milk collector.
5. Operasyon Enstriksyon
The Paruu P10 offers intuitive controls and multiple modes for a personalized pumping experience.
5.1. Charging the Pump
Before first use, fully charge the pump for approximately 2 hours. A full charge provides 4-5 uses. The LED display will indicate charging status. Ensure the charging port is clean before connecting the USB cable.

Imaj: An illustration of the pump's control unit highlighting its 1100mAh battery, 2-hour charging time, 20-minute auto-off feature, and LED display, indicating it provides power for 4-5 uses.
5.2. Wearing the Pump
Once assembled, place the pump inside your nursing bra, ensuring the flange is centered over your nipple. The hands-free design allows for discreet and comfortable use.

Imaj: A woman sitting comfortably on a couch, wearing the discreet Paruu P10 breast pump under her top, emphasizing its lightweight (240g) and comfortable design.
5.3. Limen ak Seleksyon Mòd
Press the power button to turn on the pump. The LED screen will illuminate, showing the current mode and suction level. The Paruu P10 features 4 modes and 9 suction levels:
- Mòd eksitasyon: Quick and short suction to initiate milk let-down.
- Mòd ekspresyon: Slower and longer suction for effective milk expression.
- Mòd De-an-Yon: Combines 8 shallow suctions with 1 deep suction.
- Mòd Doub-frekans: Repeats with low suction-pause-high suction-release, helpful for inverted or flat nipples.

Imaj: A graphic detailing the four distinct modes of the Paruu P10 breast pump: Stimulation, Expression, Two-in-one, and Dual-frequency, each with a brief description of its suction pattern.
Use the '+' and '-' buttons to adjust the suction intensity within each mode. The pump has a maximum suction of 338 mmHg, providing hospital-grade efficiency.
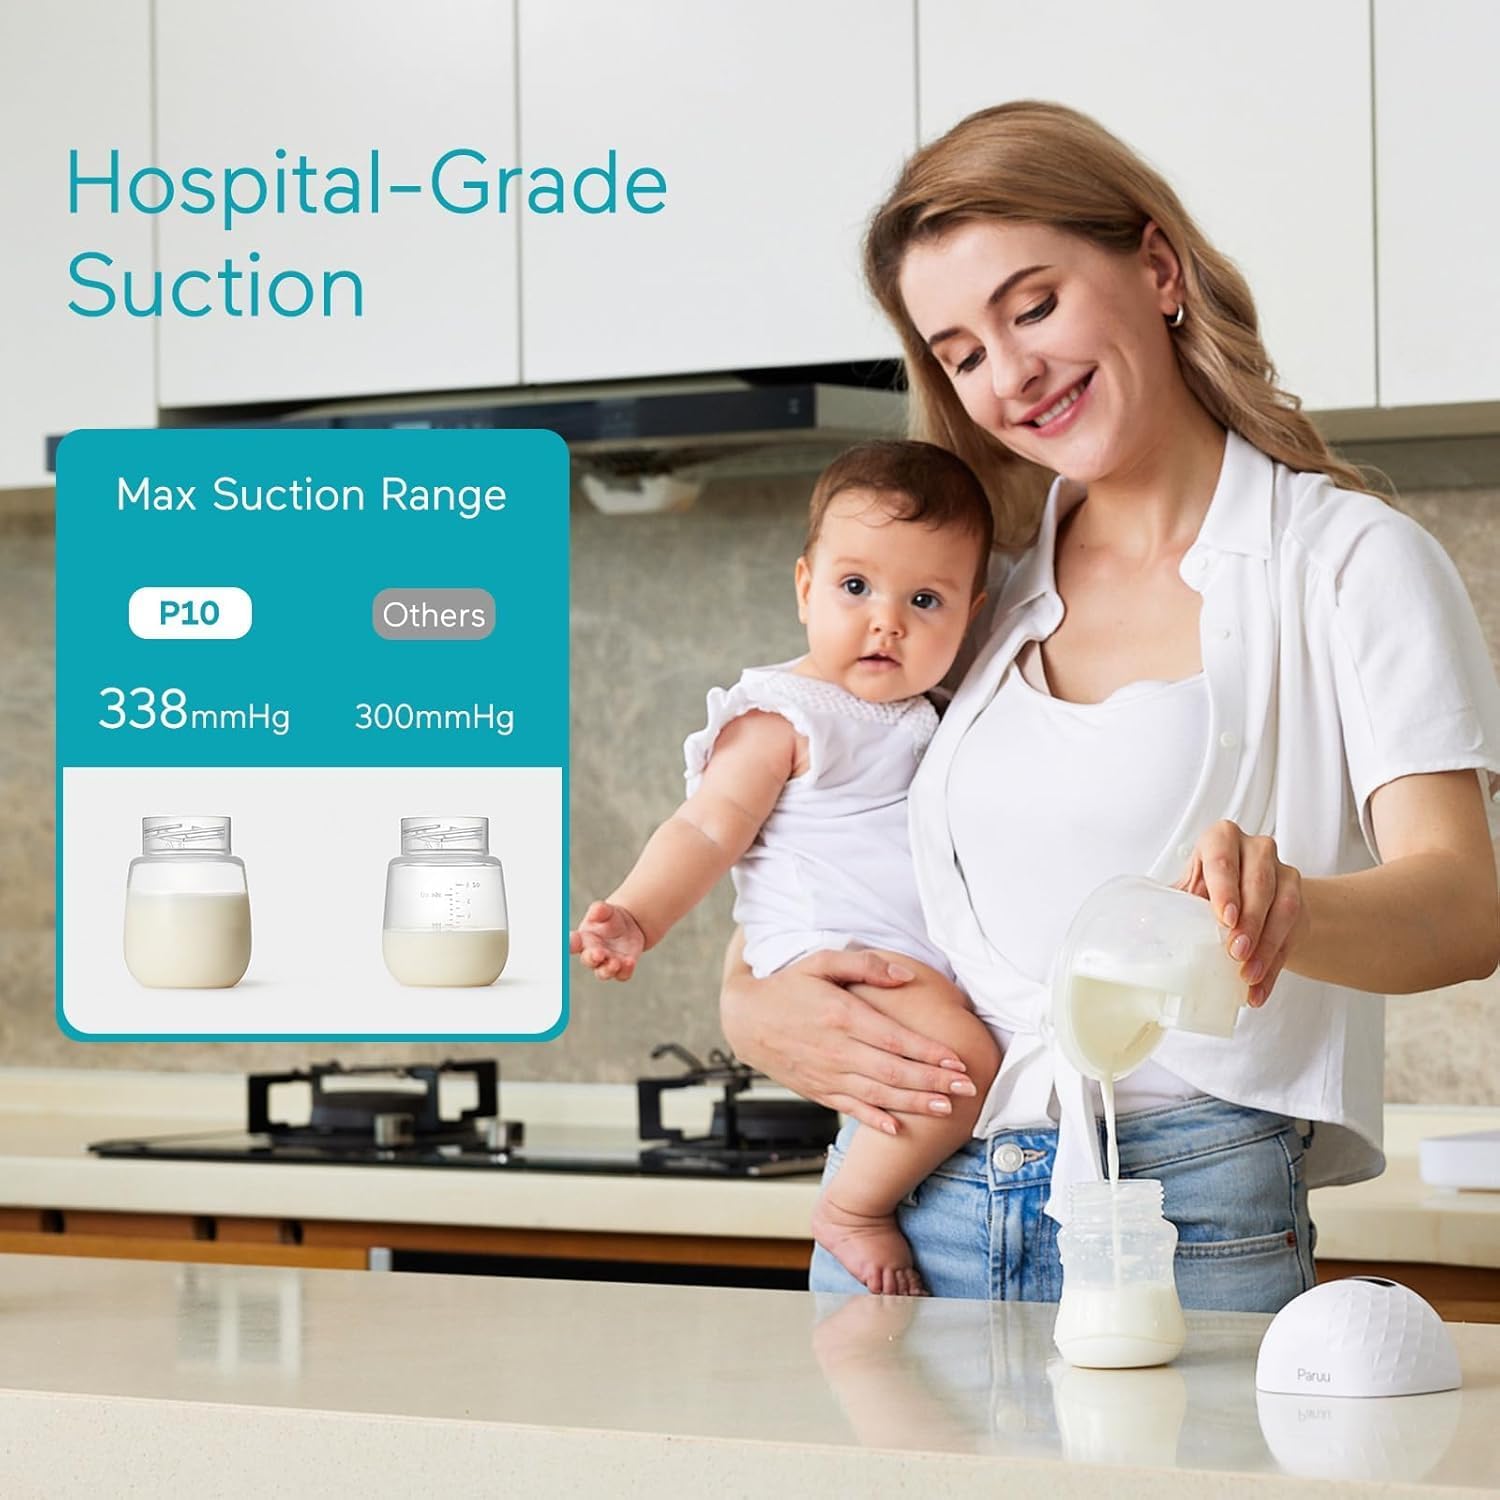
Imaj: A woman holding a baby while pouring milk, with an overlay graphic comparing the P10's 338mmHg suction to other pumps at 300mmHg, highlighting its hospital-grade efficiency.
5.4. Pumping Session
Begin with Stimulation Mode to encourage let-down, then switch to Expression Mode or another suitable mode once milk begins to flow. Pump until your breasts feel empty or milk flow significantly slows. The pump operates with low noise, ensuring minimal disturbance.

Imaj: Two Paruu P10 breast pumps on a nightstand next to a bed where a mother and baby are sleeping, illustrating the pump's low noise level (below 60dB) that does not disturb sleep.
5.5. Pouring Breast Milk
After pumping, carefully remove the pump from your bra. To pour the milk:
- Remove and Keep Upright: Take off the pump and keep it upright to prevent spills.
- Remove Pump Motor: Gently remove the pump motor unit from the milk collector cup.
- Vide lèt: Carefully pour the expressed milk into a storage bottle or bag, keeping the collector aligned to avoid spillage.

Imaj: A three-step visual guide demonstrating how to safely pour breast milk from the collector cup: 1. Take off the pump and keep it upright, 2. Gently remove the pump motor, and 3. Keep it aligned and pour the milk into a storage container.
6. Antretyen ak netwayaj
Regular cleaning and maintenance are vital for hygiene and the longevity of your pump.
6.1. Netwayaj chak jou
After each use, disassemble all parts that come into contact with breast milk. Wash them immediately with warm water and mild dish soap. Use a soft brush to clean hard-to-reach areas. Rinse thoroughly with clean water. Air dry on a clean rack or use a clean cloth. Ensure all parts are completely dry before reassembling or storing.
6.2. Esterilizasyon
Esterilize tout pati ki an kontak ak lèt omwen yon fwa pa jou. Metòd yo enkli:
- Bouyi: Mete moso yo nan yon chodyè dlo bouyi pandan 5 minit.
- Esterilizatè vapè: Sèvi ak yon esterilizatè mikwo ond oswa yon esterilizatè vapè elektrik dapre enstriksyon li yo.
- Machin alave: Some parts may be top-rack dishwasher safe (check product specifications).
Do not sterilize the pump motor unit. Wipe it clean with a damp twal sèlman.
NAN. Depanaj
If you encounter issues with your Paruu P10 breast pump, refer to the following common problems and solutions:
| Pwoblèm | Kòz posib | Solisyon |
|---|---|---|
| Pa gen aspirasyon oswa aspirasyon fèb |
|
|
| Ponp pa limen |
|
|
| Milk backflow into motor unit |
|
|
| Uncomfortable pumping |
|
|
If the problem persists after trying these solutions, please contact Paruu customer support.
8. Espesifikasyon
| Karakteristik | Spesifikasyon |
|---|---|
| Nimewo Modèl | 588 |
| Mak | Paruu |
| Dimansyon | 21.2 x 14 x 13.6 cm |
| Pwa | 580 Grams (total package) / 240g (per pump unit) |
| Koulè | Blan |
| Nivo aspirasyon | 9 Nivo |
| Mòd | 4 Modes (Stimulation, Expression, Two-in-one, Dual-frequency) |
| Pouvwa pou aspirasyon maksimòm | 338 mmHg |
| Gwosè flanj ki enkli | 28mm (standard), 19mm, 21mm, 24mm (inserts) |
| Kapasite pèseptè lèt | 150 ml (optimal 120 ml) |
| Kapasite batri | 1100mAh (approx.) |
| Tan pou chaje | Apeprè. 2 èdtan |
| Oto-Off revèy | 20 minit |
| Materyèl | Silikon klas manje san BPA |
| Karakteristik espesyal | Low noise, Lightweight, Adjustable suction, Hands-free use, Anti-backflow design |
| UPC | 792671629771 |
9. Garanti ak sipò
Paruu products are manufactured to high-quality standards. For specific warranty details, please refer to the warranty card included with your product or visit the official Paruu website. If you have any questions, concerns, or require technical assistance, please contact Paruu customer support through the retailer where you purchased the product or via the contact information provided on the official Paruu brand store.
Paruu Brand Store: Visit Paruu Store on Amazon
Note: No official product videos were available for embedding based on the provided data.