
1. Entwodiksyon
This manual provides essential instructions for the safe and effective operation, setup, and maintenance of your GEPRC Vapor-D5 HD O4 Pro FPV Drone (PNP with GPS). Please read this manual thoroughly before your first flight to ensure proper usage and to maximize your flight experience. Retain this manual for future reference.
2. Pwodwi souview
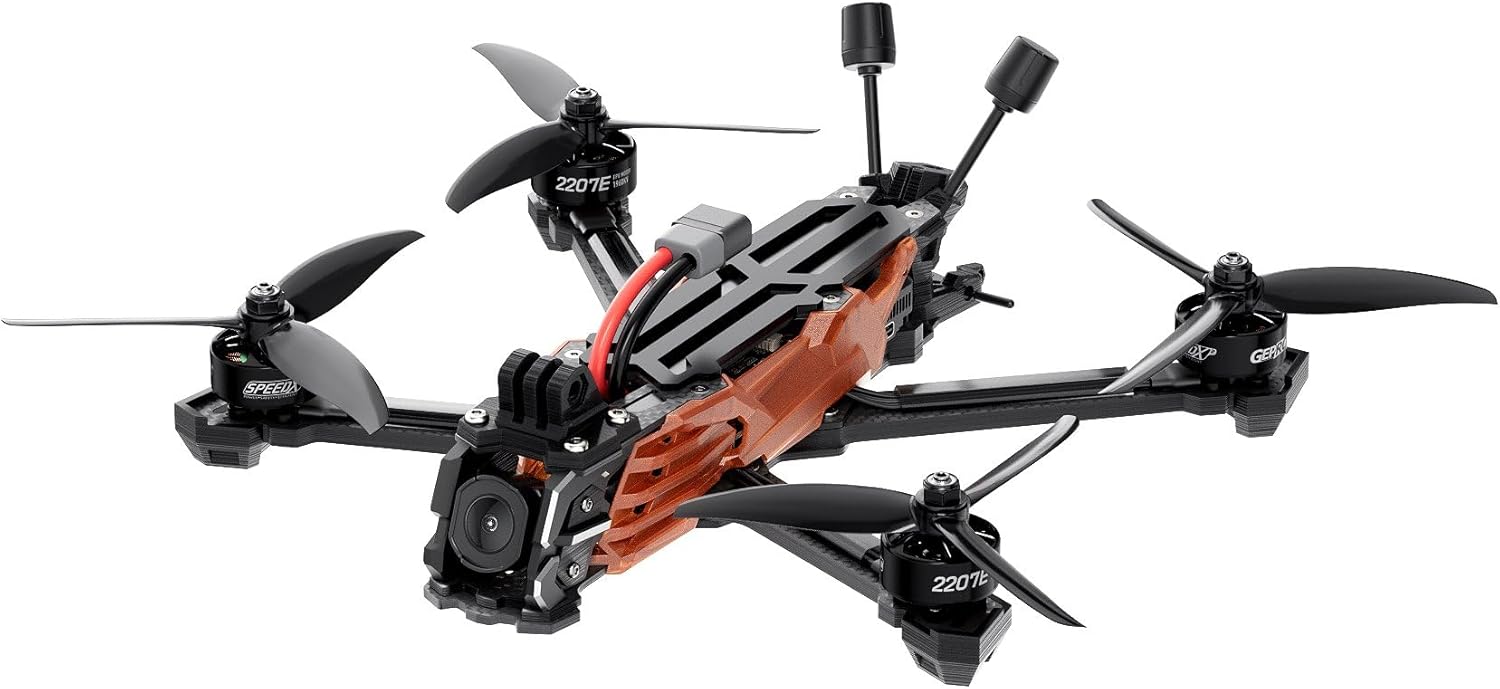
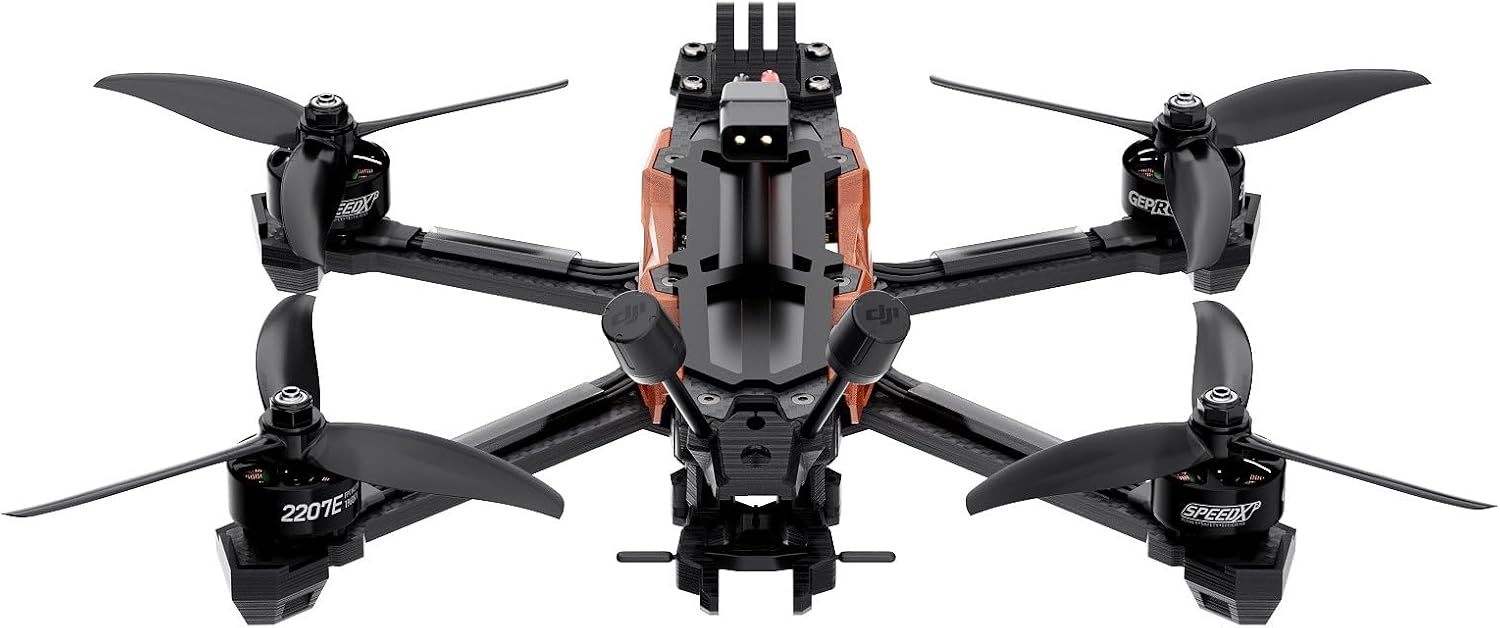
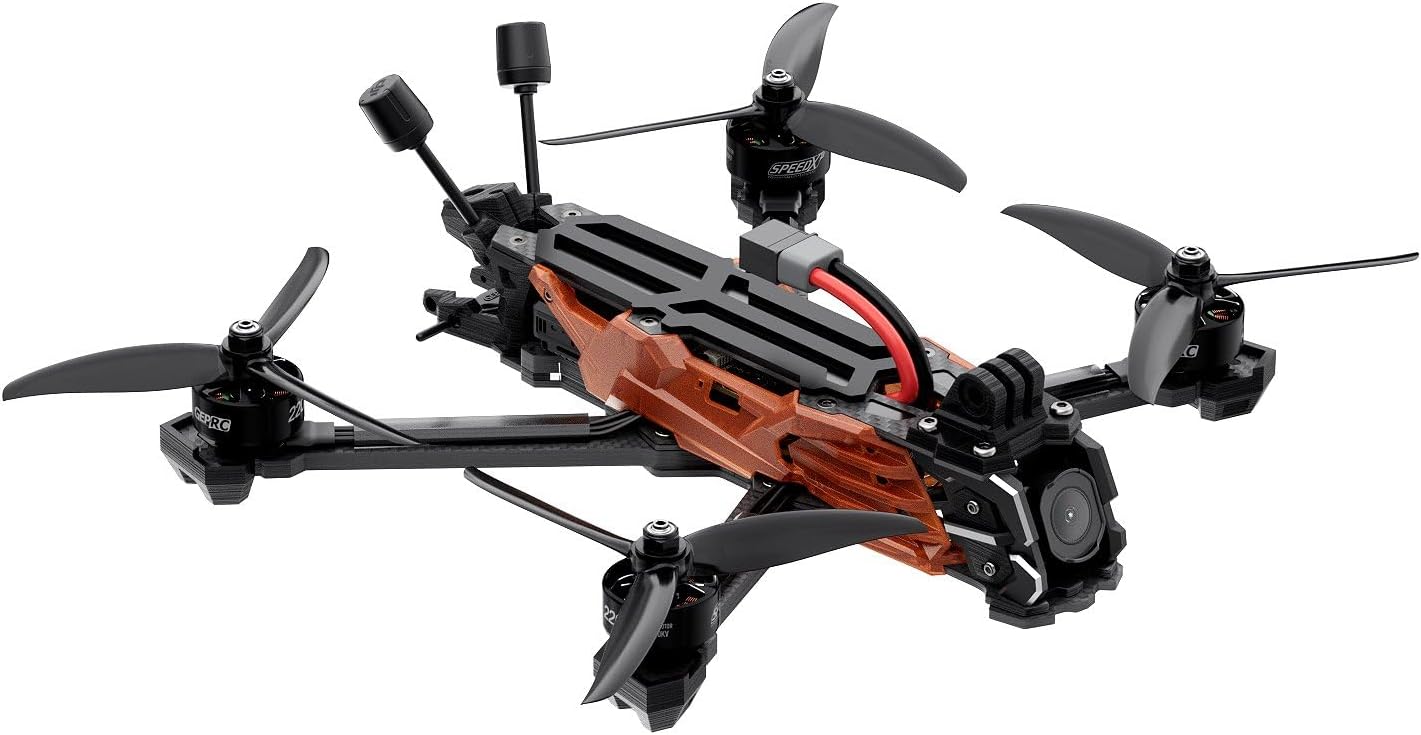
The GEPRC Vapor-D5 HD O4 Pro is a high-performance FPV drone designed for advanced flight capabilities and high-definition video capture. Key features include:
- O4 Air Unit Pro: Features a powerful CMOS sensor for improved image clarity and enhanced light sensitivity.
- CNC Aluminum Lens Housing: Provides a durable and robust design for the camera.
- GEPRC SPEEDX2 E-series Motors: Delivers smooth and powerful performance.
- Front Lip Design: Offers extra lens protection for the camera during flight.
- Wider 5mm Carbon Fiber Arms: Increases durability and contributes to a sleek build.
2.1 Konpozan Dròn yo



3. Espesifikasyon
| Modèl | Vapor-D5 O4 Pro |
| Ankadreman | GEP-Vapor-D5 O4 Pro frame |
| Anpatman | 230 mm |
| Epesè bra | 5.0 mm |
| Kontwolè Vòl (FC) | GEP-F722-HD v2 (MCU: STM32F722, Gyro: ICM42688-P, Barometer: YES, OSD: Betaflight OSD w/AT7456E) |
| ESC | TAKER H60_BLS 60A 4IN1 ESC |
| VTX | O4 Air Unit Pro |
| Kamera | O4 Pro Camera |
| Antèn | O4 Pro original antenna |
| Konektè | XT60 |
| GPS opsyonèl | GEP-M10 GPS |
| Motè | GEPRC SPEEDX2 2207E 1960 KV |
| Propeller | GEMFAN 5136 |
| Weight (PNP Version) | 428 g ± 5g |
| Batri rekòmande | 6S LiPo 1300mAh – 1800mAh |
| Tan vòl | 14-19 min |
| Rezolisyon Capture Videyo | 4K |
4. Enstalasyon
4.1 Debale ak Premye Enspeksyon
Carefully remove all components from the packaging. Inspect the drone for any visible damage that may have occurred during shipping. Ensure all included accessories are present:
- 1 x Vapor-D5 O4 Pro Drone
- 2 x GEMFAN 5136 Propellers (sets)
- 2 x Battery anti-slip pads
- 1 x Spare screw pack (includes M3*10mm, M3*8mm, M3*6mm, M5*28mm screws, M5 flange nut, M3 rivet nuts)
- 1 x Vapor side panel
- 2 x M20*250mm battery straps
- 1 x L ki gen fòm tounvis 1.5mm
- 1 x L ki gen fòm tounvis 2.0mm
- 1 x GoPro mount
4.2 Enstalasyon Propeller
- Asire w ke dron an etenn epi batri a dekonekte.
- Identify the correct rotation direction for each propeller (CW and CCW). Propellers are typically marked.
- Align the propeller with the motor shaft and press down firmly. Secure with the provided nuts or screws, ensuring they are tightened sufficiently but not overtightened.
- Verify that all propellers spin freely without obstruction.
4.3 Koneksyon batri
The drone uses an XT60 connector. Connect a fully charged 6S LiPo battery (1300mAh – 1800mAh recommended) to the XT60 connector on the drone. Ensure the battery is securely fastened using the provided battery straps and anti-slip pads.
4.4 Receiver Binding (PNP Version)
As a Plug-and-Play (PNP) version, this drone does not include a receiver. You will need to install and bind your preferred receiver (e.g., ELRS 2.4G, TBS Nano RX) according to its specific instructions. Once installed, configure the receiver in Betaflight.
4.5 GPS Module (GEP-M10 GPS)
If your drone includes the optional GEP-M10 GPS module, ensure it is securely mounted and connected to the flight controller. GPS functionality will need to be enabled and configured within the Betaflight software for features like GPS Rescue.
4.6 Konfigirasyon Betaflight
Connect the drone to a computer via USB. Use the Betaflight Configurator software to:
- Verify flight controller settings.
- Calibrate accelerometers and gyroscopes.
- Konfigire pwotokòl ak chanèl reseptè yo.
- Set up flight modes (e.g., Acro, Angle, Horizon, GPS Rescue).
- Adjust PID tuning if necessary (advanced users).
- Ensure OSD (On-Screen Display) elements are configured for critical flight data.
5. Operasyon Enstriksyon
5.1 Verifikasyon Pre-Vol
Before each flight, perform the following checks:
- Ensure the battery is fully charged and securely attached.
- Check all propellers for damage (cracks, bends) and ensure they are securely fastened.
- Verify that all wires and connectors are secure and not interfering with propellers.
- Confirm your remote controller is powered on and bound to the drone.
- Check the flight area for obstacles, people, or other aircraft.
- For GPS-enabled flights, wait for a sufficient number of GPS satellites to be acquired before arming.
5.2 Ame ak Dezame
Arming the drone starts the motors, allowing for flight. Disarming stops them.
- Ame: Typically performed by moving the throttle stick to the lowest position and the yaw stick to the far right (or left, depending on configuration) for a few seconds. Confirm motor spin-up.
- Dezame: Move the throttle stick to the lowest position and the yaw stick to the far left (or right) for a few seconds. Motors should stop. In an emergency, disarming can often be done by moving the throttle to zero and yaw to a corner.
5.3 Kontwòl vòl debaz yo
Familiarize yourself with the standard FPV drone controls:
- Acct: Kontwole altitid la (monte/desann).
- woule: Controls side-to-side movement (left/right).
- Anplasman: Controls forward/backward movement.
- Yaw: Controls rotation around the vertical axis (left/right spin).
Practice in a safe, open area before attempting complex maneuvers.
5.4 Landing Procedures
Descend slowly and steadily, maintaining control. Once on the ground, disarm the drone immediately.
5.5 Video Recording (O4 Air Unit Pro)
The O4 Air Unit Pro allows for high-definition video recording. Refer to the O4 Air Unit Pro manual for detailed instructions on recording settings, storage, and file transfer. Ensure a compatible microSD card is inserted before flight.
6. Antretyen
6.1 Enspeksyon apre vòl la
After each flight, perform a quick inspection:
- Check propellers for any damage. Replace if necessary.
- Inspect the frame for cracks or loose components.
- Asire ke tout vis yo sere.
- Clean any dirt or debris from motors and electronics.
6.2 Netwayaj
Use a soft brush or compressed air to remove dust and debris from the motors, flight controller, and camera. Avoid using liquids directly on electronic components.
6.3 Mizajou Firmware
Periodically check the GEPRC website for firmware updates for the flight controller (Betaflight), ESCs, and O4 Air Unit Pro. Keeping firmware updated can improve performance and add new features. Follow the manufacturer's instructions carefully when performing updates.
NAN. Depanaj
Seksyon sa a adrese pwoblèm komen ou ka rankontre.
- Drone does not arm: Check battery connection, remote controller binding, and Betaflight arming conditions (e.g., accelerometer calibration, pre-arm switch).
- Unstable flight/Vibrations: Inspect propellers for damage or imbalance. Check motor screws and frame integrity. Review PID settings in Betaflight.
- Pa gen videyo: Ensure O4 Air Unit Pro is powered on and connected correctly. Check antenna connections. Verify goggles/monitor are on the correct channel.
- GPS la pa bloke: Asire w ke modil GPS la gen yon vizyon klè view of the sky. Wait longer for satellite acquisition. Check GPS configuration in Betaflight.
- Motors not spinning evenly: Check for debris in motors, damaged propellers, or ESC calibration issues.
For more detailed troubleshooting, consult the Betaflight documentation or the GEPRC support resources.
8. Sipò
For technical assistance, setup guidance, or any product-related inquiries, GEPRC support is available. You can typically find support contact information on the official GEPRC website. Our team is ready to assist you with clear steps and solutions.