Entwodiksyon
Thank you for choosing the Oster 3-in-1 Kitchen System 700 Watt Blender. This appliance is designed to provide versatile blending, chopping, and personal blending capabilities for your kitchen needs. To ensure safe and efficient operation, please read this instruction manual thoroughly before first use and retain it for future reference.
Garanti enpòtan yo
Lè w ap itilize aparèy elektrik, yo ta dwe toujou swiv prekosyon sekirite debaz yo pou redwi risk pou dife, chòk elektrik ak/oswa blesi moun, tankou sa ki annapre yo:
- Li tout enstriksyon anvan ou opere aparèy la.
- Pou pwoteje tèt ou kont chòk elektrik, pa plonje kòd, ploge, oswa aparèy nan dlo oswa nan lòt likid.
- Sipèvizyon sere se nesesè lè nenpòt aparèy itilize pa oswa toupre timoun yo.
- Debranche nan priz lè w pa itilize, anvan w mete oswa retire pati yo, epi anvan w netwaye.
- Evite kontak ak pati k ap deplase.
- Pa opere nenpòt aparèy ki gen yon kòd oswa ploge ki domaje oswa apre aparèy la pa fonksyone byen oswa apre yo te tonbe oswa domaje nan nenpòt fason. Retounen aparèy la nan sant sèvis otorize ki pi pre a pou l egzamine, reparasyon, oswa ajisteman elektrik oswa mekanik.
- Itilizasyon atachman manifakti a pa rekòmande oswa vann yo ka lakòz dife, chòk elektrik, oswa blesi.
- Pa sèvi ak deyò.
- Pa kite kòd pandye sou kwen tab oswa kontwa oswa manyen sifas cho.
- Kenbe men ak istansil yo lwen veso a pandan w ap melanje pou anpeche posiblite pou blese grav moun oswa domaje blenndè a. Ou ka itilize yon gratwa men ou dwe itilize li sèlman lè blenndè a pa ap mache.
- Lam yo byen file. Manyen ak anpil atansyon.
- Toujou opere blenndè ak kouvèti an plas.
- When blending hot liquids, use caution as steam can build up and cause burns.
- Pa sèvi ak aparèy pou lòt itilizasyon ki gen entansyon an.
Pati ak Karakteristik
Familiarize yourself with the components of your Oster 3-in-1 Kitchen System:
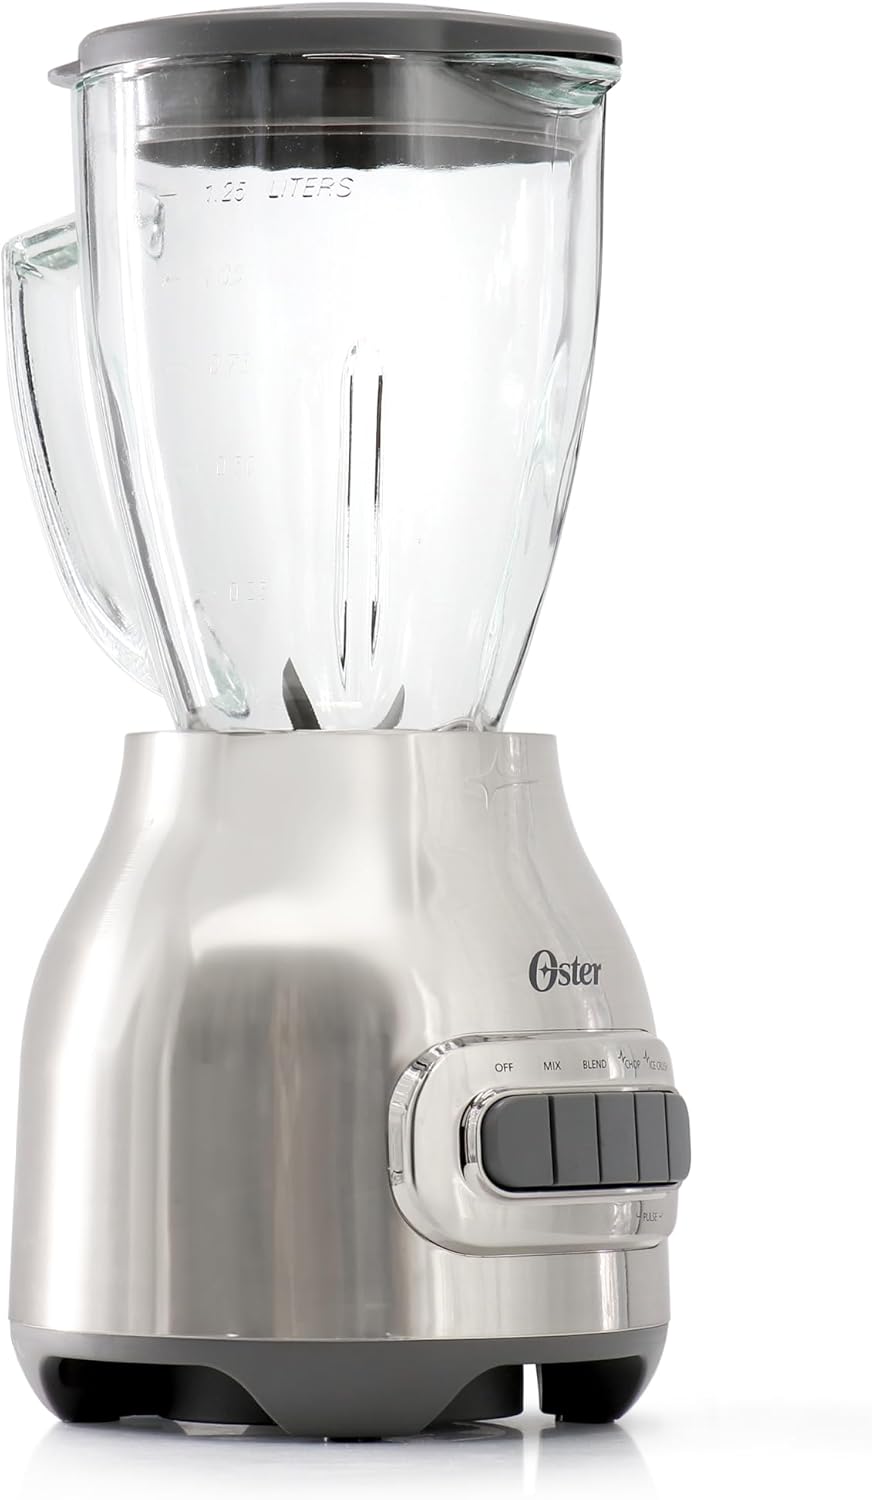
- Baz blenndè: Gen motè a ak panèl kontwòl la ladan l.
- Glass Blending Jar: 1.25-liter capacity for larger blending tasks.
- Blender Blade Assembly: Detachable blade for the glass jar.
- Kouvèti bokal blenndè: With removable filler cap.
- Blend-N-Go Cup: Personal blending cup for single servings.
- Blend-N-Go Blade Assembly: Specific blade for the Blend-N-Go cup.
- Pwosesè manje atachman: Bowl, lid, and chopping blade for food processing tasks.
- Kontwòl Panel: Buttons for OFF, MIX, BLEND, CHOP, ICE CRUSH, and PULSE.


Enstalasyon
Anvan premye itilize
- Depake tout konpozan yo epi retire tout materyèl anbalaj yo.
- Wash the glass blending jar, blender blade assembly, jar lid, Blend-N-Go cup, Blend-N-Go blade assembly, food processor bowl, lid, and chopping blade in warm, soapy water. Rinse thoroughly and dry.
- Siye baz blenndè a ak anonsamp twal. Pa plonje baz la nan dlo.
Assembling the Blender Jar
- Place the sealing ring onto the blender blade assembly.
- Insert the blade assembly into the bottom opening of the glass jar.
- Screw the threaded base onto the bottom of the jar until secure.
- Mete bokal la ki fin rasanble a sou baz blenndè a, epi asire w li byen chita.
- Mete kouvèti a sou bokal la.
Assembling the Blend-N-Go Cup
- Fill the Blend-N-Go cup with ingredients. Do not overfill past the MAX line.
- Screw the Blend-N-Go blade assembly onto the open end of the cup until secure.
- Invert the cup and place it onto the blender base, aligning the tabs.
Assembling the Food Processor Attachment
- Place the food processor bowl onto the blender base, aligning the tabs and twisting to lock.
- Carefully place the chopping blade onto the central spindle inside the bowl.
- Ajoute engredyan nan bòl la.
- Place the food processor lid onto the bowl, aligning and twisting to lock.
Enstriksyon Operasyon
Always ensure the appliance is unplugged before assembling or disassembling parts.
General Blending Tips
- For best results, always add liquids first, then soft ingredients, then hard ingredients, and finally ice.
- Do not overfill the blending jar or cup.
- If ingredients are not circulating, turn off the blender, remove the lid, and use a spatula to push ingredients towards the blades. Replace lid and continue blending.
Sèvi ak bokal blenndè a
- Ensure the blender jar is properly assembled and seated on the base.
- Add ingredients to the jar. Do not exceed the maximum fill line.
- Fèmen kouvèti a byen fèm sou bokal la.
- Branche blenndè a nan yon priz elektrik estanda.
- Select the desired speed setting (MIX, BLEND, CHOP, ICE CRUSH) by pressing the corresponding button. For short bursts of power, press and hold the PULSE button. Release to stop.
- To stop blending, press the OFF button.
- Unplug the blender before removing the jar.
Sèvi ak gode Blend-N-Go a
- Prepare the Blend-N-Go cup with ingredients and attach the blade assembly as described in the Setup section.
- Invert the cup and place it onto the blender base, ensuring it locks into place.
- Ploge blenndè a nan yon priz elektrik.
- Press the BLEND or PULSE button to start blending.
- Once blending is complete, press the OFF button.
- Unplug the blender, then remove the Blend-N-Go cup from the base.
- Carefully unscrew the blade assembly and replace it with the travel lid (if included).
Using the Food Processor Attachment
- Assemble the food processor attachment on the blender base as described in the Setup section.
- Add ingredients to the food processor bowl.
- Tache kouvèti a.
- Ploge blenndè a nan yon priz elektrik.
- Use the CHOP or PULSE setting for processing. Do not continuously run the food processor for extended periods; use short pulses for better control.
- To stop, press the OFF button.
- Unplug the blender before removing the food processor lid and bowl.

Swen ak netwayaj
Bon netwayaj asire lonjevite ak ijyèn aparèy ou an.
Netwaye baz blenndè a
- Toujou deploge blenndè a anvan ou netwaye.
- Siye baz blenndè a ak anonsamp twal. Pa plonje baz la nan dlo oswa nenpòt lòt likid.
- Pa sèvi ak pwodui netwayaj abrazif oswa eponj abrazif, paske yo ka grate sifas la.
Cleaning the Blending Jar, Blend-N-Go Cup, and Food Processor Parts
- Disassemble all removable parts: glass jar, blade assembly, lid, Blend-N-Go cup, Blend-N-Go blade assembly, food processor bowl, lid, and chopping blade.
- Wash these parts in warm, soapy water. Rinse thoroughly and dry.
- The glass blending jar, Blend-N-Go cup, and food processor bowl are generally dishwasher-safe (top rack recommended). Refer to the product packaging or manufacturer's website for specific dishwasher compatibility.
- Exercise caution when handling the blades, as they are sharp.
Depanaj
Si ou rankontre pwoblèm ak blenndè ou a, gade pwoblèm ak solisyon komen sa yo:
| Pwoblèm | Kòz posib | Solisyon |
|---|---|---|
| Blenndè a pa limen. | Not plugged in; power outlet not working; appliance not assembled correctly. | Ensure the power cord is securely plugged into a working outlet. Check if the jar/cup/food processor is correctly seated and locked onto the base. |
| Motè a ap lite oswa li kanpe. | Too many ingredients; ingredients are too thick; motor overheating. | Reduce the amount of ingredients. Add more liquid. Use the PULSE function or a lower speed. If overheated, unplug and let cool for 15-20 minutes before restarting. |
| Contents leak from bottom of jar/cup. | Blade assembly not tightened; sealing ring missing or improperly placed. | Ensure the blade assembly is securely tightened onto the jar/cup. Check that the sealing ring is correctly positioned on the blade assembly. |
| Engredyan yo pa melanje byen. | Not enough liquid; ingredients stuck; incorrect speed setting. | Add more liquid. Turn off the blender, remove the lid, and use a spatula to redistribute ingredients. Select a higher speed or use the PULSE function. |
Espesifikasyon
- Mak: Oster
- Modèl: 3-in-1 Kitchen System 700 Watt Blender
- Pouvwa: 700 Watts
- Kapasite bokal blenndè a: 1.25 lit
- Dimansyon pwodwi: 7.2"D x 6.5"W x 6.5"H
- Pwa atik: 7 liv
- Kalite kontwòl: Manyèl Pouse bouton
- Materyèl veso: Glass (Blender Jar), Plastic (Blend-N-Go Cup, Food Processor)
- Materyèl lam: Plastic (likely referring to the blade housing, actual blades are metal)
- Karakteristik espesyal: 3-in-1 Kitchen System (Blender, Blend-N-Go, Food Processor)
Garanti
This Oster appliance comes with a limited warranty. For detailed information regarding warranty coverage, terms, and conditions, please refer to the warranty card included with your product or visit the official Oster websit la. Kenbe resi acha ou kòm prèv acha pou reklamasyon garanti.
Sipò pou Kliyan
If you have any questions, require assistance, or need to report an issue with your Oster 3-in-1 Kitchen System, please contact Oster customer service. You can typically find contact information on the manufacturer's websit oswa nan anbalaj pwodwi a.
Pou plis enfòmasyon, vizite a Magazen Oster sou Amazon.