1. Entwodiksyon
This manual provides essential instructions for the safe and efficient use of your GRECELL Level 2 EV Charger, Model EV-B10-US007. This portable electric vehicle charger delivers up to 32 Amps (7.4 KW) of power, compatible with all SAE J1772 electric vehicles and plug-in hybrid electric vehicles (PHEVs). It features a NEMA 14-50 plug for connection to a 240V outlet and includes multiple safety protections and smart functionalities like adjustable current and scheduled charging.
Tanpri li manyèl sa a byen anvan enstalasyon ak itilizasyon, epi konsève li pou referans pita.
2. Enstalasyon ak Enstalasyon
2.1 Kontni pake a
Verifye ke tout atik yo prezan nan pakè a:
- EV Charger (1 unit)
- Wall Hangings (1 set)
- Empty Seat Hooks (1 unit)
- Sak Depo (1 inite)
- Manyèl itilizatè (1 inite)
- Expansion Screw φ8*60mm (3 units)
- Expansion Screw φ8*25mm (6 units)

Image: Contents included in the GRECELL EV Charger package.
2.2 Enstalasyon Chargeur a
The charger unit can be mounted on a wall using the provided wall hangings and screws. Choose a location that is dry, protected from direct sunlight and heavy rain, and within reach of your NEMA 14-50 outlet and your vehicle's charging port. Ensure the mounting surface is sturdy enough to support the charger's weight.
- Mark the desired drilling points for the wall hangings.
- Fè twou epi mete vis ekspansyon yo.
- Secure the wall hangings to the wall.
- Mount the charger unit onto the wall hangings.
- Install the empty seat hook for the charging connector for convenient storage.
2.3 Koneksyon pouvwa
Connect the charger's NEMA 14-50 plug into a dedicated 240V NEMA 14-50 outlet. Ensure the outlet is properly installed and grounded by a qualified electrician. Do not use extension cords or adapters that are not rated for the charger's power requirements.

Imaj: Plis paseview of the GRECELL Level 2 EV Charger components.
3. Operasyon Enstriksyon
3.1 Pwosedi Debaz pou Chaje
- Ensure the charger is securely plugged into the NEMA 14-50 outlet. The LCD display will illuminate.
- Louvri pò chaje machin elektrik ou a.
- Insert the SAE J1772 charging connector firmly into your vehicle's charging port. A click indicates a secure connection.
- The charger will automatically begin charging. The LCD display will show charging status, and the LED indicator on the control box will change to green.
- To stop charging, first disconnect the connector from your vehicle, then unplug the charger from the wall outlet.

Image: Connecting the charger to an electric vehicle.
3.2 Ajiste Kouran Chaje a
The charger allows you to adjust the charging current to suit your needs. This can be done before connecting to the vehicle or when the charger is in standby mode.
- Peze a Bouton 'A' on the control box to cycle through available current settings: 10A, 16A, 24A, and 32A.
- The selected current will be displayed on the LCD screen.
- Nòt: Current adjustments are not possible during an active charging process.

Image: Intelligent touch LCD display for current adjustment and scheduled charging.
3.3 Scheduled Charging (Delay Start)
To utilize off-peak electricity rates, you can set a delay for charging to begin:
- With the charger in standby mode (or before connecting to the vehicle), press the 'H' button.
- Each press will increase the delay time by one hour, from 1 to 12 hours.
- After setting the desired delay, connect the charger to your vehicle. Charging will commence after the countdown ends.
- Nòt: Time reservations are not possible during an active charging process.

Image: Scheduled charging feature for optimizing charging times.
3.4 Enfòmasyon sou ekran LCD a
The LCD display provides real-time charging data:
- Tanperati: Current operating temperature of the charger.
- Kouran (A): Real-time charging current.
- Voltage (V): An tan reyèl chaje voltage.
- Pouvwa (KW): Real-time charging power.
- Enèji (kWh): Total energy delivered during the current charging session.
- Tan: Duration of the current charging session or countdown for scheduled charging.
3.5 Ki ap dirije Endikatè Estati
The LED light on the control box indicates the charger's status:
- Ble: Mòd sibstiti.
- Vèt: Chaje an pwogrè.
- Yellow/Red: Fault or error condition. Refer to the Troubleshooting section.
4. Antretyen
4.1 Netwayaj
Regular cleaning helps maintain the charger's performance and longevity:
- Ensure the charger is unplugged from the power source before cleaning.
- Use a soft, dry cloth to wipe the exterior of the control box and cables.
- Pa sèvi ak pwodui netwayaj abrazif, solvan, oswa pwodui chimik ki fò.
- Keep the charging connector free from dust, dirt, and moisture.
4.2 Depo
Lè w pa itilize li pou yon bon bout tan:
- Disconnect the charger from the power outlet and your vehicle.
- Coil the cable neatly and store the charging connector in its empty seat hook.
- Place the charger in the provided storage bag.
- Sere nan yon kote ki fre, sèk, lwen limyè solèy la dirèk ak tanperati ekstrèm.
NAN. Depanaj
If you encounter issues with your GRECELL EV Charger, refer to the following common problems and solutions:
| Pwoblèm | Kòz posib | Solisyon |
|---|---|---|
| Charger not powering on / LCD display off | No power from outlet; Faulty outlet; Charger malfunction. | Check NEMA 14-50 outlet for power (e.g., by plugging in another appliance). Ensure charger is fully plugged in. If issue persists, contact customer support. |
| Chajman an pa kòmanse | Connector not fully inserted; Vehicle not ready to charge; Scheduled charging active; Fault condition. | Ensure J1772 connector is firmly seated. Check vehicle's charging settings. Verify no scheduled charging delay is set. Check LCD for error codes or LED indicator for fault status. |
| Chaje dousman | Current setting is low; Vehicle's onboard charger limitation; Power supply issue. | Adjust current setting to a higher amperage (e.g., 32A) using the 'A' button. Consult your vehicle's manual for its maximum AC charging rate. Ensure the NEMA 14-50 outlet is providing stable 240V. |
| LED indicator shows yellow/red (Fault) | Various safety protection triggers (overvoltage, undervoltage, overcurrent, leakage, grounding, overheating). | Unplug the charger from both the vehicle and the wall. Wait a few minutes, then plug it back in. If the fault persists, note any error codes on the LCD and contact customer support. |
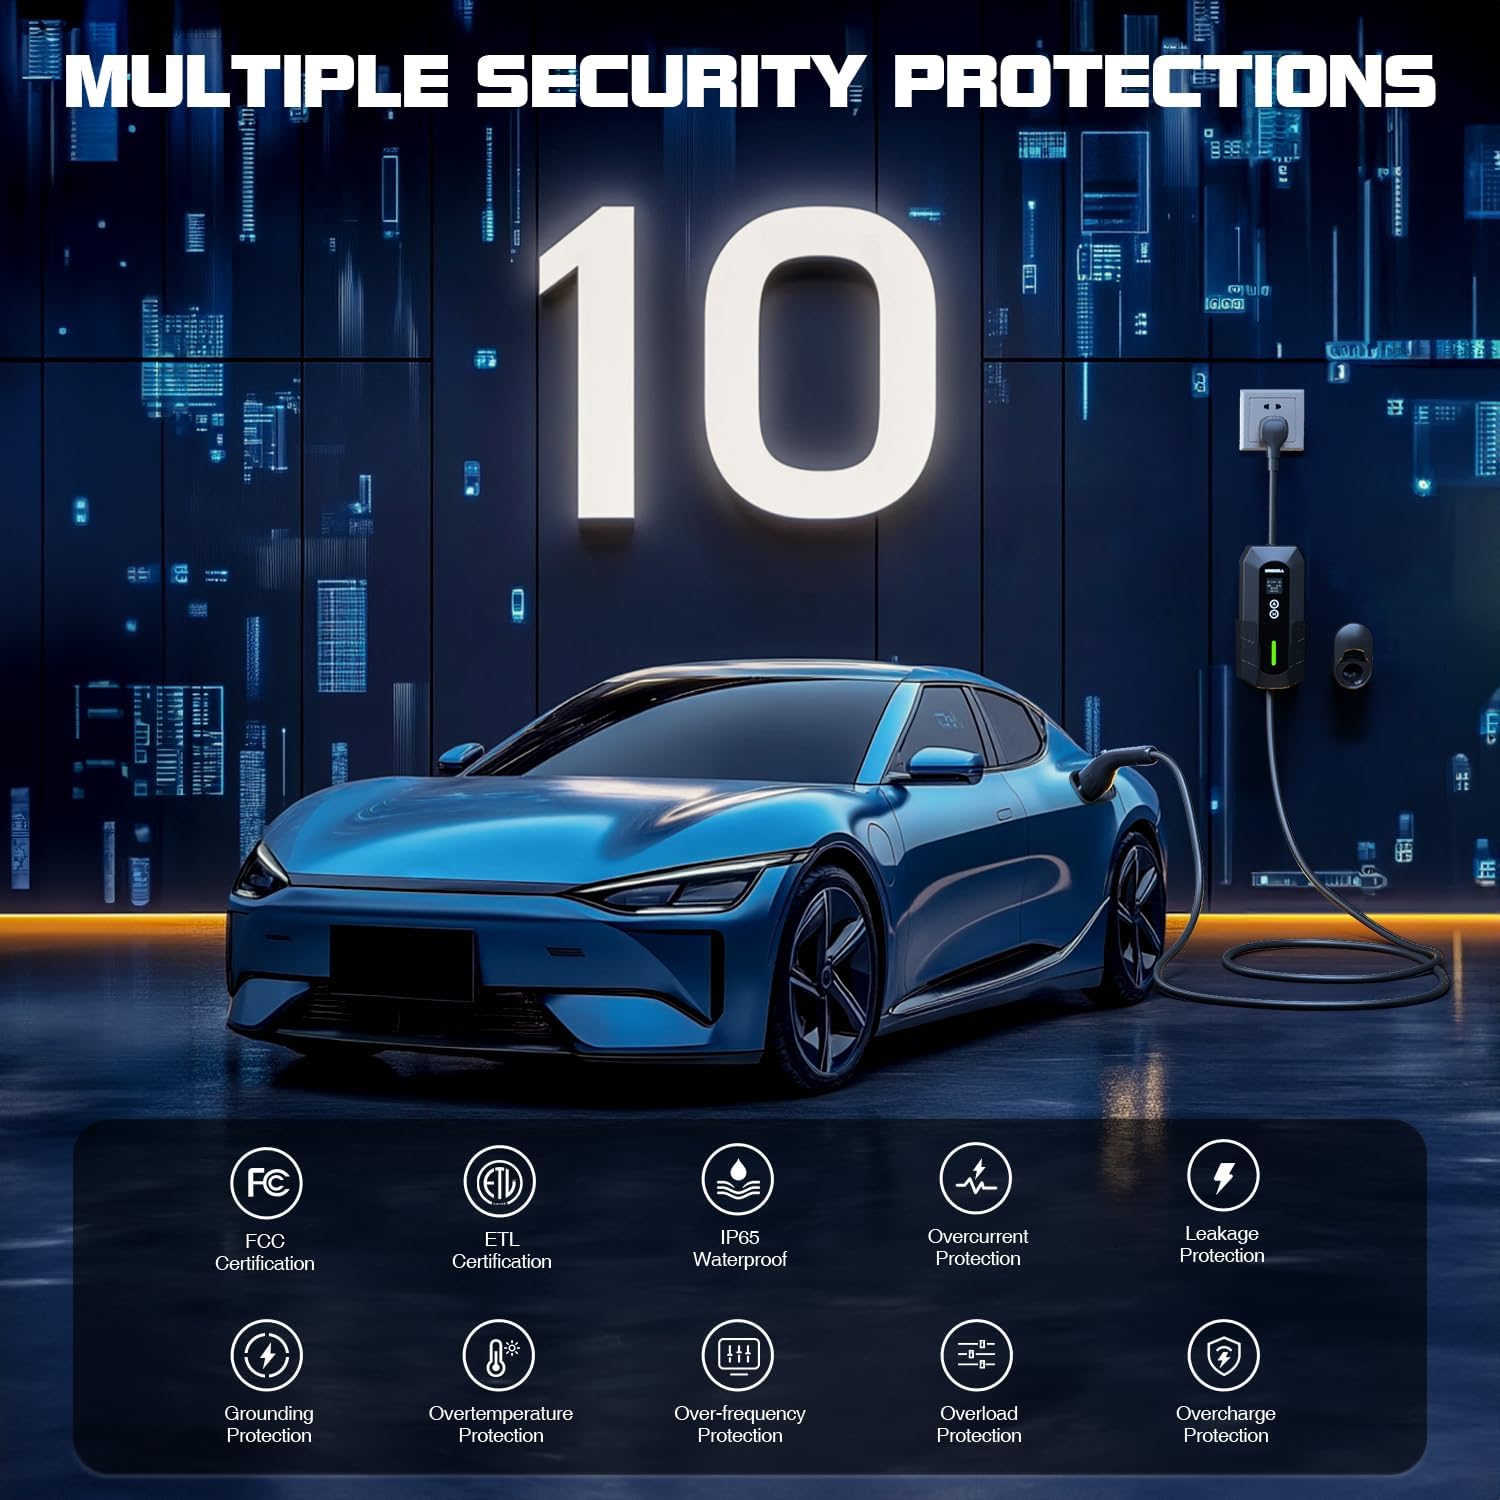
Imaj: Plis paseview of the GRECELL EV Charger's safety features.
6. Espesifikasyon
| Karakteristik | Detay |
|---|---|
| Mak | GRECELL |
| Nimewo Modèl | EV-B10-US007 |
| Ampepòk | 32 Amps (Reglabl: 10A/16A/24A/32A) |
| Wattage | 7.4 KW |
| Antre Voltage | 240 Volts |
| Sòti Voltage | 240 Volts |
| Kalite ploge | NEMA 14-50 |
| Kalite Connector | SAE J1772 |
| Longè kab | 25 pye |
| Sètifikasyon | ETL, FCC, IP65 (Dustproof & Waterproof) |
| Karakteristik espesyal | Fast Charging, LED Display, Lightweight Design, Travel-friendly, Weatherproof, Adjustable Current, Scheduled Charging |
| Pwa atik | 11.14 liv |
| Dimansyon pake | 14.13 x 13.98 x 7.24 pous |

Image: Compatibility with SAE J1772 electric vehicles.

Image: Weather resistance features of the charger.
7. Garanti ak sipò
GRECELL provides Sipò 24 mwa for this EV charger. For any product-related inquiries, technical assistance, or warranty claims, please contact GRECELL customer service. Our team is available to provide friendly and helpful support.
Please refer to your purchase documentation or the GRECELL official websit la pou jwenn enfòmasyon kontak ki pi resan yo.