
1. Entwodiksyon
This manual provides detailed instructions for the installation, operation, and maintenance of your ELUSH 100A MPPT Solar Charge Controller. This advanced controller is designed to efficiently manage power from your solar panels to your battery bank, ensuring optimal charging and system protection. It automatically recognizes 12V, 24V, 36V, and 48V systems and features dual USB 5V charging ports.
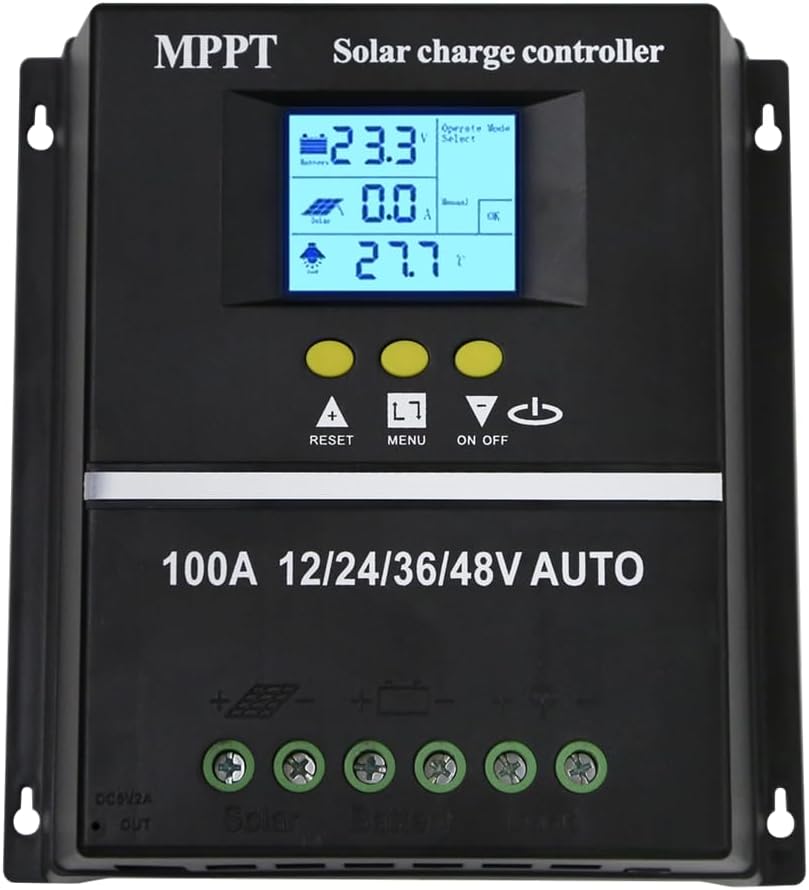
Figi 1.1: Devan view of the ELUSH 100A MPPT Solar Charge Controller.
2. Enstriksyon Sekirite
Please read all instructions carefully before installation and operation. Failure to follow these instructions may result in damage to the unit, personal injury, or property damage.
- Asire w tout koneksyon yo byen fèm epi kòrèk anvan ou limen sistèm nan.
- Pa demonte oswa eseye repare kontwolè a tèt ou. Kontakte pèsonèl kalifye pou sèvis.
- Enstale kontwolè a nan yon zòn ki byen ayere, lwen materyèl ki ka pran dife ak limyè solèy dirèk.
- The controller provides comprehensive voltage protection, including safeguards against battery over-voltage, over-current, power failure, overcharge, deep discharge, reverse connection, and overheating.
- Device Startup Reminder: When connecting the equipment, first connect the rechargeable battery and ensure it has power. After successful startup, then connect the solar panel. This sequence ensures proper operation.
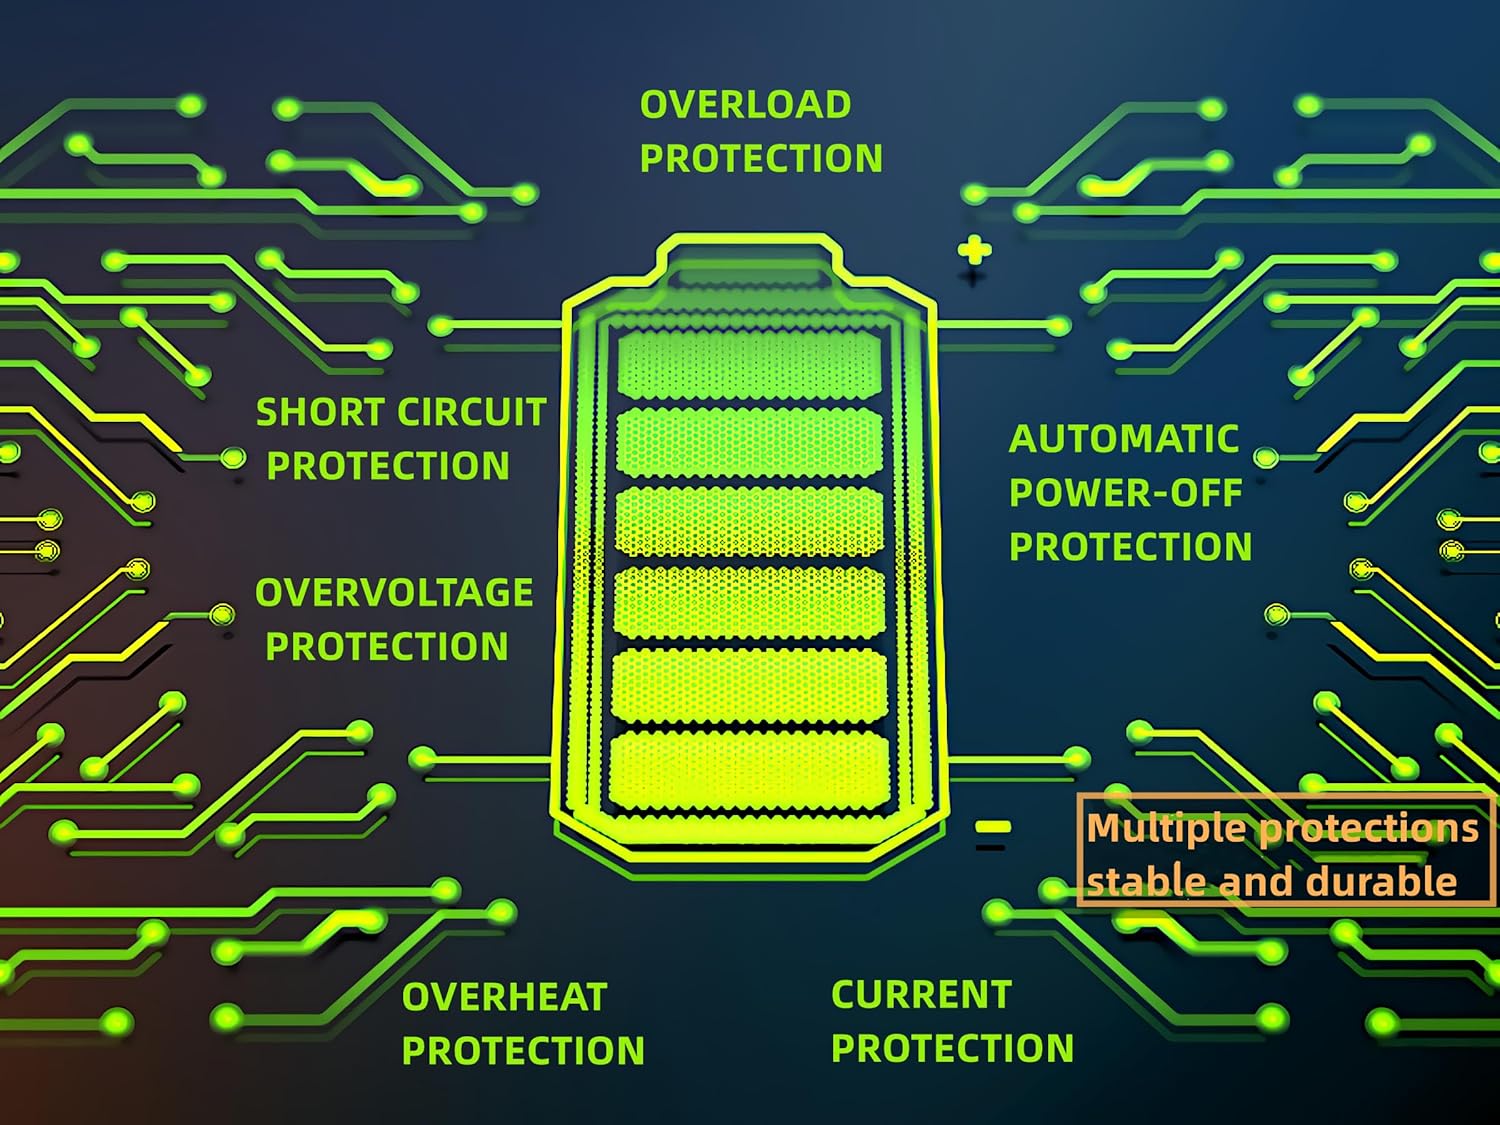
Figure 2.1: Built-in protection features for enhanced safety and durability.
3. Pwodwi Features
The ELUSH MPPT Solar Charge Controller offers a range of features designed for efficient and reliable solar power management:
- Superior MPPT Technology: Equipped with an advanced Maximum Power Point Tracking algorithm, ensuring tracking efficiency of no less than 99.5% for enhanced energy utilization.
- Automatic System Recognition: Automatically recognizes 12V, 24V, 36V, and 48V battery systems.
- Mòd operasyon versatile: Features seven operating modes including charging mode, light control mode, light control + time delay control mode, universal control mode, manual control mode, and timing control mode.
- Multi-function LCD Display: Dynamically displays operational data such as working mode, battery voltage, kouran chaj PV, kouran dechaj batri, tanperati fonksyònman pwodwi a, ak tan reta.
- Doub USB Port: Includes dual USB 5V charging ports for convenient device charging.
- Konpatibilite pil laj: Compatible with various battery types, including Sealed, GEL, Flooded, and LifePO4.
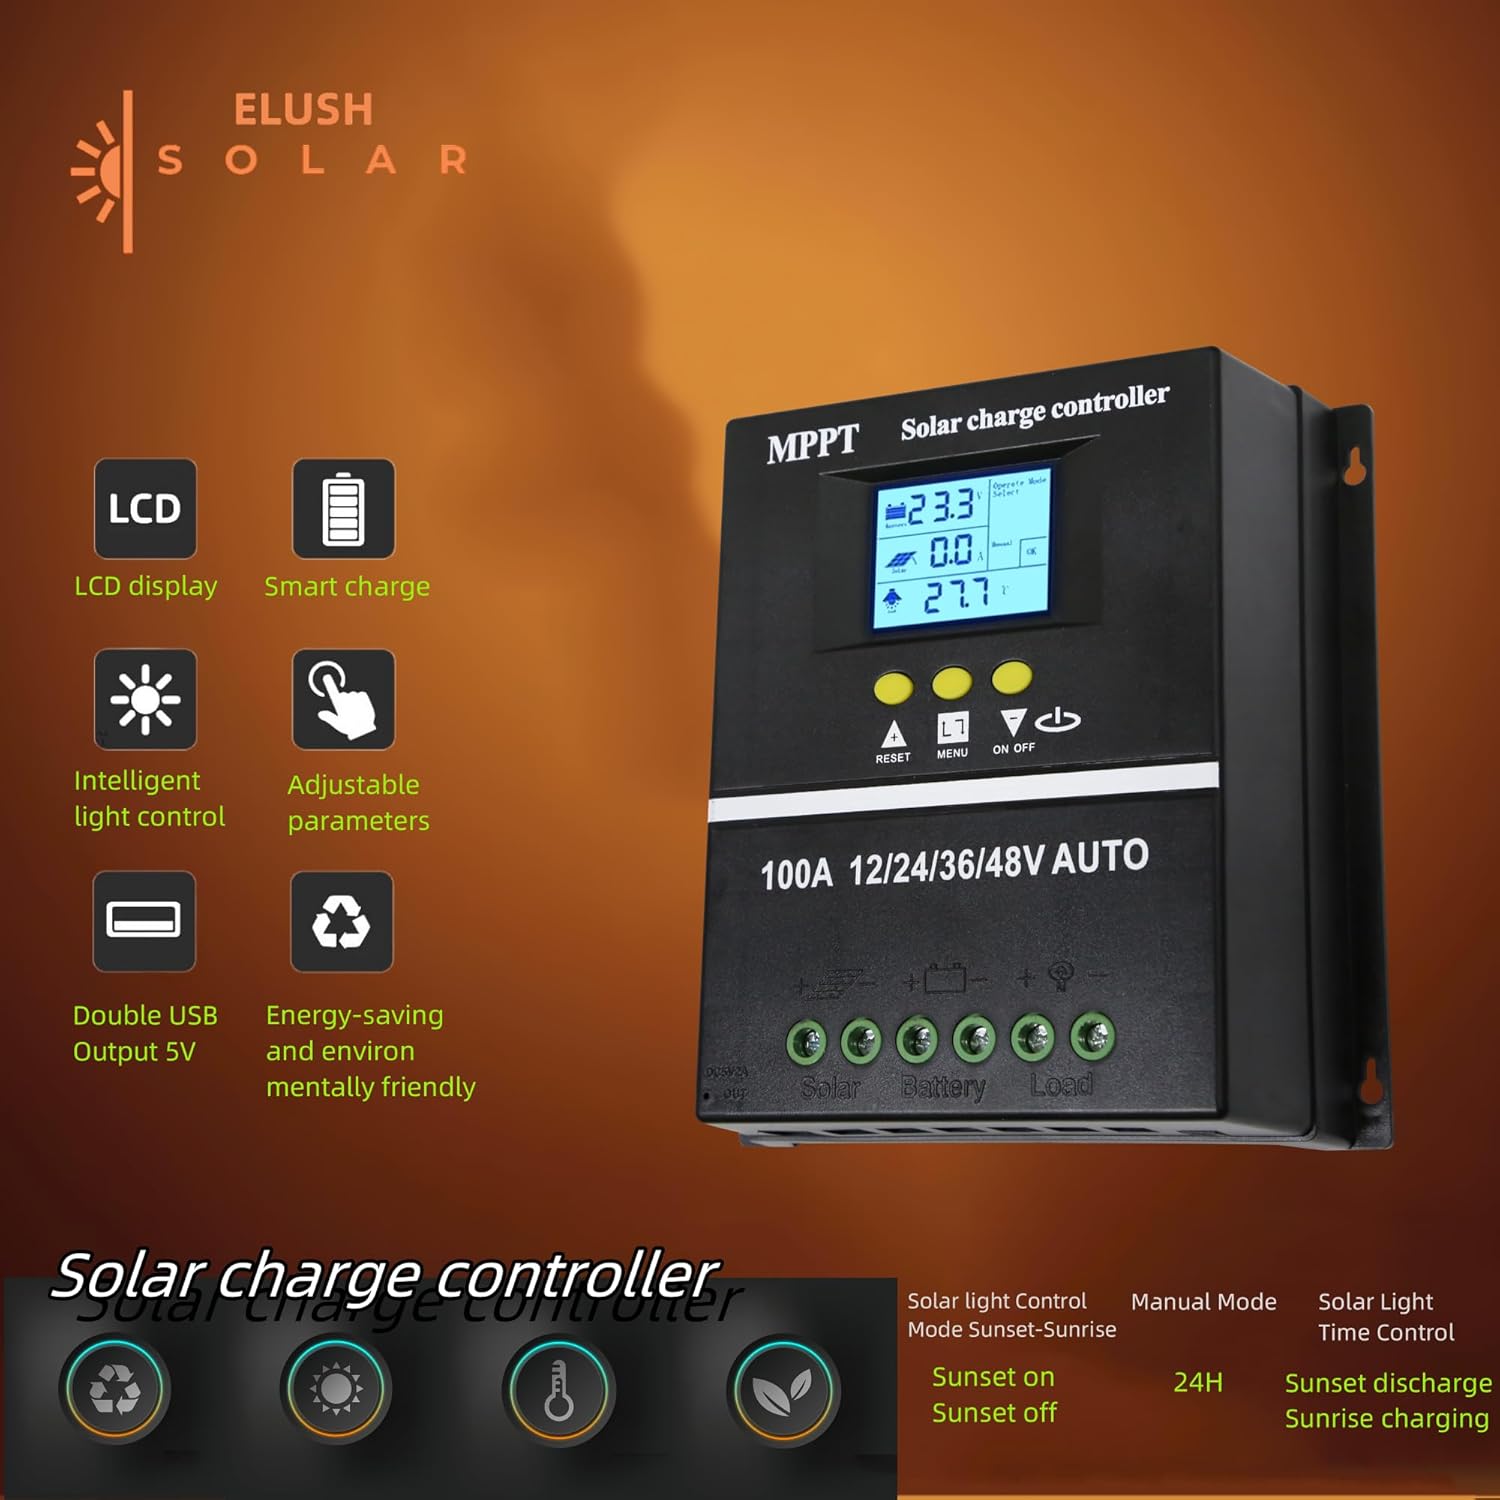
Figure 3.1: Key features of the ELUSH Solar Charge Controller.

Figi 3.2: Detaye view of connection ports and heat dissipation design.
4. Enstalasyon ak Enstalasyon
Swiv etap sa yo pou bon enstalasyon kontwolè chaj solè ou a:
- Prepare Kote Montaj la: Choose a dry, well-ventilated area, protected from direct sunlight and moisture. Ensure there is enough space around the controller for proper heat dissipation.
- Konekte batri a: First, connect the positive and negative terminals of your battery to the corresponding battery terminals on the controller. Ensure the battery has sufficient charge to power the controller's display.
- Konekte Panno Solè yo: Next, connect the positive and negative terminals of your solar panel array to the corresponding solar panel terminals on the controller.
- Konekte chaj la (Si ou vle): If you are connecting a DC load directly to the controller, connect its positive and negative terminals to the load terminals on the controller.
- Verifye Koneksyon: Tcheke tout koneksyon yo de fwa pou asire yo byen fèm epi yo byen polarize.

Figure 4.1: Typical connection diagram for the solar charge controller.
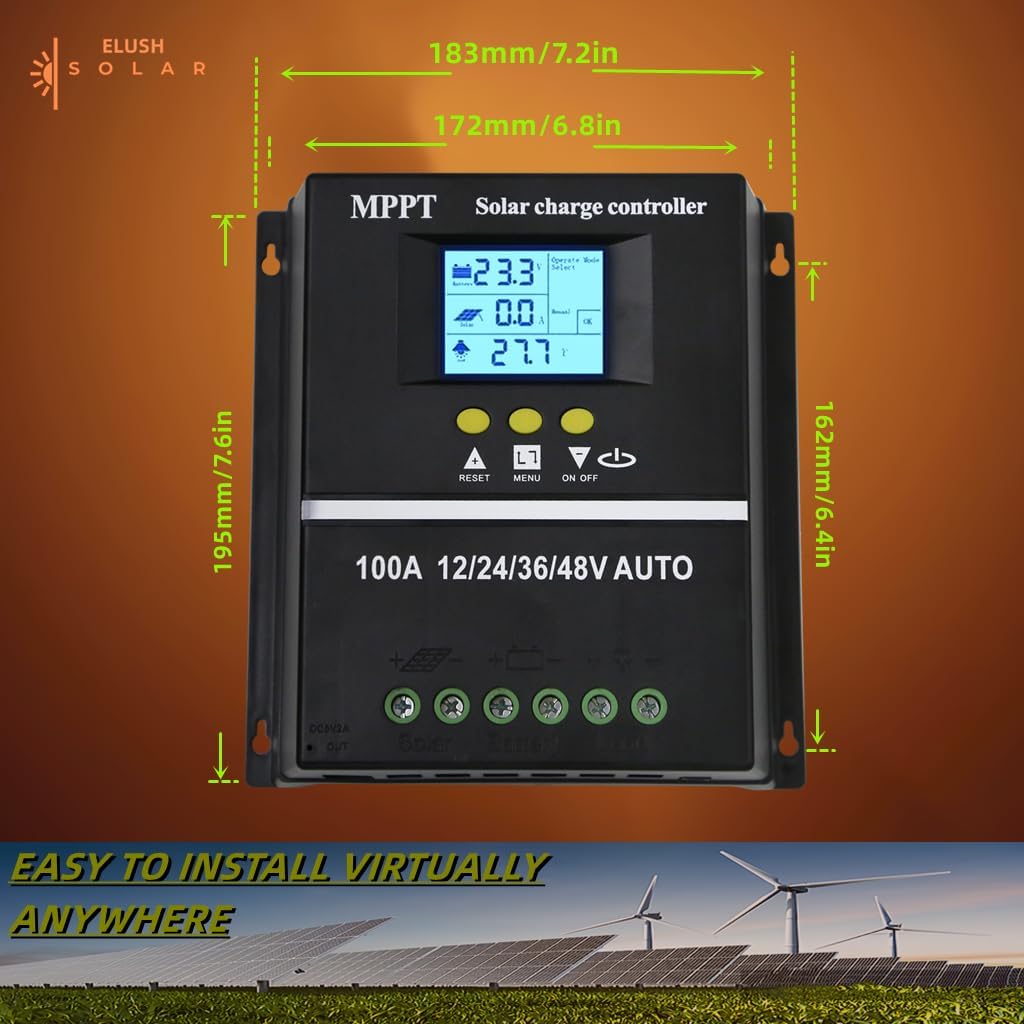
Figi 4.2: Dimansyon pwodwi pou planifikasyon enstalasyon.
5. Operasyon Enstriksyon
The controller's LCD display provides real-time information and allows for configuration of various settings.
5.1 Ekran LCD ak bouton
The LCD dynamically displays operational data. Use the buttons below the screen to navigate menus and adjust settings:
- Reyajiste: Resets certain parameters or enters settings mode.
- MENI: Navigates through different display screens and settings.
- Flèch ANWO/ANBA: Adjust values or select options within menus.
- ON/OFF: Controls the DC load output.
5.2 Mòd chaje
The controller supports a rapid, efficient, and safe battery charging algorithm with four stages:
- Chaj esansyèl: Inisyal stage where the battery receives maximum current.
- Ranfòse Chaj: Charges the battery to a higher voltage pou asire chaj konplè.
- Chaje Flote: Kenbe batri a nan yon volim konstantage to prevent overcharging.
- Chaj egalizasyon: Chaje batri a twòp detanzantan pou balanse volim selil la.tages (for certain battery types).

Figure 5.1: Four-stage battery charging process.
5.3 Seleksyon Kalite Batri
The controller is compatible with Sealed, GEL, Flooded, and LifePO4 batteries. Ensure you select the correct battery type in the settings for optimal charging and battery longevity.

Figure 5.2: Compatible battery types.
5.4 Senaryo aplikasyon
The ELUSH MPPT Solar Charge Controller is suitable for various applications, including:
- Residential solar power systems
- RV and marine solar setups
- Off-grid cabins and remote power solutions
- Portable solar power kits
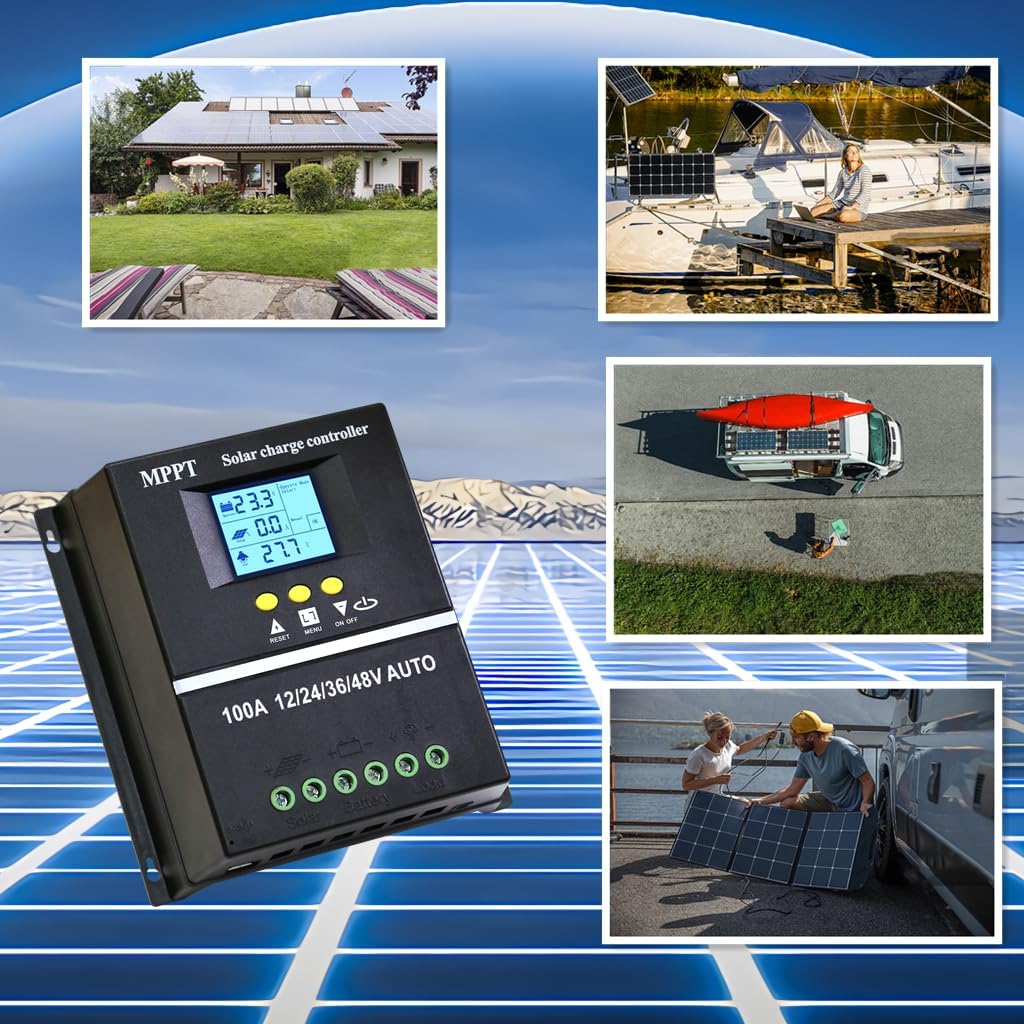
Figure 5.3: Diverse application scenarios for the solar charge controller.
6. Antretyen
Regular maintenance ensures the longevity and optimal performance of your solar charge controller:
- Lapwòpte: Kenbe kontwolè a pwòp epi san pousyè ak debri. Sèvi ak yon twal sèk epi mou pou netwaye.
- Koneksyon: Tcheke tout koneksyon fil elektrik yo regilyèman pou asire yo byen sere epi yo pa gen korozyon. Koneksyon ki lach ka lakòz pèt kouran oswa surchof.
- Vantilasyon: Ensure the installation area remains well-ventilated to prevent overheating, especially during peak operation.
- Mizajou mikrolojisyèl: Tcheke manifakti a websit la pou nenpòt mizajou firmwèr ki disponib pou asire kontwolè ou a gen dènye karakteristik yo ak koreksyon pinèz yo.
NAN. Depanaj
Si ou rankontre pwoblèm ak kontwolè chaj solè ou a, gade pwoblèm ak solisyon komen sa yo:
| Pwoblèm | Kòz posib | Solisyon |
|---|---|---|
| Controller not powering on / No display | Battery not connected or insufficient battery voltage. | Ensure battery is connected first and has adequate charge (minimum 9V for 12V systems). Charge battery externally if completely depleted. |
| No solar charging current | Solar panels not connected, insufficient sunlight, or panel issues. | Check solar panel connections. Ensure panels are receiving direct sunlight. Verify panel voltage. |
| Batri pa chaje konplètman | Incorrect battery type setting, insufficient solar input, or battery degradation. | Verify battery type setting on the controller. Increase solar panel capacity if needed. Test battery health. |
| Chaj la pa fonksyone | Load output disabled, overload, or low battery voltage. | Check load output setting (ON/OFF button). Reduce load if overloaded. Charge battery. |
| Surchof | Poor ventilation or excessive load/charging current. | Ensure adequate airflow around the controller. Reduce load or check for short circuits. |
8. Espesifikasyon
Detailed technical specifications for the ELUSH 100A MPPT Solar Charge Controller:
| Paramèt | Valè |
|---|---|
| Batri Voltage | 12V/24V/36V/48V Auto |
| Chaje aktyèl | 100A |
| Max Solar Input (Voc) | 15-25V (12V Battery); 30-50V (24V Battery); 45-75V (36V Battery); 60-100V (48V Battery) |
| Maksimòm PV Antre pouvwa | 1200W (12V Battery); 2400W (24V Battery); 3600W (36V Battery); 4800W (48V Battery) |
| Port USB | DC 5V/1.5A x 2 USB |
| Tanperati Fonksyònman | -25 °C ~ 55 °C |
| Manifakti | ELUSH |
| Pwa atik | 1.79 liv |
| Dimansyon pake | 8.11 x 8.03 x 2.91 pous |

Figure 8.1: Detailed specifications of the 100A model.
9. Garanti ak sipò
ELUSH offers a 1-year warranty for this product. For technical support or any issues you may encounter, please feel free to contact our team. Our engineers are available to provide advice and solutions.
Pou plis enfòmasyon ak pwodwi, vizite ELUSH Store.