1. Entwodiksyon
Thank you for choosing the Hayve DM7 Digital Microscope. This device is designed for detailed observation and analysis of various objects, offering up to 1000X magnification and a clear 4.3-inch IPS display. It is suitable for applications such as coin inspection, PCB board examination, insect and plant observation, and jewelry appraisal. This manual provides essential information for the safe and effective use of your microscope.

Figure 1: Hayve DM7 Digital Microscope with 32GB TF Card
2. Enfòmasyon sou Sekirite
Please read all safety instructions carefully before using the Hayve DM7 Digital Microscope to prevent injury or damage to the device.
- Kenbe aparèy la lwen dlo ak imidite.
- Do not attempt to disassemble or modify the microscope. Repairs should only be performed by authorized personnel.
- Evite ekspoze aparèy la nan tanperati ekstrèm oswa limyè solèy la dirèk.
- Sèvi sèlman ak kab chaje ak adaptè ki vini ak aparèy la.
- Ensure the microscope is placed on a stable, level surface during operation.
- Kenbe lwen timoun piti pou evite vale ti moso yo aksidantèlman.
3. Pake kontni
Verifye ke tout atik yo prezan nan pakè ou a:
- Hayve DM7 Digital Microscope (with 4.3-inch IPS screen)
- Kanpe reglabl
- 32GB TF Card (pre-installed or included separately)
- Kalite-C USB kab
- Manyèl Itilizatè (dokiman sa a)
4. Pwodwi souview
Familiarize yourself with the main components of your Hayve DM7 Digital Microscope.

Figure 2: Flexible Stand and Screen Adjustments
- Ekspozisyon IPS 4.3-pous: High-resolution screen for live viewing ak lèktur.
- Konsantre wou: Adjusts magnification and focus.
- Dirije ekleraj: 8 adjustable LEDs for optimal lighting of the specimen.
- Microscope Lens: Captures magnified images.
- Kanpe reglabl: Provides stability and allows for height and angle adjustments.
- Base with Scale: Features measurement markings for precise positioning.
- Bouton kontwòl: Power, Menu, Capture/Record, Up/Down navigation.
- TF Kat plas: For storage of captured images and videos.
- Pò USB Kalite-C: Pou chaje ak konekte ak PC.
5. Enstalasyon
Follow these steps to assemble and prepare your microscope for first use:
- Rasanble kanpe la:
- Insert the vertical pole into the base.
- Tache sipò a sou poto a.
- Secure the microscope unit onto the bracket.
- Tighten all knobs to ensure stability.
- Mete kat TF la: If not pre-installed, gently insert the provided 32GB TF card into the TF card slot on the side of the display unit until it clicks into place.
- Chaje aparèy la: Connect the Type-C USB cable to the microscope and a suitable USB power adapter (not included) or computer USB port. The charging indicator will illuminate. A full charge provides approximately 5 hours of working time.
- Pouvwa sou: Press and hold the Power button (usually located on the display unit) for a few seconds until the screen illuminates.

Figi 3: Etap Asanblaj

Figi 4: Mete Kat TF

Figure 5: Charging the Microscope
6. Operasyon Enstriksyon
6.1 Basic Observation
- Place the object you wish to observe on the microscope's base.
- Adjust the distance between the microscope lens and the object using the stand's adjustment knobs.
- Rotate the focus wheel to achieve a clear image on the IPS screen.
- Adjust the LED illumination as needed (see Section 6.4).

Figure 6: Basic Operation Steps
6.2 Ajisteman Agrandisman ak Fokus
The Hayve DM7 offers 50X to 1000X magnification. Magnification is adjusted by changing the distance between the lens and the object, and then fine-tuning with the focus wheel.
- To increase magnification, lower the microscope lens closer to the object.
- To decrease magnification, raise the microscope lens further from the object.
- After adjusting the height, rotate the Konsantre rou (typically on the side of the lens barrel) until the image on the screen is sharp and clear.
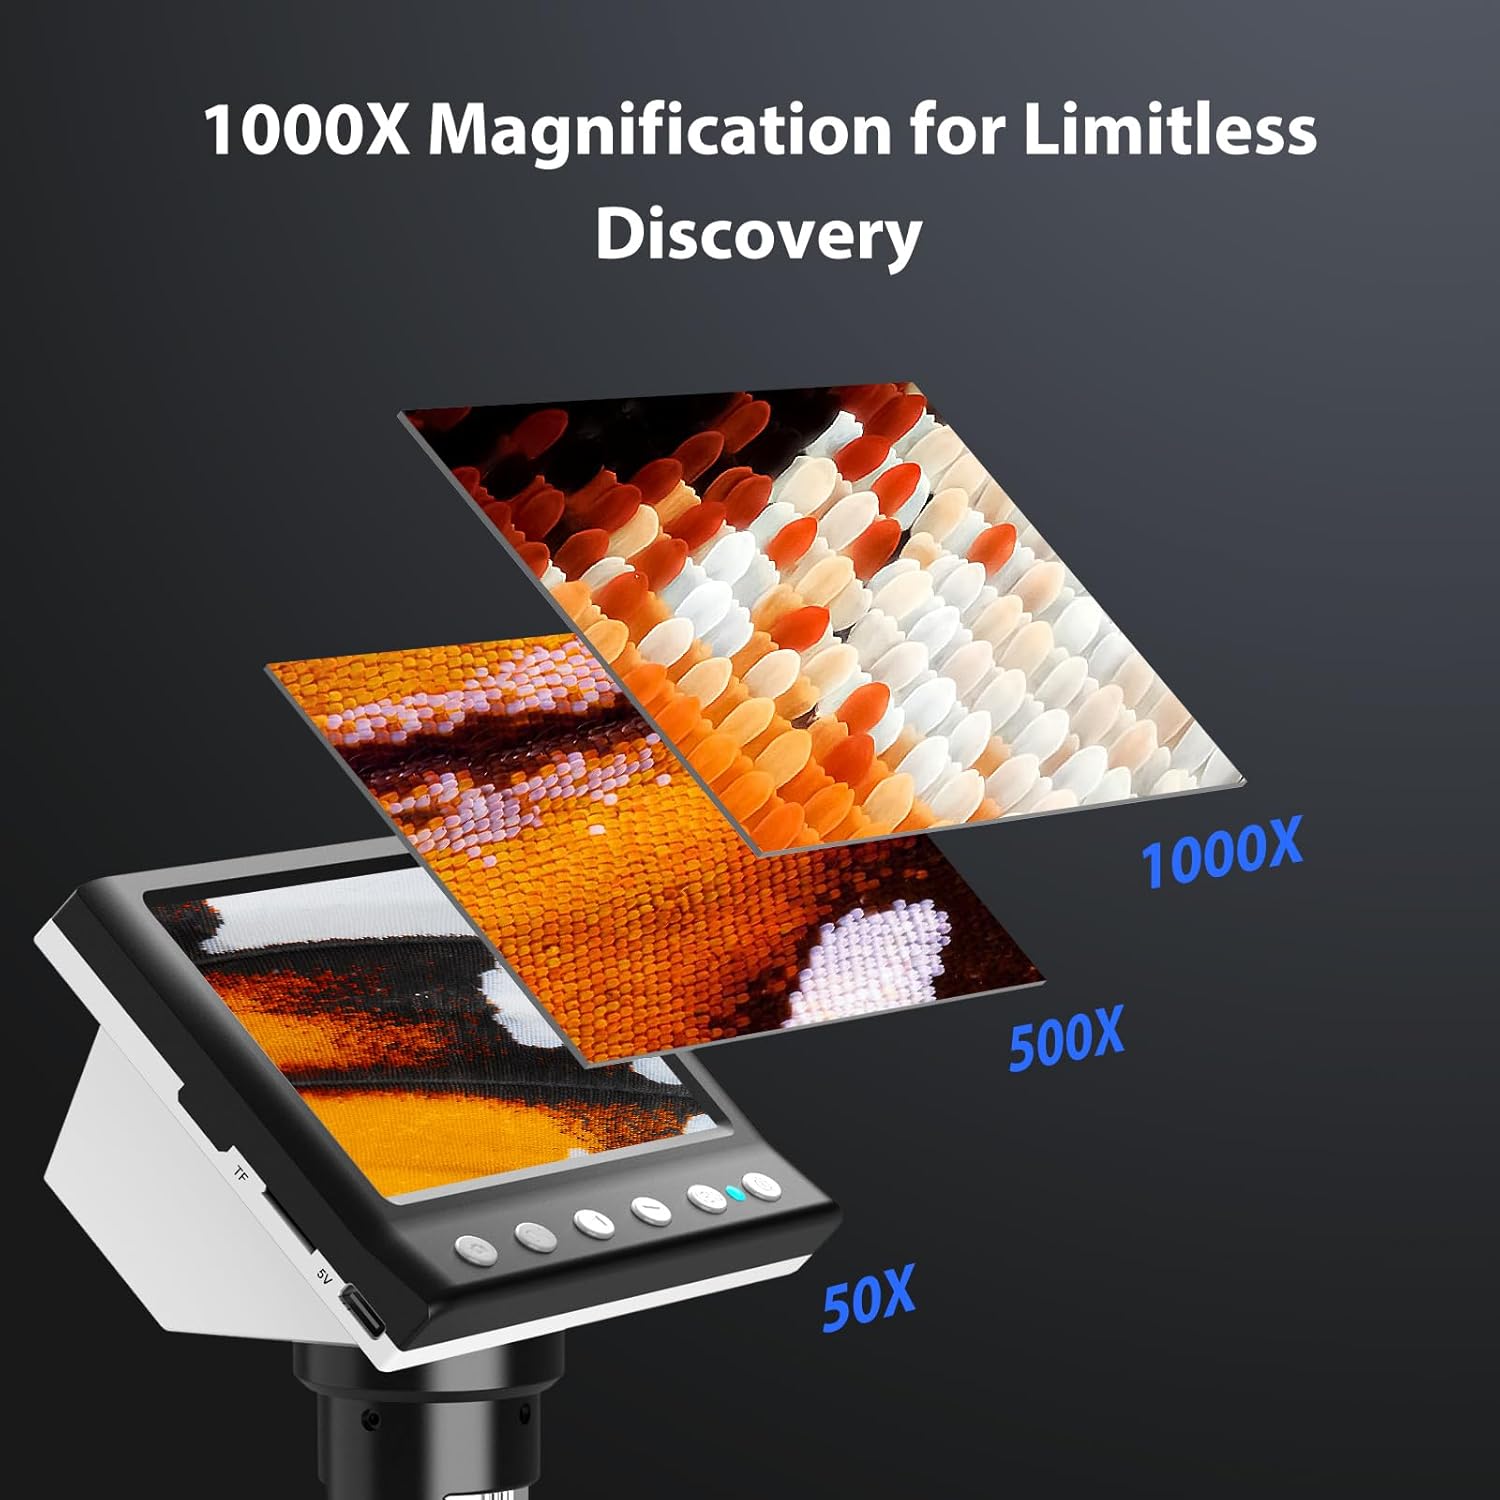
Figure 7: Magnification Levels
6.3 Kaptire Imaj ak Videyo
The microscope allows you to capture high-quality photos and record videos directly to the installed TF card.
- Pou pran yon foto: While observing, press the 'Capture' button (often marked with a camera icon). The image will be saved to the TF card.
- Pou anrejistre yon videyo: Press the 'Record' button (often marked with a video camera icon) once to start recording. Press it again to stop. The video will be saved to the TF card.
- Access saved files through the 'Playback' or 'Gallery' option in the microscope's menu.
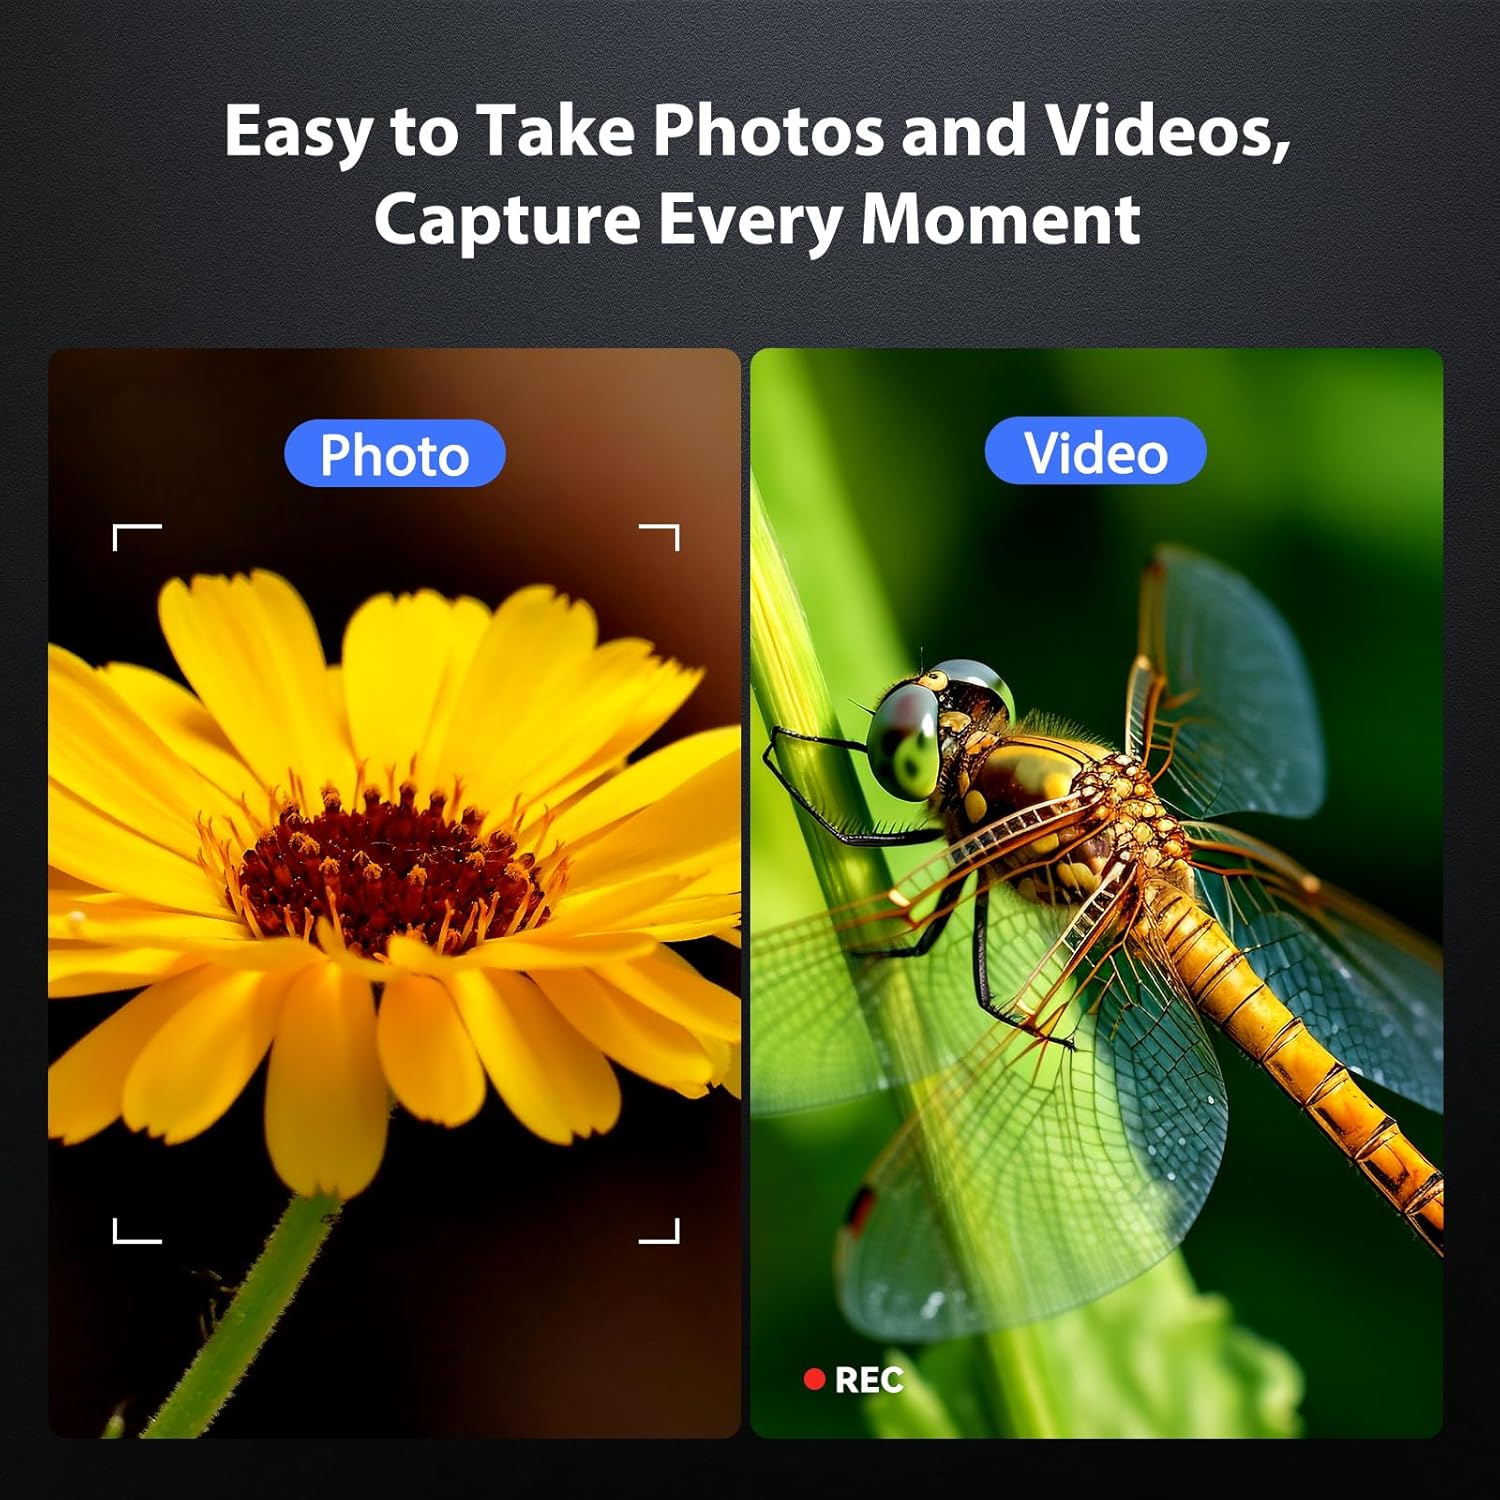
Figure 8: Photo and Video Capture
6.4 Ajisteman ekleraj LED la
The 8 adjustable LED lights provide optimal illumination for various specimens. You can control their brightness from 0% to 100%.
- Locate the LED control button or dial on the microscope unit.
- Rotate the dial or press the button to increase or decrease the brightness.
- Adjust until the object is evenly lit without glare or shadows.

Figure 9: LED Brightness Adjustment
6.5 Connecting to a Computer (PC Mode)
Pou pi gwo viewing, precise measurements, or sharing, you can connect the microscope to a Windows-compatible computer.
- Asire w ke mikwoskòp la limen.
- Connect the microscope to your computer using the provided Type-C USB cable.
- The microscope screen may display "PC Cam" or prompt you to select a mode. Choose "PC Camera" or "UVC" mode.
- On your computer, open a camera application (e.g., Windows Camera app) or a dedicated microscope software (if provided or downloaded) to view manje a ap viv.
- Some software may allow for measurement functions.

Figure 10: PC Connection for Measurement
7. Antretyen
Bon antretyen asire lonjevite ak pèfòmans optimal mikwoskòp ou a.
- Netwaye lantiy la: Sèvi ak yon twal mou ki pa gen pousyè, espesyalman fèt pou lantiy optik. Pou tach ki difisil pou retire, ou ka aplike yon ti kantite solisyon netwayaj lantiy sou twal la (pa dirèkteman sou lantiy la).
- Cleaning the Screen and Body: Wipe the screen and body with a soft, dry cloth. Avoid abrasive cleaners or solvents.
- Depo: When not in use, store the microscope in a clean, dry, dust-free environment. Consider using a protective cover.
- Swen batri: For long-term storage, charge the battery to about 50% every few months to maintain battery health.
NAN. Depanaj
Gade seksyon sa a pou solisyon pou pwoblèm komen yo.
| Pwoblèm | Kòz posib | Solisyon |
|---|---|---|
| Microscope does not power on. | Pil fèb; Bouton pouvwa a pa byen peze. | Charge the microscope fully. Press and hold the power button for 3-5 seconds. |
| Imaj la twoub. | Incorrect focus; Object too far/close to lens. | Adjust the focus wheel. Adjust the height of the microscope unit on the stand. |
| Ekran an twò fonse/klere. | LED illumination not adjusted. | Adjust the LED brightness using the control dial/button. |
| Pa ka sove foto/videyo. | TF card full or not inserted correctly; TF card error. | Check TF card insertion. Delete old files or replace TF card. Format TF card (backup data first). |
| PC connection not working. | Incorrect mode selected; Driver issue; Cable fault. | Ensure "PC Camera" mode is selected on the microscope. Try a different USB port or cable. Check computer's device manager for driver issues. |
9. Espesifikasyon
Technical specifications for the Hayve DM7 Digital Microscope:
| Karakteristik | Detay |
|---|---|
| Modèl | DM7 |
| Ekspozisyon ekran | IPS 4.3-pous |
| Agrandisman | 50X pou 1000X |
| Sous limyè | 8 LED reglabl |
| Depo | Kat TF 32GB (enkli) |
| Batri | 1 batri ityòm Ion (enkli) |
| Tan travay | Apeprè. 5 èdtan |
| Koneksyon | Type-C USB (for charging and PC connection) |
| OS konpatib | Windows (PC connection) |
| Materyèl | Plastik |
| Koulè | Nwa |
| Pwa atik | 1.3 liv (0.59 kg) |
| Dimansyon pake | 7.91 x 7.44 x 3.78 pous |
10. Garanti ak sipò
Hayve provides customer support for its products. If you encounter any issues or have questions regarding your DM7 Digital Microscope, please contact our customer service team.
- Sèvis Kliyan: Hayve offers 24-hour professional and kind after-sales service.
- Enfòmasyon pou kontakte: Refer to the product packaging or the official Hayve websit la pou jwenn enfòmasyon kontak ki pi resan yo.
- Garanti: Specific warranty terms and conditions may apply. Please retain your proof of purchase for warranty claims.
11. Videyo pwodwi yo
Pa gen okenn videyo pwodwi ofisyèl ki te bay nan done antre yo pou entegre nan manyèl sa a.