
1. Entwodiksyon
This manual provides detailed instructions for the Apera Instruments GroStar Series GS3 EC/ppm Pen Tester Kit (AI103G). This lab-grade conductivity meter is designed for accurate measurement of EC (Electrical Conductivity), 500ppm, and 700ppm, along with temperature, making it suitable for hydroponics and general water quality testing. The device features a replaceable titanium conductivity sensor and a user-friendly interface.
2. Pwodwi souview
The GroStar Series GS3 EC/ppm Pen Tester is engineered for reliability and ease of use. Key features include:
- Measures conductivity (EC), 500ppm, 700ppm, and temperature.
- Replaceable titanium sensor for high accuracy in the 0 to 10 EC range.
- Backlit HD screen for clear readings.
- Grower-friendly calibration workflow with a calibration reminder function.

Figure 1: Apera Instruments GroStar Series GS3 EC/ppm Pen Tester.
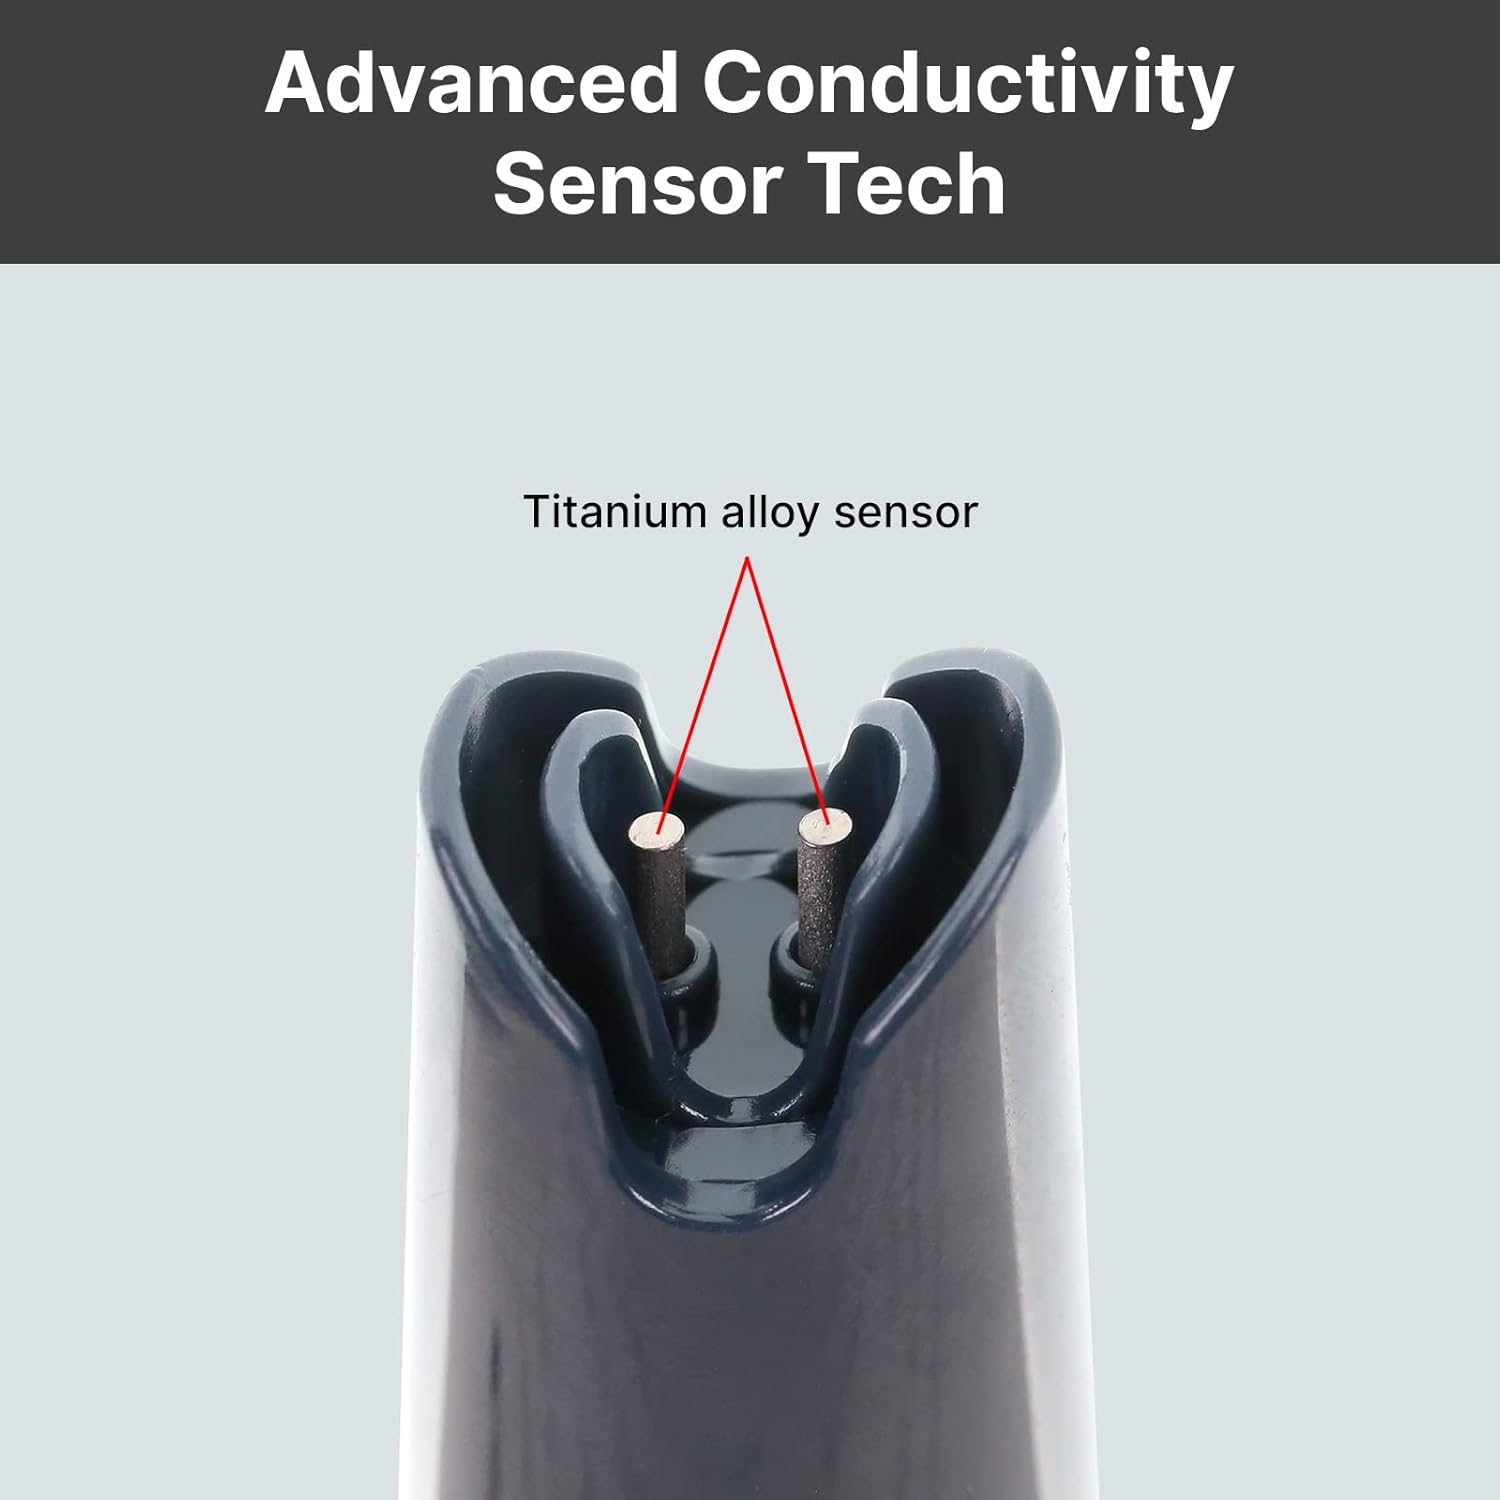
Figi 2: Close-up view of the durable titanium alloy sensor for conductivity measurements.
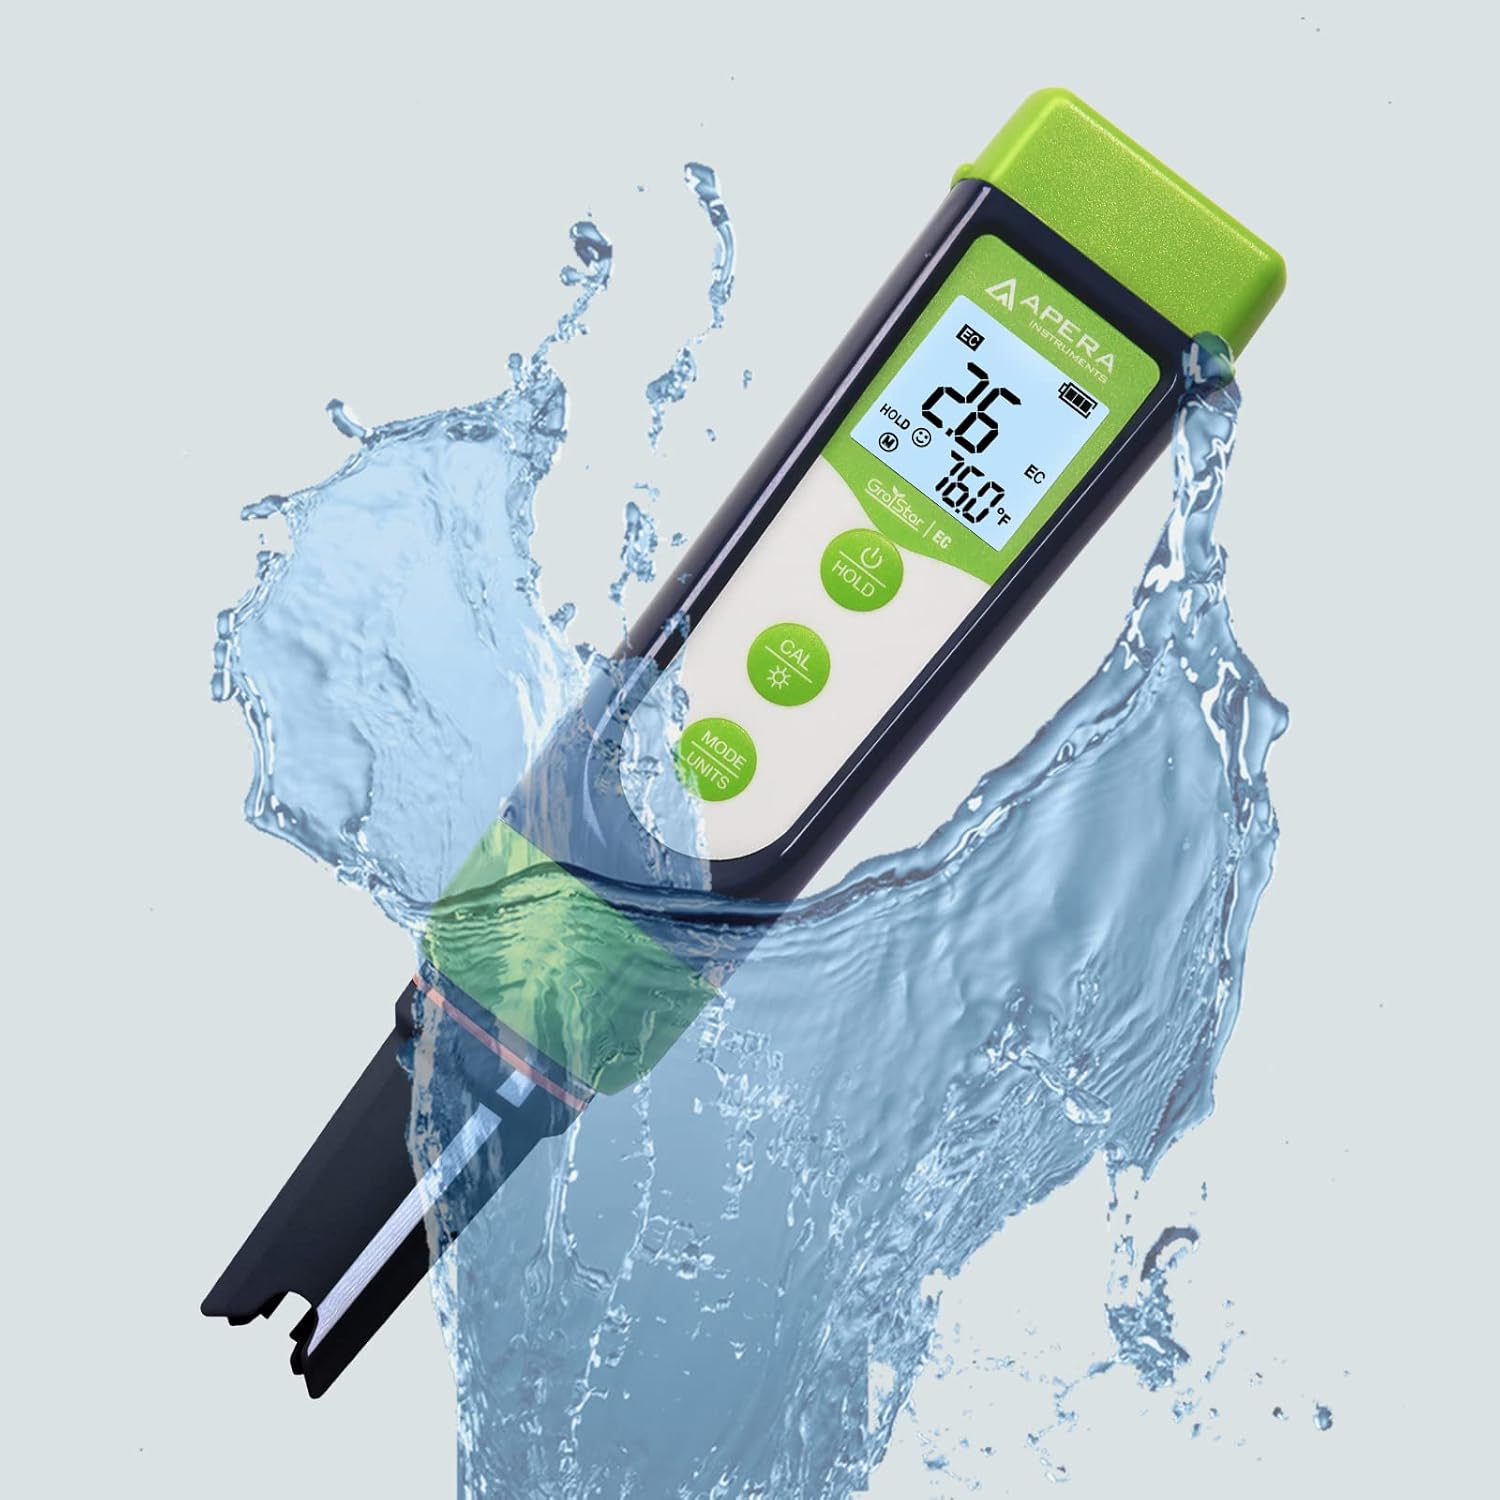
Figure 3: The GroStar GS3 Pen Tester demonstrating its water resistance during use.
3. Enstalasyon
Before first use, ensure all components are present and the device is ready for operation.
3.1 Sa ki nan bwat la
- Apera Instruments GroStar Series GS3 EC/ppm Pen Tester (Gen II)
- 2.77 EC Calibration Solution
- Lanyard
- 4 AAA batteries (pre-installed or included separately)

Figure 4: The complete kit contents, including the tester, calibration solution, and lanyard.
3.2 Enstalasyon batri
The device requires 4 AAA batteries. If not pre-installed, open the battery compartment located at the top of the tester, insert the batteries according to the polarity indicators, and securely close the compartment.
3.3 Premye Preparasyon
- Retire bouchon pwoteksyon an nan Capteur a.
- Rinse the sensor with distilled or deionized water.
- Gently shake off excess water.
4. Operasyon Enstriksyon
4.1 Power On/Off
Peze a POUVWA button to turn the tester on or off.
4.2 Pran yon mezi
- Asire w ke aparèy pou teste a pwòp epi kalibre.
- Plonje Capteur a nan s laample solution, ensuring the sensor is fully submerged.
- Stir gently and wait for the reading to stabilize on the display.
- The display will show EC/ppm and temperature readings.
4.3 Switching Measurement Modes (EC/ppm)
Peze a MODE/UNITS button to cycle through EC, 500ppm, and 700ppm measurement modes.

Figure 5: The tester's display cycling through different measurement units.
4.4 Fonksyon kenbe
Peze a KENBE bouton an pou bloke lekti aktyèl la sou ekran an. Peze ankò pou lage.
4.5 TruRead Display
The TruRead display provides MAX, AVG, and MIN readings, offering a comprehensive view nan mezi ou yo.

Figure 6: The TruRead display feature, showing maximum, average, and minimum recorded values.
5. Kalibrasyon
Regular calibration ensures accurate measurements. The GS3 features a grower-friendly calibration workflow and a reminder function.
5.1 Pwosesis Kalibrasyon
- Limen tèsteur a.
- Peze a CAL bouton an pou antre nan mòd kalibrasyon an.
- Immerse the sensor into the 2.77 EC calibration solution.
- The tester will automatically recognize the solution and calibrate. Wait for the stable reading and confirmation.
- Rinse the sensor with distilled water after calibration.

Figure 7: Visual representation of the tester's display in measurement, calibration, and error states.
5.2 Calibration Reminder
The tester will automatically remind you when recalibration is due, ensuring consistent accuracy.
6. Antretyen
6.1 Netwaye Capteur a
After each use, rinse the sensor thoroughly with distilled or deionized water to prevent residue buildup. Do not scrub the sensor vigorously.
6.2 Depo
Always replace the protective cap after use. For long-term storage, ensure the sensor is kept moist. Refer to the product packaging or Apera Instruments website for specific storage solution recommendations if applicable.
6.3 Ranplase Capteur a
The titanium EC sensor is replaceable. If the sensor performance degrades significantly or it becomes damaged, a new sensor can be purchased and easily installed by twisting off the old one and attaching the new one.
NAN. Depanaj
| Pwoblèm | Kòz posib | Solisyon |
|---|---|---|
| Lekti kòrèk | Sensor is dirty or dry; Calibration is outdated or incorrect; Damaged sensor. | Clean the sensor; Recalibrate the tester; Replace the sensor if damaged. |
| Tester does not power on | Pil mouri; Pil yo pa byen enstale. | Ranplase pil yo; Tcheke polarite pil yo. |
| "CAL Er" error during calibration | Incorrect calibration solution; Contaminated solution; Sensor issue. | Ensure correct 2.77 EC solution is used; Use fresh calibration solution; Clean or replace sensor. |
8. Espesifikasyon
- Nimewo Modèl: AI103G
- Dimansyon pwodwi: 7 x 1.5 x 1.3 pous
- Pwa: 4.69 ons
- Sous pouvwa: 4 pil AAA (enkli)
- Kalite Capteur: Replaceable Titanium EC Probe
- Paramèt mezi: EC, 500ppm, 700ppm, Temperature
- Premye dat disponib: 28 septanm 2022
9. Garanti ak sipò
Apera Instruments products are backed by a manufacturer's warranty. For detailed warranty information, technical support, or to purchase replacement parts, please visit the official Apera Instruments websit la oubyen kontakte sèvis kliyan yo dirèkteman. Kenbe resi acha w la pou reklamasyon garanti.
Manifakti: Apera Enstriman