1. Entwodiksyon
This instruction manual provides essential information for the proper installation, operation, and maintenance of the ALLIANCE LAUNDRY SYSTEMS Elbi Valve Diaphragm Kit, model G582P3. This kit is a genuine OEM replacement part designed for use in various laundry systems, including Cissell, Huebsch, IPSO, Speed Queen, Unimac, and Primus washers. It replaces part numbers G581P3 and F8425201. Please read this manual thoroughly before proceeding with any installation or maintenance.
2. Enfòmasyon sou Sekirite
Toujou obsève prekosyon sekirite sa yo pou evite blesi oswa domaj nan ekipman yo:
- Dekonekte pouvwa: Before beginning any work, ensure the laundry appliance is completely disconnected from its power source.
- Fèmen rezèv dlo a: Shut off the main water supply to the appliance to prevent water leakage.
- Mete ekipman pwoteksyon: Always wear appropriate personal protective equipment, such as safety glasses and gloves, to protect against potential hazards.
- Konsilte yon pwofesyonèl: Si ou pa sèten sou nenpòt etap, konsilte yon teknisyen kalifye.
- Manyen ak Swen: The diaphragm is a delicate component; avoid puncturing or tearing it during handling and installation.
3. Pake kontni
The ALLIANCE LAUNDRY SYSTEMS Elbi Valve Diaphragm Kit (G582P3) typically includes the following components:
- 1x Elbi Valve Diaphragm (G582P3)
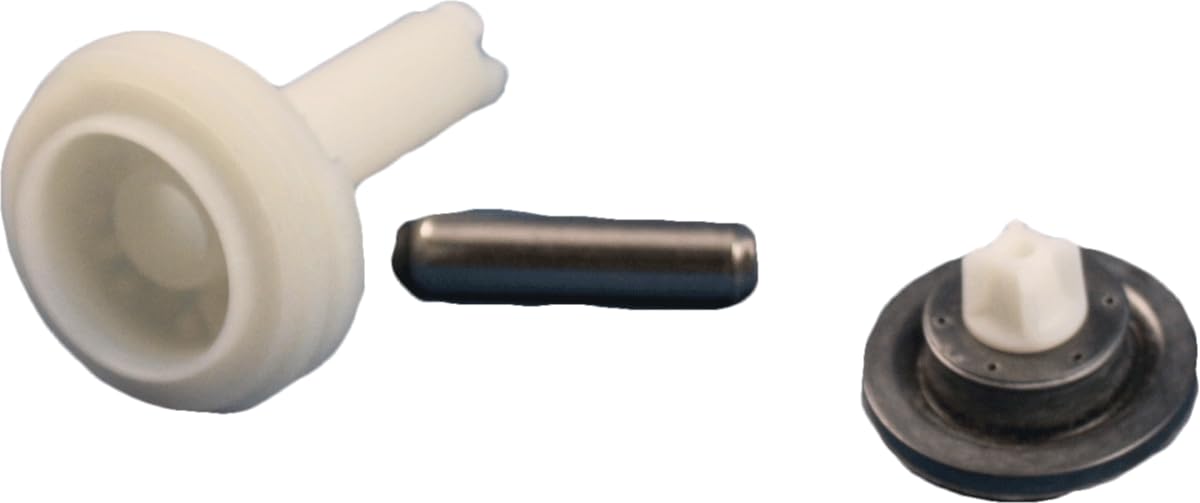
Figure 1: The ALLIANCE LAUNDRY SYSTEMS Elbi Valve Diaphragm Kit (G582P3). This image shows the replacement diaphragm, which is a crucial component for regulating water flow in laundry system valves.
4. Enstalasyon ak Enstalasyon
Follow these steps carefully to replace the Elbi valve diaphragm:
- Prepare Aparèy la: Ensure the laundry appliance is turned off, unplugged from the power outlet, and the water supply to the appliance is completely shut off.
- Locate the Elbi Valve: Identify the Elbi valve within your laundry system. Its location may vary depending on the specific appliance model.
- Drenaj Dlo Rezidyèl: If possible, drain any residual water from the valve or connected hoses to minimize spillage during disassembly.
- Disassemble the Valve: Carefully unfasten the screws or clips holding the valve housing together. Note the orientation of all components as you disassemble them.
- Remove Old Diaphragm: Gently remove the old, worn, or damaged diaphragm from its seating. Inspect the valve interior for any debris or mineral buildup and clean if necessary.
- Install New Diaphragm: Position the new G582P3 diaphragm into the valve housing. Ensure it is seated correctly and oriented precisely as the old one was. Improper seating can lead to leaks or malfunction.
- Reassemble the Valve: Carefully reassemble the valve housing, ensuring all screws or clips are securely fastened. Do not overtighten.
- Restore Services: Slowly turn the water supply back on and check for any leaks around the valve. Once confirmed leak-free, restore power to the appliance.
- Operasyon tès: Run a short cycle on the appliance to confirm proper water flow and valve operation.
5. Operasyon
The Elbi valve diaphragm is a critical component that regulates the flow of water into the laundry appliance. When installed correctly, it flexes to open and close water passages in response to pressure changes or solenoid activation, ensuring precise water delivery for various wash cycles. The diaphragm's integrity is essential for preventing leaks and maintaining efficient water control.
6. Antretyen
Regular inspection and timely replacement of the diaphragm are crucial for the longevity and proper functioning of your laundry system's Elbi valve:
- Enspeksyon peryodik: Periodically inspect the valve area for any signs of water leakage, which could indicate a failing diaphragm.
- Diaphragm Condition: If disassembling the valve for other maintenance, visually inspect the diaphragm for cracks, tears, hardening, or excessive wear.
- Frekans Ranplasman: The lifespan of a diaphragm can vary based on water quality, usage frequency, and operating conditions. Replace the diaphragm if any signs of degradation are observed or if the valve begins to malfunction.
- Netwayaj: Ensure the valve's internal components are free from mineral deposits or debris that could impede diaphragm movement.
NAN. Depanaj
If you encounter issues after replacing the diaphragm, refer to the table below:
| Pwoblèm | Kòz posib | Solisyon |
|---|---|---|
| Water Leakage from Valve |
|
|
| No Water Flow / Restricted Flow |
|
|
| Valve Not Closing Properly |
|
|
8. Espesifikasyon
- Nimewo Pati: G582P3
- Manifakti: Alliance Lesiv Sistèm
- Pwa atik: Apeprè 1.28 ons
- Dimansyon pake: Apeprè 11.85 x 6.45 x 1.4 pous
- Konpatibilite: Fits Cissell, Huebsch, IPSO, Speed Queen, Unimac, Primus, Alliance Laundry Systems Washers.
- Ranplase nimewo pati: G581P3, F8425201
9. Garanti ak sipò
This ALLIANCE LAUNDRY SYSTEMS product is manufactured to high-quality standards. For specific warranty information or technical support, please refer to the documentation provided with your original laundry appliance or contact ALLIANCE LAUNDRY SYSTEMS directly through their official website or customer service channels. Always use genuine replacement parts to ensure compatibility and maintain appliance warranty.