
Entwodiksyon
Thank you for choosing the GameMax H605 Micro ATX Gaming Tower Case. This manual provides essential information for the proper installation, operation, and maintenance of your new PC case. Please read this manual thoroughly before beginning assembly to ensure optimal performance and safety.
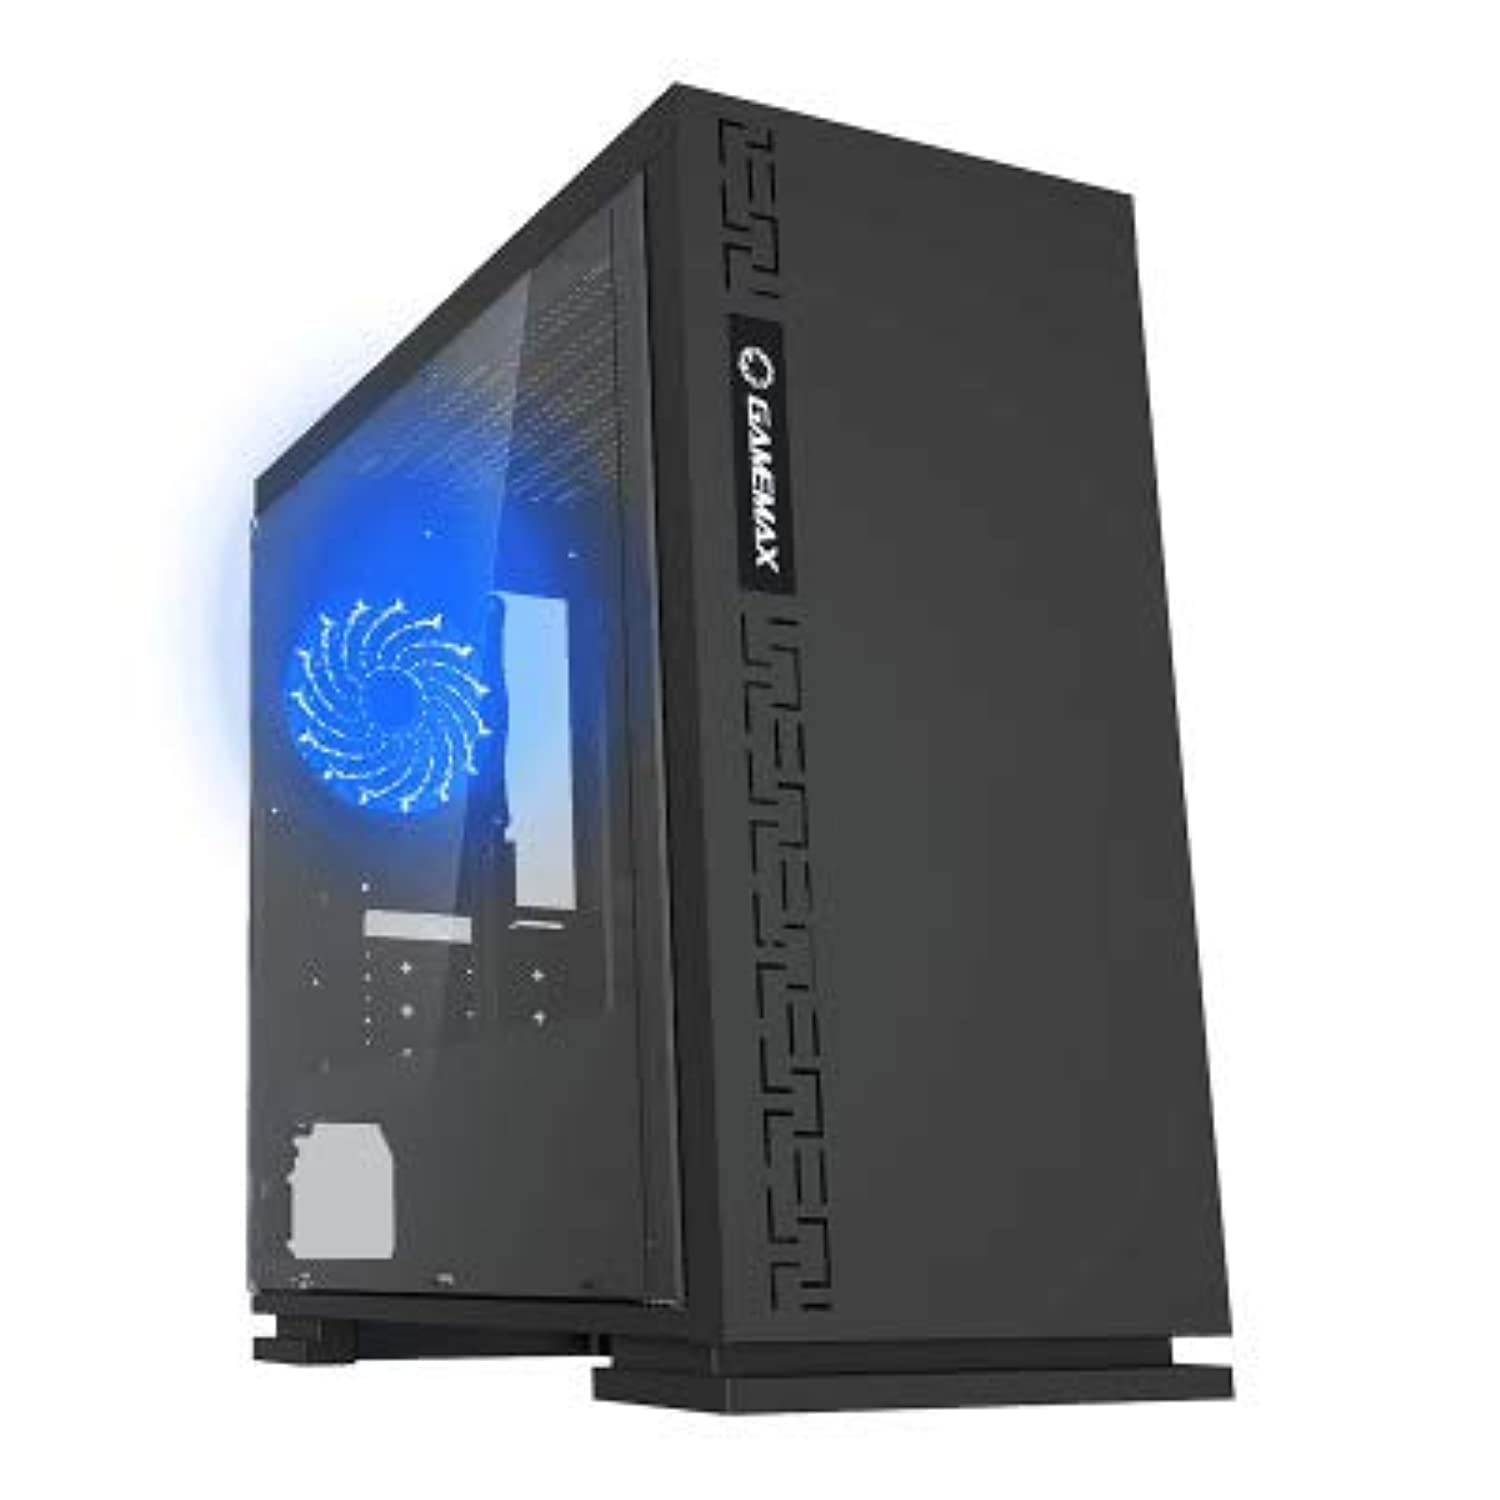
Figi 1: Devan view of the GameMax H605 Micro ATX Gaming Tower Case, showcasing its sleek design and front panel.
The GameMax H605 is designed for Micro ATX motherboards and features a compact yet efficient layout for gaming components. It includes one pre-installed LED fan at the rear for immediate cooling. The case is constructed from steel and plastic, offering a balance of durability and aesthetics.
Enfòmasyon sou Sekirite
Please observe the following safety guidelines during installation and operation:
- Toujou dekonekte ekipman pou kouran an nan priz miray la anvan ou enstale oswa retire nenpòt konpozan.
- Mete yon braslè ponyèt anti-estatik pou anpeche domaj akòz dechaj elektwostatik (ESD) sou konpozan sansib yo.
- Manyen konpozan yo ak anpil atansyon pou evite domaj fizik.
- Kenbe bwat la lwen likid ak imidite twòp.
- Ensure proper ventilation around the case to prevent overheating.
Kontni pake
Verify that all the following items are present in your GameMax H605 package:
- GameMax H605 Micro ATX Gaming Tower Case
- Bwat akseswa (vis, distansè, lyen kab)
- Manyèl Itilizatè (dokiman sa a)
If any items are missing or damaged, please contact your retailer or GameMax support.
Enstalasyon
1. Prepare Ka a
- Mete bwat la sou yon sifas plat epi ki estab.
- Remove the side panels by unscrewing the thumbscrews at the rear of the case and sliding the panels backward.

Figi 2: Enteryè view of the GameMax H605 case with the side panel removed, showing the motherboard tray and drive bays.
2. Enstalasyon mèr
- Install the I/O shield into the rear opening of the case.
- Align your Micro ATX motherboard with the standoffs inside the case. Ensure the standoffs match the screw holes on your motherboard.
- Sere kat manman an byen sere ak vis yo bay yo.
3. Enstalasyon Disk Depo
- For 3.5-inch HDDs, slide the drive into the designated drive cage bays and secure with screws if necessary.
- For 2.5-inch SSDs, mount them onto the dedicated SSD brackets or trays and secure with screws.
4. Enstalasyon ekipman pou pouvwa
- Position the power supply unit (PSU) in the bottom rear compartment of the case.
- Fikse PSU a nan bwat la avèk vis ki vini ak ekipman pouvwa a.
5. Enstalasyon Kat Grafik ak Kat Ekspansyon
- Retire kouvèti fant ekspansyon ki nesesè yo nan dèyè bwat la.
- Mete kat grafik ou a oswa lòt kat ekspansyon yo nan fant PCIe ki apwopriye yo sou kat manman ou an.
- Sere kat yo ak vis.

Figi 3: Dèyè view of the GameMax H605 case, showing expansion slots and I/O shield opening.
6. Jesyon kab
Utilize the cable routing cutouts and tie-down points behind the motherboard tray to manage cables. This improves airflow and aesthetics.
Opere
Once all components are installed and connected, replace the side panels and connect your peripherals (monitor, keyboard, mouse) to the motherboard's I/O ports. Connect the power cable to the PSU and a wall outlet. Press the power button on the front panel to start your system.

Figi 4: Devan anwo view of the GameMax H605 case, highlighting the front panel I/O ports and power button.
Antretyen
Regular maintenance helps ensure the longevity and optimal performance of your PC case and components:
- Netwayaj pousyè: Periodically clean dust from the case interior, fans, and filters using compressed air or a soft brush. Ensure the system is powered off and unplugged before cleaning.
- Verifikasyon Jesyon Kab: Occasionally check cable routing to ensure no cables are obstructing airflow or fan operation.
- Enspeksyon fanatik: Verify that all fans are spinning freely and are free from obstructions.
Depanaj
Si ou rankontre pwoblèm ak konfigirasyon PC ou a, konsidere etap depanaj komen sa yo:
- Pa gen pouvwa: Ensure all power cables (24-pin ATX, 8-pin CPU, GPU power) are securely connected. Check if the PSU switch is in the 'ON' position.
- Pa gen ekspozisyon: Verify that the monitor cable is connected to the graphics card (not the motherboard I/O) and that the monitor is powered on and set to the correct input.
- Surchof: Check fan connections and ensure they are spinning. Clean any dust buildup. Verify proper airflow within the case.
- Koneksyon ki lach: Re-seat RAM modules, graphics card, and all power/data cables to ensure they are firmly in place.
Espesifikasyon
| Karakteristik | Detay |
|---|---|
| Mak | JwètMax |
| Nimewo Modèl Atik | H605 BLK |
| Manifakti | JwètMax |
| Seri | H605 BLK |
| Koulè | Nwa |
| Platfòm pyès ki nan konpitè | Windows 7 |
| Batri enkli | Non |
| Pwa atik | 7.53 gram |
| Mèr konpatibilite | Mikwo ATX |
| Kalite Ka | Mid Tower |
| Itilizasyon Rekòmande Pou Pwodwi | Gaming |
| Materyèl | Solid Plastic Alloy |
| Metòd refwadisman | Water (Implies compatibility for water cooling solutions) |
| Non modèl | H605 BLK |
| Gwosè fanatik | 120 milimèt |
| Total pò USB | 1 |
| Dat Premye Disponib | 9 jiyè 2019 |
Garanti ak sipò
GameMax products are designed for reliability and performance. For warranty information, please refer to the warranty card included with your purchase or visit the official GameMax website. If you require technical assistance or have questions regarding your GameMax H605 case, please contact GameMax customer support through their official channels.
Tanpri kenbe prèv ou achte pou reklamasyon garanti.