Calvas HYPFCR-38W, HYPFCR-30, HYPFCR-37W, HYPFCR-47, HYPFCR-48W
User Manual for Calvas Air Conditioner Remote Control
Compatible Models: HYPFCR-38W, HYPFCR-30, HYPFCR-37W, HYPFCR-47, HYPFCR-48W
1. Pwodwi souview
This manual provides detailed instructions for the operation and maintenance of your Calvas Air Conditioner Remote Control. This remote is designed to be compatible with various Mitsubishi air conditioner models, ensuring convenient control over your cooling and heating settings.
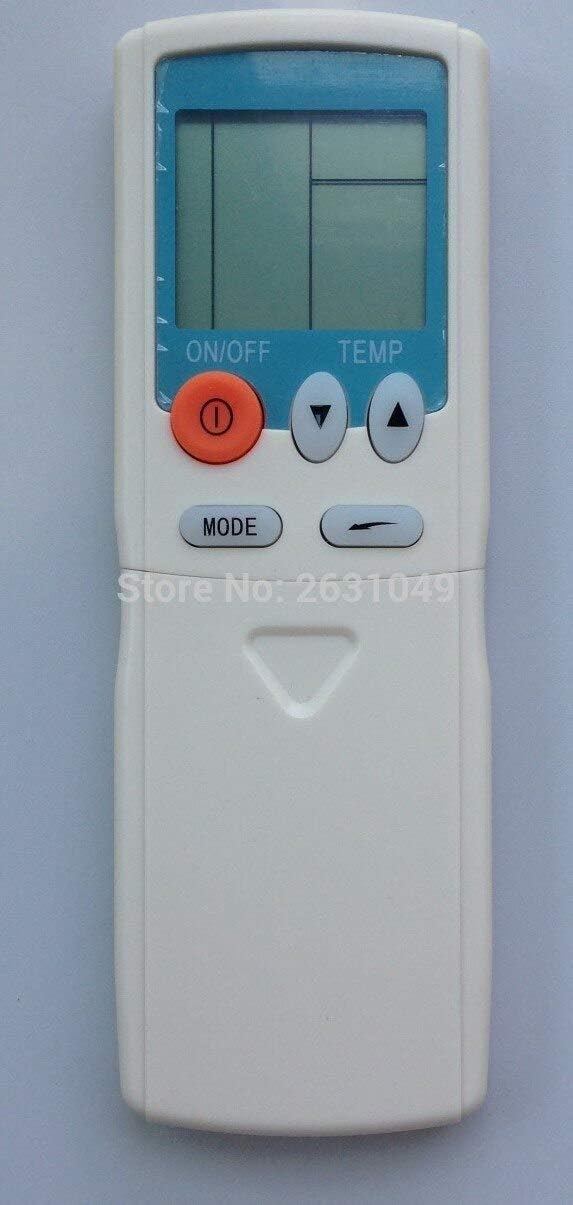
Figi 1: Devan view of the Calvas Air Conditioner Remote Control. It features a clear LCD display at the top, an orange ON/OFF button, two triangular temperature adjustment buttons (up and down), and a MODE button below them. The remote is white with a light blue accent around the display.
2. Enstalasyon
2.1 Enstalasyon batri
To begin using your remote control, you must first install the batteries. This remote requires standard batteries (typically AAA, though the product specifications mention Lithium, please verify the battery type indicated in the battery compartment).
- Jwenn lòj batri a sou do a nan kontwòl remote la.
- Glise kouvèti konpatiman batri a anba oswa nan direksyon flèch la endike a pou ouvri li.
- Insert the batteries, ensuring the positive (+) and negative (-) terminals align correctly with the markings inside the compartment. Incorrect insertion can prevent the remote from functioning.
- Remèt kouvèti konpatiman batri a lè w glise l tounen nan plas li jiskaske li fè yon klik byen fèm.
After battery installation, the LCD display on the remote should illuminate, indicating it is ready for use.
3. Operasyon Enstriksyon
Familiarize yourself with the buttons on your remote control to effectively manage your air conditioner's functions.

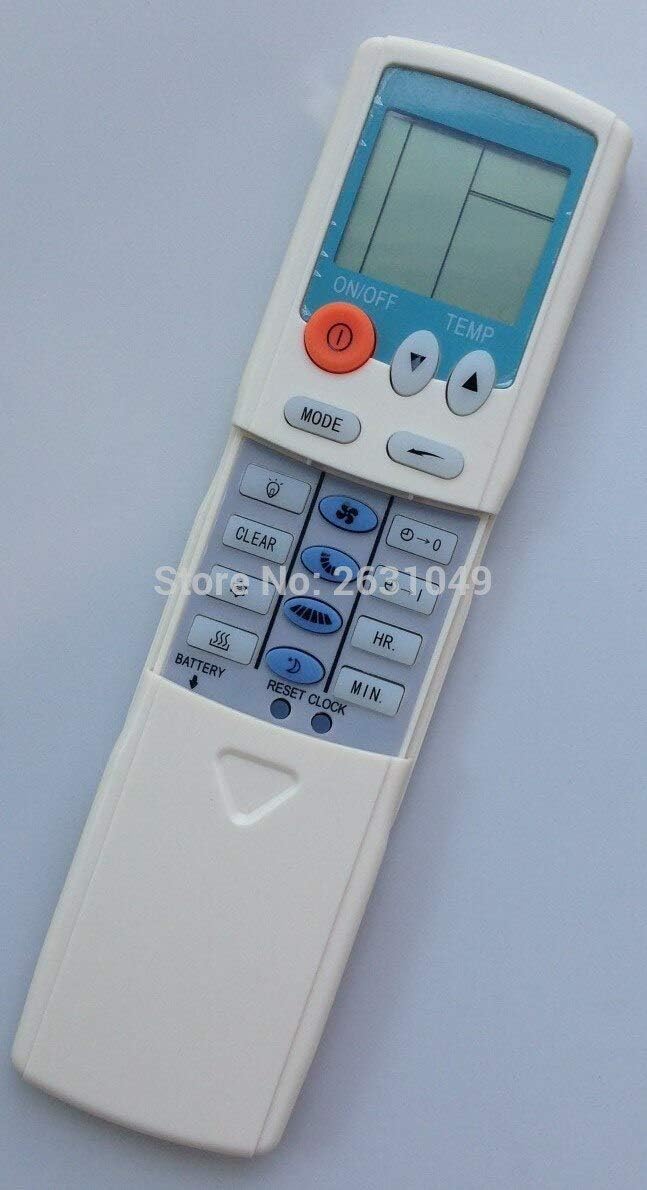
Figi 2: Detaye view of the remote control with the lower panel extended, revealing additional function buttons. These include buttons for fan speed, timer settings, and possibly a reset clock function.
3.1 Fonksyon debaz
- Bouton ON/OFF (●): Press this orange button to turn the air conditioner unit on or off.
- Bouton Ajisteman Tanperati (▲ TEMP ▼): Use the up (▲) and down (▼) triangular buttons to increase or decrease the desired temperature setting.
- Bouton MODE: Press this button to cycle through the available operating modes, such as Cool, Heat, Fan, Dry, and Auto. The current mode will be displayed on the LCD screen.
3.2 Advanced Functions (Under Sliding Cover)
Some models of this remote control feature a sliding cover at the bottom that reveals additional function buttons. Slide the cover down to access these controls.
- Bouton vitès fanatik: Typically represented by fan icons, these buttons allow you to adjust the fan speed (e.g., Low, Medium, High, Auto).
- Timer Buttons (HR., MIN.): Used to set the ON/OFF timer for the air conditioner. Refer to your air conditioner's main manual for specific timer programming instructions.
- Klè bouton: May be used to clear certain settings or timer programs.
- RESET CLOCK Button: Used to reset the internal clock of the remote, if applicable.
- Endikatè BATRI: Some remotes may have a low battery indicator or a button to check battery status.
Figi 3: Side view of the remote control, providing a clearer perspective of the button arrangement and the sliding cover mechanism.
4. Antretyen
4.1 Netwaye Telekòmand lan
To ensure the longevity and proper functioning of your remote control, keep it clean and free from dust and debris.
- Wipe the surface of the remote with a soft, dry cloth.
- Pou pousyè tè fè tèt di, alalejè dampRense twal la avèk dlo oswa yon pwodui netwayaj dou ki pa abrazif. Pa flite pwodui netwayaj la dirèkteman sou telekòmand lan.
- Evite itilize pwodui chimik ki fò, solvan, oswa materyèl netwayaj abrazif, paske sa yo ka domaje fini telekòmand lan oswa konpozan entèn yo.
4.2 Ranplasman batri
Replace batteries when the display becomes dim or the remote's range decreases. Always replace all batteries at the same time with new ones of the same type.
- Swiv etap enstalasyon batri yo ki dekri nan Seksyon 2.1.
- Jete pil yo itilize yon fason responsab selon règleman lokal yo.
NAN. Depanaj
If you experience issues with your remote control, try the following troubleshooting steps before seeking further assistance.
| Pwoblèm | Kòz posib | Solisyon |
|---|---|---|
| Remote not responding / Air conditioner not reacting. |
|
|
| Ekran an fèb oswa vid. |
|
|
| Telekòmand lan fonksyone pa tanzantan. |
|
|
6. Espesifikasyon
| Karakteristik | Detay |
|---|---|
| Mak | tach chòv |
| Konpatibilite modèl | HYPFCR-38W, HYPFCR-30, HYPFCR-37W, HYPFCR-47, HYPFCR-48W |
| Kominikasyon san fil | Enfrawouj (IR) |
| Frekans | 433 MHz |
| Chèn | 1 |
| Aparèy konpatib | È kondisyone |
| Materyèl | Lòt |
| Kalite batri | Lithium (Please verify actual battery type in compartment, typically AAA/AA for remotes) |
Ask a question about this manual
Ask about setup, troubleshooting, compatibility, parts, safety, or missing instructions. Manuals+ will review the question and use this page’s manual context to help answer it.