
1. Entwodiksyon
The GameMax Mirage 120mm PC Cooling Fan is designed to provide efficient cooling for computer components while offering customizable RGB lighting. This fan features a dual-ring Rainbow LED design, a hydraulic bearing for quiet operation, and a 7-blade fan structure. It is compatible with 5V addressable 3-pin Aura Sync systems, allowing for synchronized lighting effects with compatible motherboards or controllers.

Imaj 1.1: Devan view of the GameMax Mirage fan with active Rainbow LED lighting.
2. Enfòmasyon sou Sekirite
- Asire w ke sistèm òdinatè w la etenn epi debranche li nan priz miray la anvan enstalasyon oswa antretyen.
- Handle components with care to avoid damage from static electricity. Consider using an anti-static wrist strap.
- Pa fòse konektè yo. Asire w ke yo byen oryante anvan ou branche kab yo.
- Keep the fan away from liquids and excessive moisture.
- Do not attempt to disassemble the fan unit beyond what is described in this manual.
3. Pake kontni
Verifye ke tout atik yo prezan nan pakè ou a:
- 1 x GameMax Mirage 120mm PC Cooling Fan
- 4 x aliye vis
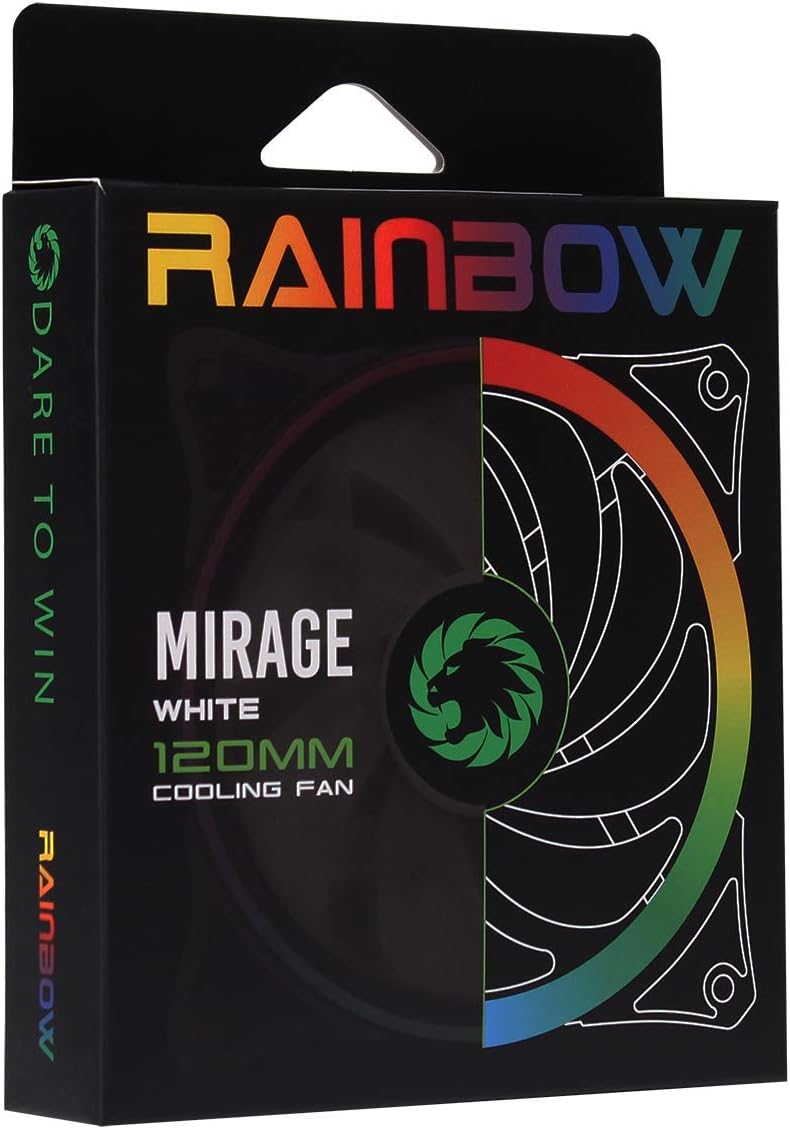
Image 3.1: Retail packaging for the GameMax Mirage fan.
4. Enstalasyon ak Enstalasyon
Follow these steps to install your GameMax Mirage 120mm PC Cooling Fan:
- Prepare Sistèm ou an: Power off your computer and unplug it from the power outlet. Open your computer case to access the fan mounting locations.
- Monte fanatik la: Position the fan in your desired location (e.g., case front, rear, top, or radiator). Ensure the airflow direction is correct for your cooling setup. Use the four included mounting screws to secure the fan to the chassis or radiator. The fan features rubber pads on the corners to help reduce vibration.
- Konekte pouvwa vantilatè a: Locate the 3-pin power connector on the fan cable. Connect this cable to an available 3-pin fan header on your motherboard or a fan controller.
- Connect RGB Lighting: Locate the 5V addressable 3-pin Aura connector on the fan cable. Connect this to a compatible 5V ARGB header on your motherboard (often labeled 'VDG' or 'ARGB') or an external RGB controller/hub. Warning: Do not connect this to a 12V RGB header, as it will damage the LEDs.

Image 4.1: The 3-pin power connector (top) and 5V addressable 3-pin Aura connector (bottom).
The fan cables are braided for improved aesthetics and durability, helping to keep your build neat and tidy.
5. Operasyon Enstriksyon
Once installed, the GameMax Mirage fan operates as follows:
- Kontwòl vitès fanatik: The fan speed is controlled via the 3-pin power connector. If connected to a motherboard fan header, the speed can typically be adjusted through your motherboard's BIOS/UEFI settings or dedicated software.
- Kontwòl ekleraj RGB: The Rainbow LED lighting is controlled via the 5V addressable 3-pin Aura connector.
- If connected to a compatible motherboard (e.g., ASUS Aura Sync, MSI Mystic Light, Gigabyte RGB Fusion, ASRock Polychrome Sync), you can use the motherboard's software to customize lighting effects, colors, and synchronization with other ARGB components.
- If connected to an external RGB hub/controller, refer to the instructions provided with your specific hub/controller for lighting customization options.

Imaj 5.1: Angle view of the GameMax Mirage fan showcasing its dual-ring Rainbow LED lighting.
6. Antretyen
Antretyen regilye ede asire pèfòmans optimal ak lonjevite fanatik refwadisman ou an:
- Netwayaj pousyè: Detanzantan, enspekte lam vantilatè yo ak ankadreman an pou wè si gen pousyè ki akimile. Sèvi ak lè konprese oswa yon bwòs mou pou retire pousyè a dousman. Asire w ke vantilatè a etenn epi li debranche anvan ou netwaye li.
- Enspeksyon kab: Occasionally check the power and RGB cables for any signs of wear or damage.
NAN. Depanaj
- Vantilatè a pa ap vire:
- Ensure the 3-pin power connector is securely plugged into a functional fan header on the motherboard or controller.
- Check motherboard BIOS/UEFI settings to ensure the fan header is enabled and configured correctly.
- LEDs Not Lighting Up or Incorrect Colors:
- Verify the 5V addressable 3-pin Aura connector is securely connected to a compatible 5V ARGB header (not 12V RGB).
- Ensure your motherboard's RGB software or external controller is properly installed and configured.
- If using a splitter or hub, ensure it is powered and functioning correctly.
- Twòp bri:
- Check for any cables or obstructions interfering with the fan blades.
- Ensure the fan is securely mounted and the rubber pads are properly seated to absorb vibrations.
- Dust accumulation can cause imbalance and noise; clean the fan as described in the Maintenance section.
8. Espesifikasyon
| Karakteristik | Spesifikasyon |
|---|---|
| Modèl | MIRAGEWHITE FINS |
| Gwosè fanatik | 120mm x 120mm x 25mm (0.98 x 4.72 x 4.72 pous) |
| Kalite kote yo pote | Kote yo pote idwolik |
| Fan Fan | 7 lam |
| Ki ap dirije Kalite | Addressable Rainbow LED (Dual-Ring) |
| Fan Power Connector | 3-Pin |
| RGB Connector | 5V Addressable 3-Pin Aura Connector |
| Opere Voltage | 5 Volts (for RGB) / 12 Volts (for fan motor, typical for 3-pin) |
| Rated Wattage | 3 Watts |
| Maksimòm vitès wotasyon | 1800 RPM |
| Nivo bri | Apeprè 25 dB(A) |
| Materyèl | Rubber (for vibration dampfen) |

Imaj 8.1: Dèyè view of the GameMax Mirage fan, displaying the product label with model and electrical specifications.
9. Garanti ak sipò
For warranty information and technical support, please refer to the official GAMEMAX websit la oubyen kontakte revandè w la. Kenbe prèv acha w la pou reklamasyon garanti a.