Pwodwi souview
This document provides instructions for the KELUSHI Fiber Optic Cleaver Replacement Blade, designed for use with Fujikura CT-20, CT-30, and CT-05 fiber optic cleavers. The blade is crafted from ultra-fine tungsten steel, ensuring stable and high-quality performance for precise fiber cleaving. Each blade features 16 rotating cutting points, with each point capable of over 2,500 cleaves, contributing to an overall blade lifespan of approximately 30,000 cleaves. It is engineered to achieve a cutting angle of less than 0.5° for single-core optical fibers.
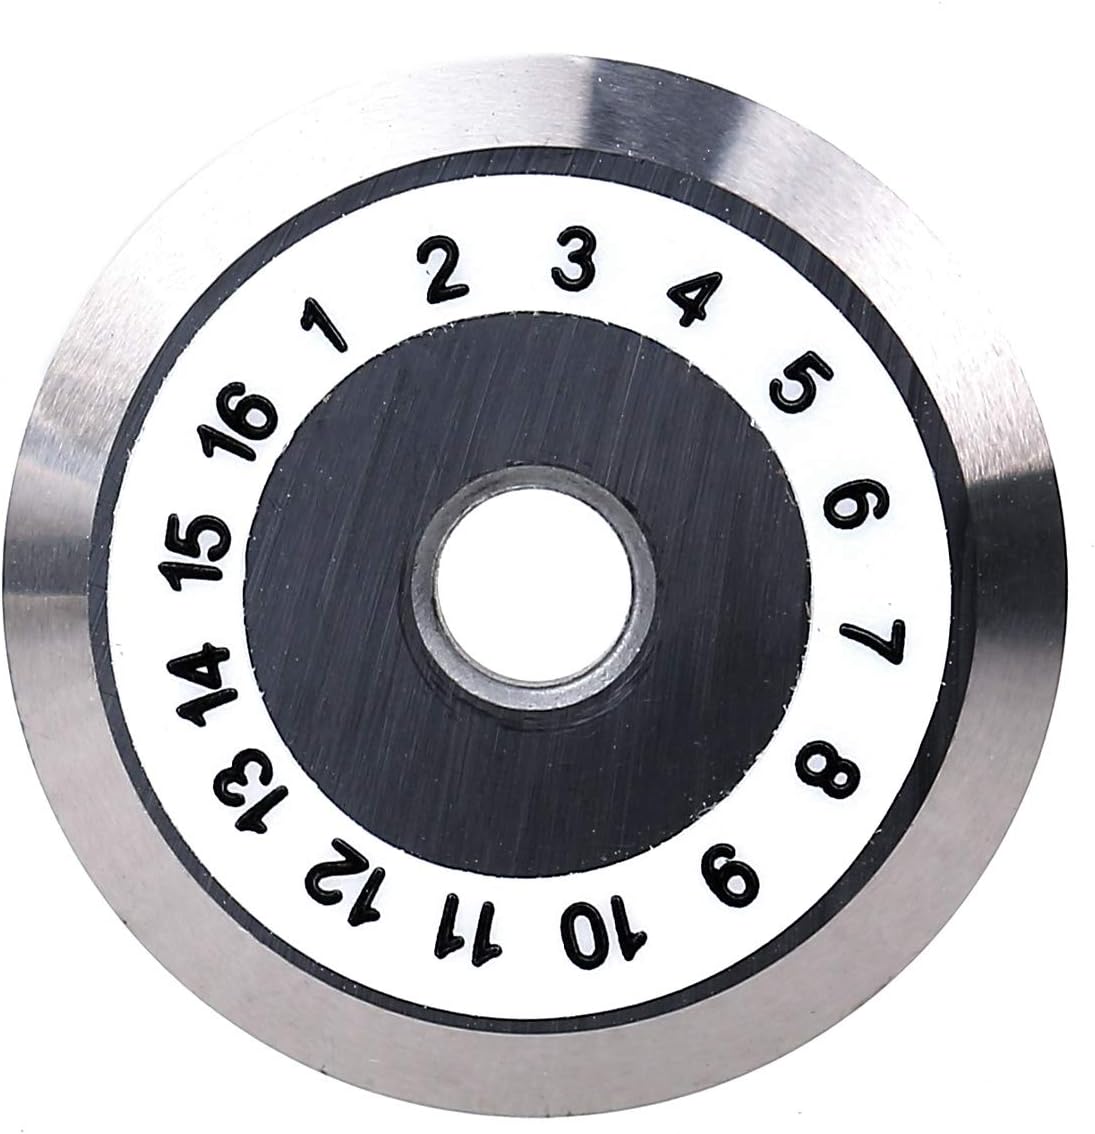
Imaj: Top view of the KELUSHI Fiber Optic Cleaver Replacement Blade, displaying its 16 numbered cutting positions.
Enstalasyon ak Enstalasyon
This blade is a replacement component for compatible fiber optic cleavers. Always refer to the specific instruction manual of your Fujikura CT-20, CT-30, or CT-05 cleaver for detailed blade replacement procedures. The following are general guidelines:
- Sekirite Premye: Ensure the fiber optic cleaver is powered off and disconnected from any power source before attempting blade replacement. Handle the blade with extreme care as it is very sharp.
- Access Blade Compartment: Locate and open the blade compartment on your cleaver. This may involve unscrewing a cover or releasing a latch.
- Retire ansyen lam la: Carefully remove the worn blade. Use appropriate tools (e.g., tweezers or small pliers) to avoid direct contact with the cutting edge. Dispose of the old blade safely according to local regulations for sharp objects.
- Enstale nouvo lam la: Position the new KELUSHI replacement blade into the cleaver's blade holder. Ensure it sits flush and is correctly oriented. The numbered side typically faces upwards or as indicated by your cleaver's manual.
- Lam byen an sekirite: Fasten any screws or latches to secure the new blade in place. Close the blade compartment.
- Tcheke inisyal: Perform a test cleave on a scrap fiber to verify proper installation and cutting performance.

Imaj: Handling the replacement blade with pliers during installation or removal. Always use caution.
Operating Instructions (Blade Rotation)
The KELUSHI replacement blade features 16 distinct cutting points to maximize its lifespan. When cleaving performance degrades, it is time to rotate the blade to a fresh cutting point. Refer to your cleaver's manual for specific instructions on how to access and rotate the blade.
- Identify Current Point: Note the currently active cutting point, usually indicated by a mark or position within the cleaver.
- Access Rotation Mechanism: Depending on your cleaver model, you may need to open a cover or use a specialized tool to engage the blade's rotation mechanism.
- Rotate Blade: Carefully rotate the blade to the next numbered position. The blade is designed to click into place at each point. Ensure the rotation is smooth and the blade is securely seated in the new position.
- Verifye: Close the cleaver's cover and perform a test cleave to confirm improved performance.
Each cutting point is designed for over 2,500 cleaves. Keep track of the active point to ensure optimal use of the blade's full lifespan.

Imaj: A tool being used to rotate the KELUSHI cleaver blade to a new numbered cutting position.
Antretyen
Proper maintenance extends the life and performance of your cleaver blade.
- Netwayaj: Periodically inspect the blade for fiber debris. Use a soft, lint-free cloth and isopropyl alcohol to gently clean the blade surface. Avoid abrasive materials or excessive force.
- Enspeksyon: Regularly inspect the cutting edge for chips, nicks, or excessive wear. If all 16 points have been used and cleaving performance is still poor, the blade requires replacement.
- Depo: When not in use, store the blade in its protective case to prevent damage and contamination. Keep it in a clean, dry environment away from dust and moisture.

Imaj: Yon fèmen view of the blade's cutting edge, highlighting its sharpness and precision.
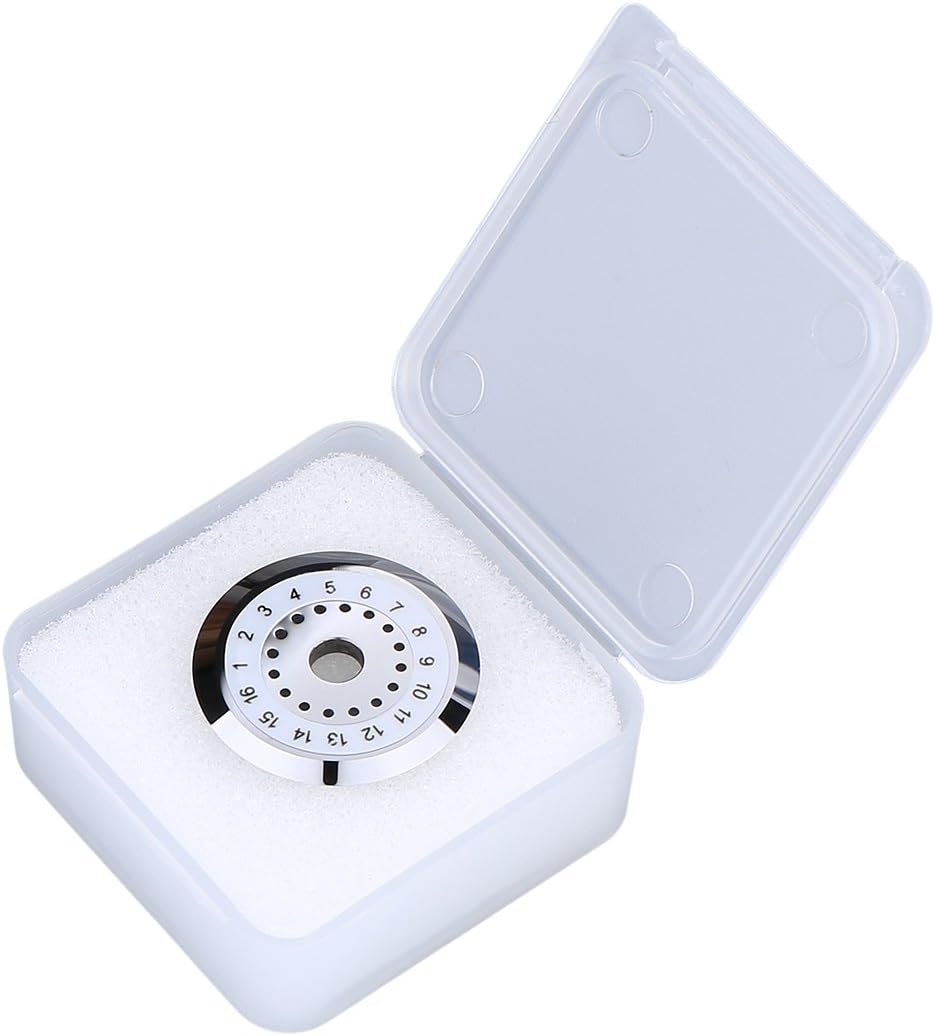
Imaj: The KELUSHI replacement blade securely stored in its transparent protective case.
Depanaj
If you experience issues with fiber cleaving, consider the following troubleshooting steps related to the blade:
- Poor Cleave Quality (e.g., angled, chipped, or rough ends):
- Mat lam: Rotate the blade to the next unused cutting point.
- Kontaminasyon: Clean the blade surface with isopropyl alcohol.
- Enstalasyon ki pa kòrèk: Re-check that the blade is correctly seated and secured in the cleaver.
- Blade Exhausted: If all 16 points have been used and rotated, the blade has reached the end of its service life and requires replacement.
- Lam pa wotasyon san pwoblèm:
- Debri: Inspect for any debris obstructing the rotation mechanism. Clean as necessary.
- Move aliyman: Ensure the blade is correctly installed and not binding.
For issues not related to the blade, such as fiber clamping or cleaver mechanism problems, consult the instruction manual for your specific Fujikura cleaver model.
Espesifikasyon teknik
| Mak | KELUSHI |
| Materyèl | Ultra-fine Tungsten Steel Alloy |
| Number of Cutting Points | 16 |
| Lifespan per Point | > 2,500 cleaves |
| Total Blade Lifespan | ~ 30,000 cleaves |
| Koupe Ang | < 0.5° (for single-core fiber) |
| Konpatibilite | Fujikura CT-20, CT-30, CT-05 Fiber Optic Cleavers |
| Dimansyon apwoksimatif pake a | 9.3 x 3.3 x 2.1 cm |
| Pwa Apwoksimatif Atik la | 15 gram |
Garanti ak sipò
Specific warranty information for this replacement blade is not provided in this manual. For details regarding warranty coverage, returns, or technical support, please contact the seller or the KELUSHI manufacturer directly. Ensure you retain your proof of purchase for any warranty claims.