Entwodiksyon
This manual provides detailed instructions for the safe and efficient operation, maintenance, and troubleshooting of your Mr. Coffee TF6 5-Cup Switch Coffeemaker. Designed for convenience, this coffeemaker is ideal for small households or office use, featuring a compact design and a "Pause 'n Serve" function.
Karakteristik kle
- On/Off Indicator Light: Clearly shows when the coffeemaker is operating.
- Panye Filtè Detachable: Lifts out for easy filling with ground coffee and simple cleaning.
- Brewing Pause 'n Serve: Allows you to pour a cup of coffee before the brewing cycle is complete.
- Dual Water Window: Bay yon klè view of the water level in the reservoir for accurate filling.
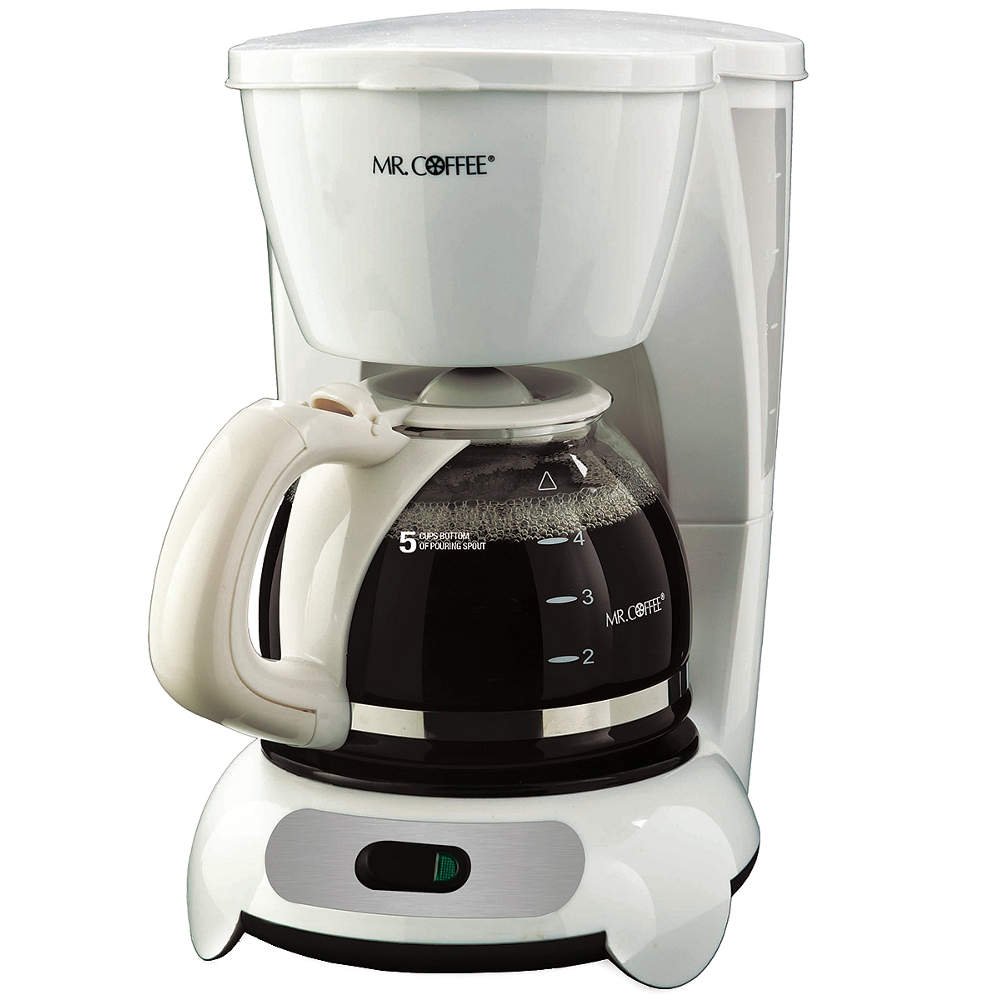
Image: Mr. Coffee TF6 5-Cup Switch Coffeemaker in white, showcasing its compact design and glass carafe.
Enfòmasyon enpòtan sou sekirite
Please read all instructions carefully before using this appliance. Basic safety precautions should always be followed to reduce the risk of fire, electric shock, and/or injury to persons.
- Pa manyen sifas cho. Sèvi ak manch oswa bouton.
- To protect against electric shock, do not immerse cord, plugs, or coffeemaker in water or other liquid.
- Sipèvizyon sere se nesesè lè nenpòt aparèy itilize pa oswa toupre timoun yo.
- Debranche soti nan priz lè yo pa itilize ak anvan netwaye. Kite refwadi anvan ou mete oswa retire pati yo, epi anvan ou netwaye aparèy la.
- Pa opere nenpòt aparèy ki gen yon kòd oswa ploge ki domaje oswa apre aparèy la fonksyone byen, oswa li te domaje nan nenpòt fason.
- Itilizasyon akseswar manifakti aparèy la pa rekòmande pou yo ka lakòz dife, chòk elektrik oswa blesi sou moun.
- Pa sèvi ak deyò.
- Pa kite kòd pandye sou kwen tab oswa kontwa, oswa manyen sifas cho.
- Pa mete sou oswa toupre yon gaz cho oswa recho elektrik, oswa nan yon fou chofe.
- Pou dekonekte, mete nenpòt kontwòl sou "off", apresa retire ploge a nan priz miray la.
- Pa sèvi ak aparèy pou lòt itilizasyon ki gen entansyon an.
- Bouyi ka rive si yo retire kouvèti a pandan sik enplikasyonJwi a.
Idantifikasyon pati yo
Familiarize yourself with the components of your coffeemaker before first use.
- Kouvèti: Kouvri rezèvwa dlo a ak zòn panyen filtè a.
- Rezèv dlo: Holds the water for brewing. Features a dual water window.
- Filtre panyen: Removable basket that holds the coffee filter and ground coffee.
- Flite tèt: Distributes hot water evenly over coffee grounds.
- Karaf vè: Collects the brewed coffee. Features a handle and pouring spout.
- Plak chofe: Li kenbe kafe ki fin moulu a cho.
- ON / OFF switch: Illuminates when the coffeemaker is on.
- Kòd pouvwa: Connects the coffeemaker to an electrical outlet.
Enstalasyon ak Premye Itilizasyon
Before brewing your first pot of coffee, it is important to clean the coffeemaker.
- Dekonpoze: Remove all packing materials and any labels from your coffeemaker.
- Clean Carafe and Filter Basket: Wash the glass carafe and removable filter basket in warm, soapy water. Rinse thoroughly and place them back into the coffeemaker.
- Sik Netwayaj Inisyal la: Fill the water reservoir with cold water up to the 5-cup mark. Do not add coffee. Place the empty filter basket into its position. Close the lid.
- Brew Water: Place the empty carafe on the warming plate. Plug the power cord into an electrical outlet. Press the ON/OFF switch to the ON position. Allow the coffeemaker to complete a full brewing cycle.
- Jete dlo a: Once the cycle is complete, turn the coffeemaker OFF and discard the water from the carafe. Let the unit cool for 5 minutes.
- Repete: Repeat steps 3-5 once more to ensure the coffeemaker is thoroughly cleaned. Your coffeemaker is now ready for use.
Enstriksyon Operasyon
Follow these steps to brew a fresh pot of coffee.
- Ranpli rezèvwa dlo: Open the coffeemaker lid. Fill the glass carafe with the desired amount of cold, fresh water (up to 5 cups). Pour the water into the water reservoir. The dual water window will help you measure accurately.
- Mete filtè: Place a standard basket-style paper filter (or a reusable gold-tone filter, if preferred) into the removable filter basket.
- Ajoute Kafe: Mete kantite kafe moulu ou vle a nan filtè a. Yon gid jeneral se yon gwo kiyè kafe moulu pou chak tas, men ajiste selon gou ou.
- Position Filter Basket: Slide the filter basket firmly into its position. Close the coffeemaker lid securely.
- Mete karafe a: Ensure the empty glass carafe is properly seated on the warming plate.
- Kòmanse melanje: Plug the power cord into an electrical outlet. Press the ON/OFF switch to the ON position. The indicator light will illuminate, and brewing will begin.
- Pause 'n Serve (Optional): If you wish to pour a cup before brewing is complete, carefully remove the carafe. The flow of coffee will temporarily stop. Return the carafe to the warming plate within 20 seconds to prevent overflow.
- Jwi: Once brewing is complete, the coffeemaker will keep the coffee warm on the warming plate. For optimal flavor, serve coffee immediately after brewing.
Antretyen ak netwayaj
Netwayaj regilye asire pi bon pèfòmans epi li pwolonje lavi machin kafe ou a.
Netwayaj chak jou
- Dekonekte epi refwadi: Toujou debranche machin kafe a epi kite l refwadi nèt anvan ou netwaye li.
- Discard Grounds and Filter: Remove and discard the used coffee grounds and paper filter (or empty and rinse reusable filter).
- Lave Pati detachable: Wash the glass carafe and filter basket in warm, soapy water. Rinse thoroughly. These parts are not dishwasher safe.
- Siye eksteryè: Siye deyò machin kafe a ak yon twal mou, damp twal. Pa sèvi ak pwodui netwayaj abrazif oswa kousinen.
- Sèk: Asire w ke tout pati yo fin sèk anvan ou remonte oswa estoke.
Decalcifying (Monthly or as needed)
Mineral deposits (calcium) can build up in your coffeemaker, affecting its performance. Decalcify regularly.
- Prepare Solisyon an: Pour 4 cups of undiluted white household vinegar into the water reservoir.
- Brew Half: Place an empty paper filter in the filter basket and close the lid. Place the empty carafe on the warming plate. Turn the coffeemaker ON and allow half of the vinegar solution to brew through.
- Tranpe: Turn the coffeemaker OFF and let it soak for at least 30 minutes.
- Complete Brew: Turn the coffeemaker ON again and allow the remaining vinegar solution to brew through.
- Sik Rense: Discard the vinegar solution. Fill the water reservoir with fresh, cold water and brew through a full cycle. Repeat this rinsing cycle two more times with fresh water to remove any residual vinegar taste.
Depanaj
Gade seksyon sa a pou pwoblèm komen ak solisyon yo.
| Pwoblèm | Kòz posib | Solisyon |
|---|---|---|
| Coffeemaker does not brew. | Not plugged in; ON/OFF switch not activated; power outage. | Ensure unit is plugged in and switch is ON. Check household circuit breaker. |
| Kafe a debòde nan panyen filtè a. | Too much coffee grounds; filter basket not seated correctly; carafe not on warming plate; clogged spray head. | Use less coffee. Ensure filter basket and carafe are correctly positioned. Clean spray head. |
| Kafe a gen yon gou fèb oswa twò fò. | Incorrect coffee-to-water ratio; old coffee grounds. | Adjust coffee amount to taste. Use fresh coffee grounds. |
| Brasaj la pran tan. | Akimilasyon mineral (kalsifikasyon). | Decalcify the coffeemaker as per the maintenance instructions. |
Espesifikasyon
| Spesifikasyon | Detay |
|---|---|
| Mak | Mesye kafe |
| Nimewo Modèl | TF6 |
| Koulè | Blan |
| Kapasite | 5 tas |
| Kalite Coffee Maker | Degoute kafe machin |
| Karakteristik espesyal | Manual, Permanent Filter (optional) |
| Itilizasyon Rekòmande | Itilizasyon lakay, Itilizasyon biwo |
| Mòd operasyon | Totalman otomatik |
| Voltage | 110 Volts |
| Sous pouvwa | AC adaptè |
| Kalite Antre Kafe | Kafe tè |
| Dimansyon pwodwi | 9 x 7.2 x 11.1 pous |
| Pwa atik | 3 liv |
| Èske Dishwasher Safe | Non (pou pati detachable) |
Garanti ak sipò
For warranty information and customer support, please refer to the warranty card included with your product or visit the official Mr. Coffee websit la. Kenbe resi acha ou kòm prèv acha pou nenpòt reklamasyon garanti.