Entwodiksyon
This manual provides detailed instructions for the safe and efficient operation, maintenance, and troubleshooting of your Mr. Coffee Automatic Dual Shot Espresso/Cappuccino System. This appliance is designed to create authentic, bold espresso drinks, cappuccinos, and lattes with ease, featuring a 15-bar pump system and a thermal block heating system for quick results.
Enfòmasyon enpòtan sou sekirite
Tanpri li tout enstriksyon yo ak anpil atansyon anvan ou itilize aparèy la. Kenbe manyèl sa a pou referans pita.
- Toujou debranche aparèy la nan priz kouran anvan ou netwaye li oswa lè w pa ap itilize li.
- Pa plonje aparèy la, kòd, oswa ploge nan dlo oswa lòt likid.
- Sipèvizyon sere se nesesè lè nenpòt aparèy itilize pa oswa toupre timoun yo.
- Pa opere nenpòt aparèy ki gen yon kòd oswa ploge ki domaje, oswa apre aparèy la fonksyone mal oswa li te domaje nan nenpòt fason.
- Sèvi ak sèlman Pwodwi pou Telefòn rekòmande pa manifakti a.
- Pa sèvi ak deyò.
- Pa kite kòd pandye sou kwen tab oswa kontwa, oswa manyen sifas cho.
- Pa mete sou oswa toupre yon gaz cho oswa recho elektrik, oswa nan yon fou chofe.
- Toujou branche ploge a nan aparèy la an premye, answit branche kòd la nan priz miray la. Pou dekonekte li, vire nenpòt kontwòl sou "off", epi retire ploge a nan priz miray la.
- Pa sèvi ak aparèy pou lòt itilizasyon ki gen entansyon an.
- Scalding may occur if the water reservoir lid is removed during the brewing cycle.
- Evite kontak ak pati k ap deplase.
Pwodwi konpozan
Familiarize yourself with the parts of your espresso machine:
- Water Reservoir (removable, 40 oz capacity)
- Porta-filter (for single or double shots)
- Frothing Arm/Wand
- Drip Tray (removable and washable)
- Control Panel with Indicator Lights
- Tamping Zouti
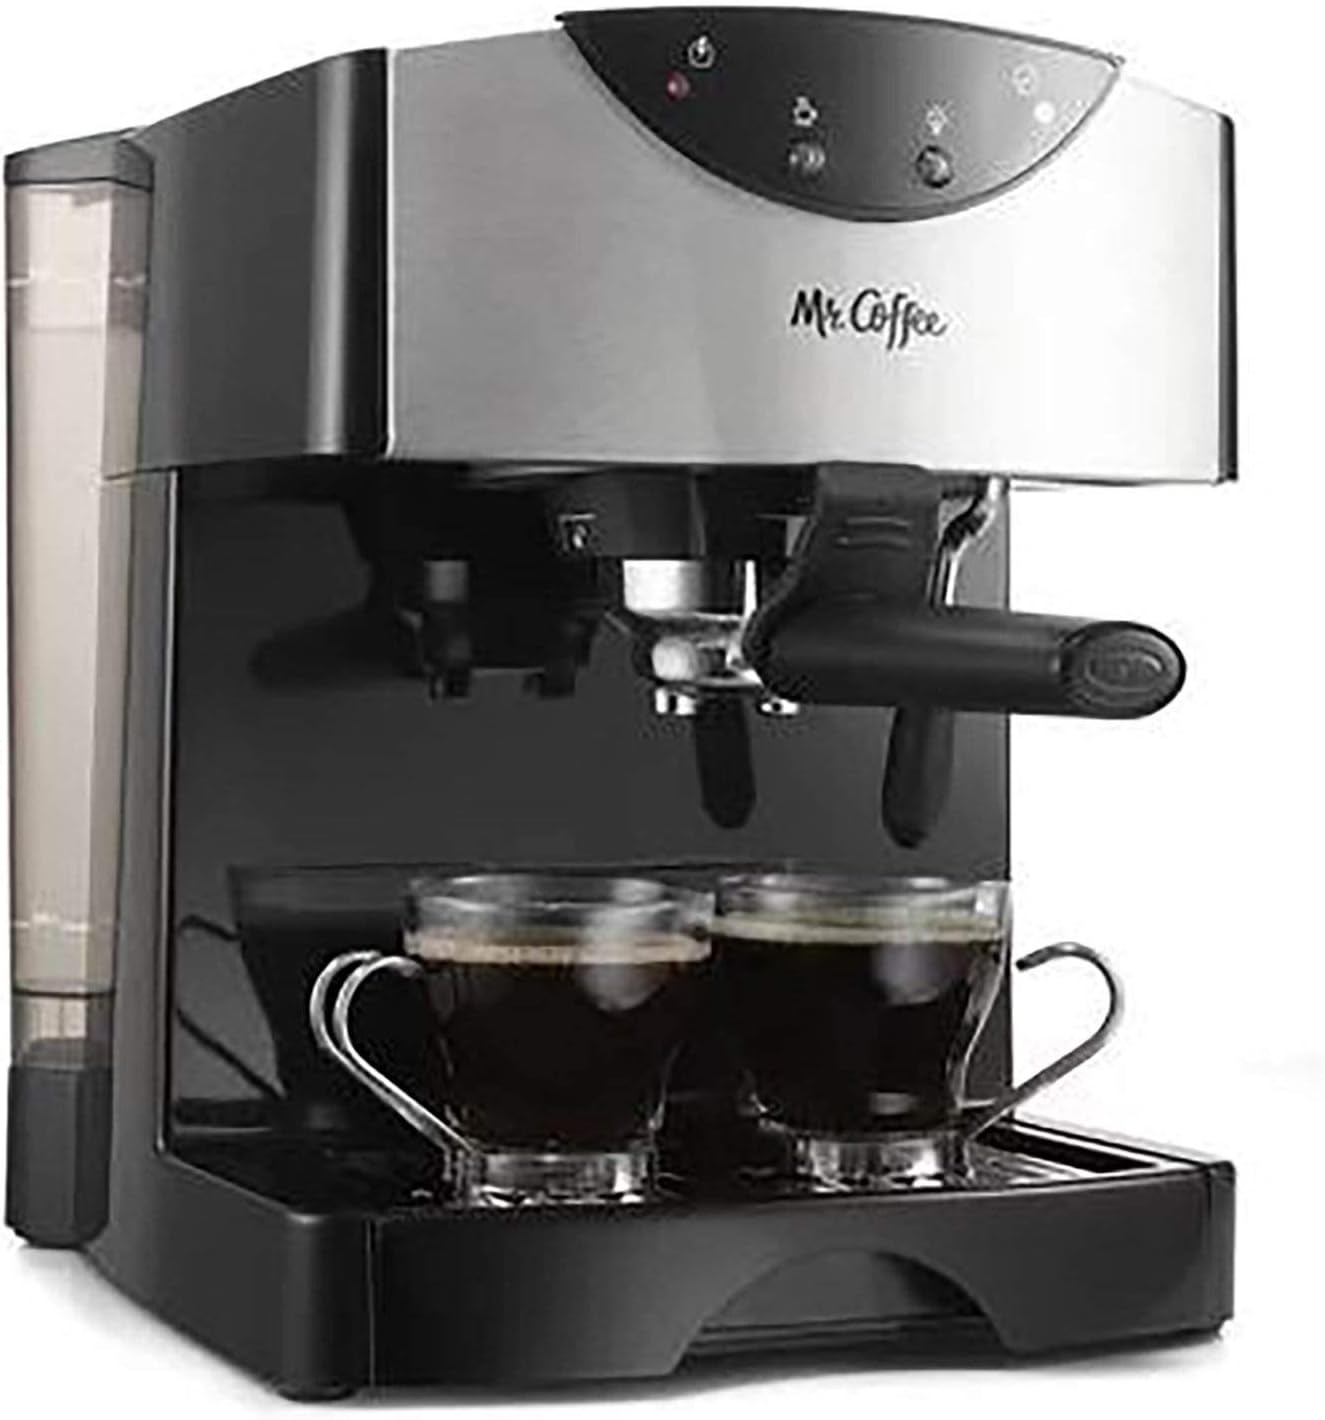
Figi 1: Devan view of the Mr. Coffee Espresso/Cappuccino System. Shows the main unit with two espresso cups on the drip tray.

Figi 2: Top-desann view of the espresso machine, highlighting the water reservoir and control panel. The tamping tool and two filter baskets are visible in the foreground.
Enstalasyon
- Debake: Carefully remove all packaging materials. Ensure all components are present and undamaged.
- Netwayaj inisyal: Before first use, wash the porta-filter, filter baskets, and drip tray in warm, soapy water. Rinse thoroughly and dry. Wipe the exterior of the machine with a damp twal.
- Ranpli rezèvwa dlo: Remove the 40 oz. water reservoir from the back of the unit. Fill it with fresh, cold water up to the MAX fill line. Replace the reservoir securely.
- Premye ponp lan:
- Mete yon gwo tas anba tèt kafe a.
- Ploge machin nan nan yon priz elektrik ki baze sou tè.
- Turn the machine ON. The indicator light will illuminate.
- Once the machine is heated (indicator light changes), turn the control knob to the "Brew" position and allow water to flow through until the reservoir is nearly empty. This removes air from the system.
- Turn the control knob to "OFF" and refill the water reservoir.
Enstriksyon Operasyon
Fè espresso
- Prepare Porta-filter: Insert the desired filter basket (single or double shot) into the porta-filter. Fill the basket with finely ground espresso coffee.
- Tamp Kafe: Sèvi ak tamping tool to lightly tamp the coffee grounds. Do not over-tamp. Wipe any excess grounds from the rim of the porta-filter.
- Attach Porta-filter: Align the porta-filter with the brew head and twist firmly to the right until it is securely locked in place.
- Mete tas yo: Place one or two espresso cups on the drip tray directly under the porta-filter spouts.
- Brew espresso: Ensure the machine is heated and ready (indicator light). Turn the control knob to the "Brew" position. Espresso will begin to flow into your cups.
- Sispann brase: Once the desired amount of espresso is brewed (typically 1-2 ounces per shot), turn the control knob to the "OFF" position.
- Remove Porta-filter: Carefully twist the porta-filter to the left to remove it. Dispose of the used coffee grounds.

Figi 3: Fèmen view of the machine's brew head and porta-filter, showing two cups collecting espresso.
Making Cappuccinos and Lattes (Frothing Milk)
- Prepare Espresso: First, brew your espresso shots as described above into a larger, heat-resistant cup.
- Prepare lèt: Fill a frothing pitcher with cold milk (dairy or non-dairy) to just below the spout.
- Heat for Steam: Turn the control knob to the "Steam" position. The steam indicator light will illuminate. Wait for the light to indicate the machine is ready for steaming.
- Bagèt vapè pou pirifye: Before frothing, briefly open the steam knob to release any condensed water from the frothing wand into an empty cup. Close the steam knob.
- Lèt kim: Immerse the frothing wand tip just below the surface of the milk. Slowly open the steam knob. Move the pitcher up and down to create foam. For lattes, keep the wand deeper for less foam. For cappuccinos, keep it closer to the surface for more foam.
- Sispann vapè a: Once the milk reaches the desired temperature and consistency, close the steam knob and turn the control knob to "OFF".
- Baton Netwaye: Immediately wipe the frothing wand with a damp cloth to prevent milk residue from drying. Briefly open the steam knob again to clear any milk from inside the wand.
- Konbine: Pour the frothed milk over your brewed espresso.
Antretyen ak netwayaj
Netwayaj regilye asire pèfòmans optimal epi pwolonje lavi machin espresso ou a.
Netwayaj chak jou
- Degoute Plato: Empty and rinse the removable drip tray after each use or when the indicator shows it's full.
- Porta-filter and Filter Baskets: After each use, remove the porta-filter, discard coffee grounds, and rinse the porta-filter and filter basket under warm water.
- Baton kim: As mentioned in the operating instructions, wipe and purge the frothing wand immediately after each use.
- Eksteryè: Siye eksteryè machin nan ak yon mou, damp twal. Pa sèvi ak pwodui netwayaj abrazif oswa kousinen.
Weekly Cleaning / Descaling
Depending on water hardness and frequency of use, descaling should be performed regularly (e.g., monthly or every 2-3 months) to remove mineral buildup.
- Prepare Solisyon Detartran an: Mix a descaling solution according to the manufacturer's instructions (or use a mixture of white vinegar and water, typically 1:1 ratio).
- Ranpli rezèvwa: Vide solisyon detartran an nan rezèvwa dlo a.
- Run Solution: Place a large container under the brew head and frothing wand. Run half of the solution through the brew head (without coffee) and half through the frothing wand.
- Rense: After running the solution, fill the reservoir with fresh water and run it through both the brew head and frothing wand to rinse the system thoroughly. Repeat with fresh water until no descaling solution remains.
Depanaj
| Pwoblèm | Kòz posib | Solisyon |
|---|---|---|
| Pa gen koule dlo / Machin nan pa ap fè kafe. | Water reservoir empty; Machine not primed; Clogged filter/brew head; Mineral buildup. | Refill reservoir; Prime the pump (see Setup); Clean filter/brew head; Descale the machine. |
| Weak espresso / No crema. | Maren kafe twò gwo; Pa gen ase kafe; Pa gen ase tamping; Machine not hot enough. | Sèvi ak yon moulen kafe ki pi fen; Ogmante kantite kafe a; Tamp more firmly; Allow machine to fully heat. |
| Frothing wand not producing steam. | Wand clogged with dried milk; Machine not hot enough for steam; Water reservoir empty. | Clean wand thoroughly; Wait for steam indicator light; Refill reservoir. |
| Machine leaking. | Drip tray full or misaligned; Water reservoir not seated correctly; Porta-filter not secured. | Empty and re-align drip tray; Re-seat water reservoir; Secure porta-filter firmly. |
Espesifikasyon
| Karakteristik | Detay |
|---|---|
| Mak | Mesye kafe |
| Nimewo Modèl | ECMP50-RB |
| Kalite Coffee Maker | Machin espresso |
| Ponp presyon | 15-ba |
| Kapasite rezèvwa dlo | 40 ons |
| Sistèm chofaj | Blòk tèmik |
| Dimansyon pwodwi | 10.63"D x 11.45"W x 9.45"H |
| Pwa atik | 1.21 liv |
| Voltage | 110 Volts |
| Koulè | Ajan |
Garanti ak sipò
For warranty information, product registration, or technical support, please refer to the official Mr. Coffee website or contact their customer service. A digital version of the user guide may also be available for download.
You can find the official user guide isit la.