Pwogrè Ekleraj P3689-44
Progress Lighting P3689-44 Two-Light Close-to-Ceiling Fixture Instruction Manual
Entwodiksyon
This manual provides detailed instructions for the safe installation, operation, and maintenance of your Progress Lighting P3689-44 Two-Light Close-to-Ceiling Fixture. Please read all instructions carefully before beginning installation and retain this manual for future reference.
The P3689-44 fixture features a clean design with elegant lines, complemented by a satin Oxford Silver finish and an etched alabaster style glass shade. Its unique twist-lock shade design allows for easy access for changing light bulbs without external hardware.
Enfòmasyon sou Sekirite
AVÈTISMAN: Risk pou chòk elektrik. Dekonekte kouran an nan bwat fizib la oswa nan disjonktè a anvan enstalasyon oswa antretyen.
ATANSYON: For your safety, read and understand the information provided in this manual completely before attempting to assemble, install, or operate this product. Failure to do so could lead to electric shock, fire, or other injuries that could be hazardous or even fatal.
- Tout koneksyon elektrik yo dwe fèt an akò ak kòd lokal yo, òdonans yo, oswa Kòd Elektrik Nasyonal la (NEC).
- Konsilte yon elektrisyen kalifye si ou pa sèten sou pwosedi fil elektrik yo.
- Sèvi ak sèlman konektè fil ki nan lis UL/cUL.
- Pa depase wat maksimòm lantage espesifye pou anpoul yo.
- Asire w ke aparèy la byen monte sou yon eleman estriktirèl nan plafon an.
Kontni pake
Carefully unpack your fixture and check that all parts are included. If any parts are missing or damaged, contact Progress Lighting customer service before proceeding.
- Kò aparèy (1)
- Lonbraj vè (1)
- Twous pyès ki nan konpitè pou monte (1)
- Manyèl enstriksyon (1)
Enstalasyon ak Enstalasyon
Zouti obligatwa (pa enkli):
- Phillips tournevis
- Flathead tounvis
- Denude Fil
- Tep elektrik
- Linèt sekirite
Etap enstalasyon:
- Fèmen pouvwa: Before starting installation, ensure the power to the circuit is turned off at the main fuse box or circuit breaker.
- Prepare mounting: Attach the mounting bracket to the junction box in the ceiling using the screws provided in the hardware kit. Ensure the bracket is securely fastened.
- Fil elektrik: Connect the fixture's wires to the house wires according to the following:
- Konekte a nwa fil aparèy pou a nwa (hot) house wire.
- Konekte a blan fil aparèy pou a blan (net) fil kay.
- Konekte a kwiv fè (ground) fixture wire to the green or bare copper (ground) house wire.
- Mount fixture body: Carefully push the wired fixture body up to the ceiling, aligning the screw holes on the fixture with the screws on the mounting bracket. Secure the fixture body in place with the decorative nuts or screws provided.
- Enstale anpoul yo: Insert two (2) 60-watt maximum medium base bulbs (not included) into the sockets. Do not exceed the recommended wattage.
- Attach glass shade: Align the glass shade with the fixture body and twist it clockwise until it locks securely into place. The unique twist-lock design ensures the shade is held firmly without visible hardware.
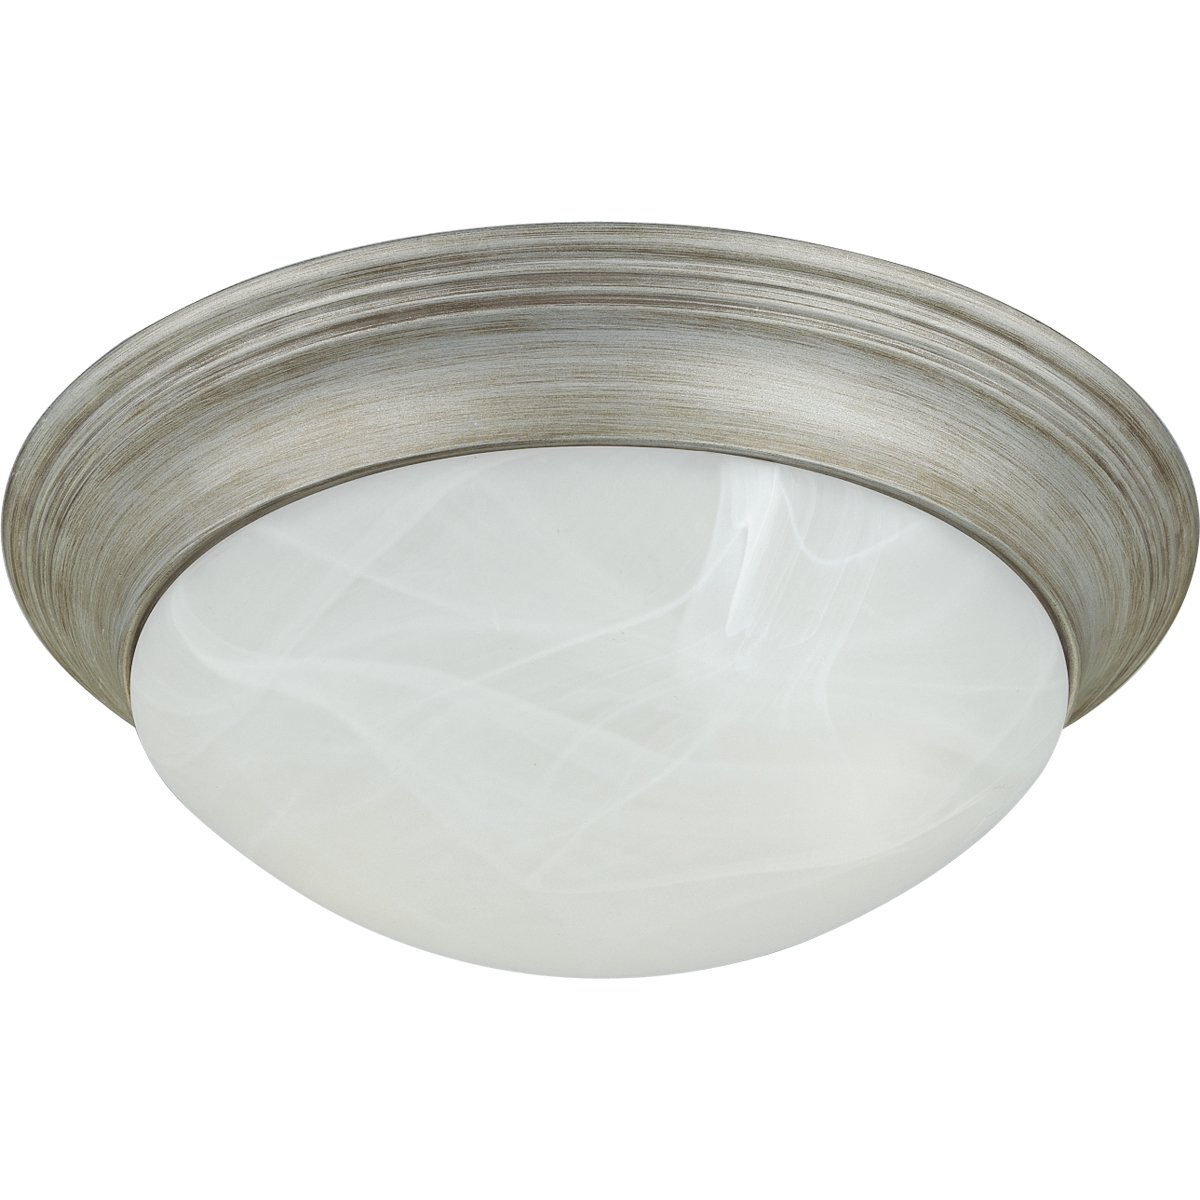
Image: The Progress Lighting P3689-44 Two-Light Close-to-Ceiling Fixture, showcasing its Oxford Silver finish and etched alabaster style glass shade. The fixture is designed for flush mounting to the ceiling.
Enstriksyon Operasyon
Once the fixture is fully installed and bulbs are in place, restore power at the main fuse box or circuit breaker. The fixture is operated via a standard wall switch (not included) connected to the circuit.
- Asire w ki kòrèk latage bulbs (max 60-watt medium base) are used to prevent overheating or damage.
- The fixture is designed for indoor use in dry locations only.
Antretyen
Netwayaj:
To clean the fixture, ensure power is turned off. Wipe the fixture with a soft, dry cloth. Do not use abrasive cleaners, polishes, or solvents as they may damage the finish or glass. For the glass shade, a mild glass cleaner can be used sparingly on a cloth, then wiped dry.
Ranplasman anpoul:
To replace bulbs, turn off power at the circuit breaker. Gently twist the glass shade counter-clockwise to remove it. Unscrew the old bulbs and replace them with new 60-watt maximum medium base bulbs. Reattach the glass shade by twisting it clockwise until secure.
Depanaj
| Pwoblèm | Kòz posib | Solisyon |
|---|---|---|
| Limyè pa limen. |
|
|
| Limyè flickers. |
|
|
Espesifikasyon
| Karakteristik | Detay |
|---|---|
| Nimewo Modèl | P3689-44 |
| Mak | Pwogrè ekleraj |
| Fini | Oxford Silver |
| Kalite vè | Etched Alabaster Style Glass |
| Dimensions (Width x Height) | 14 inches (W) x 4-3/4 inches (H) |
| Kantite limyè | 2 |
| Kalite anpoul | Mwayen baz (E26) |
| Max watage pou chak Bulb | 60 Watts |
| Voltage | 120 Volts |
| Sous pouvwa | Fil elektrik |
| Materyèl | Vè, metal |
| UPC | 785247368921 |
Garanti ak sipò
This Progress Lighting fixture is covered by a Garanti manifakti 1 zan soti nan dat acha a. Garanti sa a kouvri domaj nan materyèl ak atizan konn fè nan itilizasyon nòmal.
For warranty claims, technical support, or replacement parts, please contact Progress Lighting customer service. Keep your purchase receipt as proof of purchase.
Progress Lighting Customer Service: Refer to the official Progress Lighting websit la oswa anbalaj pwodwi a pou jwenn enfòmasyon kontak aktyèl.
Ask a question about this manual
Ask about setup, troubleshooting, compatibility, parts, safety, or missing instructions. Manuals+ will review the question and use this page’s manual context to help answer it.