1. Entwodiksyon
This manual provides detailed instructions for the safe installation, operation, and maintenance of your Emerald P401TSW 6-inch Recessed Ceiling Light Fixture Kit. Please read all instructions carefully before beginning installation and retain this manual for future reference. Proper installation is crucial for safety and optimal performance.
2. Enfòmasyon sou Sekirite
WARNING: RISK OF ELECTRIC SHOCK. Disconnect power at the circuit breaker or fuse box before installation or servicing. Failure to do so may result in serious injury or death.
- Tout koneksyon elektrik yo dwe fèt an akò ak kòd lokal yo, òdonans yo, ak Kòd Elektrik Nasyonal la (NEC).
- Konsilte yon elektrisyen kalifye si ou pa sèten sou pwosedi fil elektrik yo.
- Mete linèt sekirite ak gan pandan enstalasyon an.
- Asire ke aparèy la byen chita.
- Do not install insulation within 3 inches of the fixture housing.
- This fixture is designed for indoor use in dry or damp kote sèlman.
3. Pake kontni
Verifye ke tout konpozan yo prezan anvan ou kòmanse enstalasyon an:
- Recessed Housing (1)
- White Trim Ring (1)
- Frosted Glass Diffuser (1)
- Materyèl pou monte (vis, nwa fil)
- Manyèl Enstriksyon (dokiman sa a)
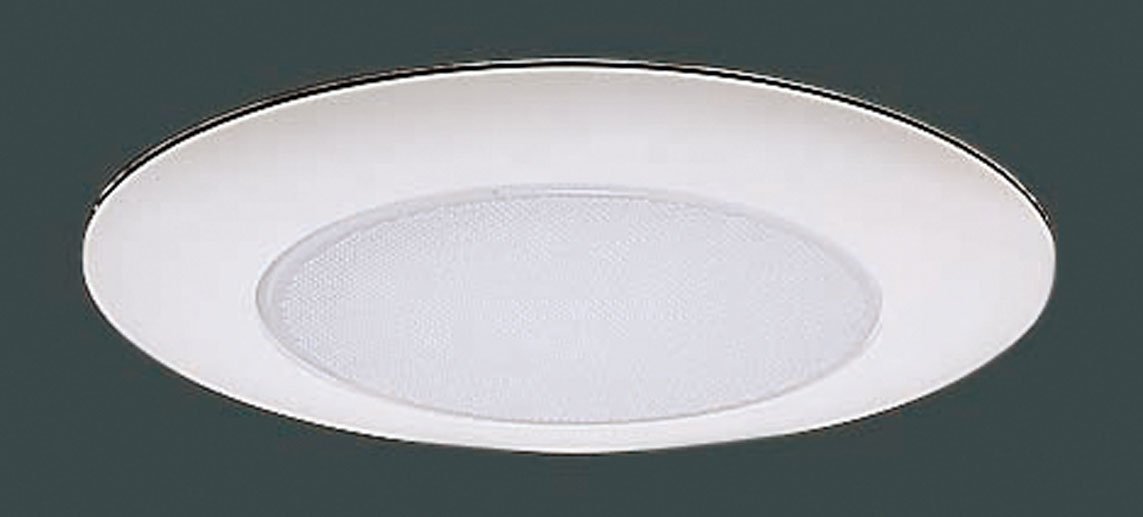
Image: Components of the Emerald P401TSW recessed light kit, showing the housing, white trim, and frosted glass diffuser.
4. Zouti obligatwa
Zouti sa yo tipikman nesesè pou enstalasyon:
- Phillips tèt tournevis
- Flat Tounvis
- Fil retire rad sou ou
- Mezire tep
- Kreyon
- Drill with Hole Saw (6-1/4 inch recommended for a snug fit)
- Utility Knife (optional, for drywall)
- Linèt sekirite
5. Enstriksyon Enstalasyon
Follow these steps carefully to install your recessed light fixture. This kit is designed for both new construction and remodel applications.
Etap 1: Prepare pou enstalasyon
- Fèmen pouvwa: Locate the circuit breaker or fuse box controlling the area where you will install the fixture and turn off the power. Verify power is off using a voltage tèsteur.
- Detèmine kote: Choose a suitable location on the ceiling, ensuring there are no obstructions (joists, pipes, wires) behind the drywall.
- Mark and cut hole: Using a measuring tape and pencil, mark the center of your desired fixture location. Use a 6-1/4 inch hole saw to cut a circular opening in the drywall. Note: A slightly larger hole (e.g., 6-3/8 inch) may be necessary for easier installation and to prevent drywall damage, as reported by some users. Test fit before final wiring.
Etap 2: Câblage aparèy la
- Open junction box: Open the access plate on the fixture's junction box.
- Konekte fil yo: Feed the electrical supply wires through the knockout hole into the junction box. Using wire nuts, connect the wires as follows:
- Konekte a nwa (hot) wire from the supply to the nwa wire of the fixture.
- Konekte a blan (neutral) wire from the supply to the blan wire of the fixture.
- Konekte a kwiv fè or vèt (ground) wire from the supply to the vèt ground screw or wire in the junction box.
- Secure wiring: Ensure all connections are secure. Carefully tuck all wires and wire nuts into the junction box and close the access plate.
Step 3: Installing the Housing
- Insert housing: Carefully push the recessed housing up into the ceiling opening.
- Secure housing: The housing features spring clips or tension clips. Push these clips outwards and upwards to secure the housing firmly against the ceiling drywall. Ensure the housing is flush and level with the ceiling surface. If the housing does not sit level, it may require minor adjustment or shimming before proceeding.
Step 4: Installing the Trim and Glass
- Install bulb: Screw in the appropriate bulb (not included) into the socket. Refer to the specifications section for bulb type and wattage.
- Attach glass diffuser: Place the frosted glass diffuser into the trim ring.
- Enstale taye: Align the trim ring with the housing. The trim typically has torsion springs or clips that attach to brackets inside the housing. Gently push the trim upwards until it snaps securely into place, flush with the ceiling.
Etap 5: Etap final yo
- Retabli kouran an: Remete kouran an nan disjonktè a oswa nan bwat fizib la.
- Enstalasyon tès: Turn on the light switch to ensure the fixture is operating correctly.
6. Operasyon Enstriksyon
Once installed, the Emerald P401TSW recessed light fixture operates like any standard ceiling light. Control it using a wall switch connected to the circuit. To replace the bulb, ensure power is off, allow the bulb to cool, then unscrew the old bulb and screw in a new one of the correct type and wattage.
7. Antretyen
- Netwayaj: Disconnect power before cleaning. Wipe the trim and glass diffuser with a soft, damp twal. Pa sèvi ak pwodui netwayaj abrazif oswa solvan, paske yo ka domaje fini an.
- Ranplasman anpoul: Always turn off power before replacing a bulb. Allow the bulb to cool completely. Use only bulbs that meet the specifications listed in this manual.
- Enspeksyon: Enspekte aparèy la detanzantan pou wè si li gen nenpòt siy domaj oswa koneksyon ki lach. Si ou jwenn nenpòt pwoblèm, dekonekte kouran an epi konsilte yon elektrisyen kalifye.
NAN. Depanaj
| Pwoblèm | Kòz posib | Solisyon |
|---|---|---|
| Limyè pa limen | Pa gen pouvwa nan aparèy Koneksyon fil ki lach Anpoul defo | Tcheke disjonktè/fizib la Verifye tout koneksyon fil yo byen fèm (koupe kouran an) Ranplase anpoul |
| Limyè flickers | Koneksyon fil ki lach Kalite anpoul ki pa kòrèk Dimmer enkonpatibilite | Tcheke koneksyon fil yo (koupe kouran an) Asire w ke kalite anpoul ak dlo ki kòrèk latage Verify dimmer is compatible with bulb type |
| Fixture is not flush with ceiling | Improperly seated clips Hole cut too small | Re-seat spring clips firmly Carefully enlarge hole slightly if necessary (power off) |
9. Espesifikasyon
- Modèl: P401TSW
- Kalite aparèy: Recessed Ceiling Light Kit
- Gwosè: 6-inch (nominal opening)
- Koupe fini: Blan
- Glass: Frosted Diffuser
- Voltage: 120V AC, 60Hz
- Kalite anpoul: Incandescent, LED, or CFL compatible (bulb not included)
- Max watage: 60W (or equivalent LED/CFL)
- Kote Rating: Sèk oswa Damp
10. Enfòmasyon sou Garanti
This Emerald product is covered by a limited warranty against defects in materials and workmanship. Please refer to the warranty card included with your purchase or visit the manufacturer's website for specific terms and conditions. Keep your proof of purchase for warranty claims.
11. Sipò pou Kliyan
For technical assistance, missing parts, or warranty inquiries, please contact Emerald customer support. Refer to the packaging or the manufacturer's official website for current contact information (phone number, email, or support portal).