Entwodiksyon
This manual provides detailed instructions for the installation, operation, and maintenance of the Tell Manufacturing EX100001 Commercial Non-Handed Panic Bar. This heavy-duty rim exit device is designed for commercial applications on doors ranging from 28 to 36 inches in width, offering reliable emergency egress. Please read all instructions carefully before beginning installation or operation to ensure proper function and safety.
Enfòmasyon sou Sekirite
- Always wear appropriate personal protective equipment (PPE) such as safety glasses and gloves during installation.
- Ensure the door and frame are structurally sound and capable of supporting the device.
- Verify all components are present and undamaged before installation.
- Do not modify the panic bar or its components, as this may compromise its functionality and void the warranty.
- Follow all local building codes and fire safety regulations during installation.
- Kenbe ti pati yo lwen timoun yo pou anpeche danje toufe.
Pwodwi konpozan
The Tell Manufacturing EX100001 panic bar assembly includes the main panic bar mechanism, a strike plate, and necessary mounting hardware. Familiarize yourself with all parts before installation.

Imaj: Plis paseview of the Tell Manufacturing EX100001 Commercial Non-Handed Panic Bar and its accompanying strike plate.

Image: A top-down perspective showing the panic bar and its separate strike plate, highlighting their individual forms.

Imaj: Yon gwo plan view of the panic bar's end cap, clearly displaying the UL Listed 'Panic Hardware' certification label.
Enstalasyon ak Enstalasyon
The EX100001 panic bar is non-handed, meaning it can be installed on both left-hand and right-hand doors. Installation requires basic tools and careful measurement.
Zouti obligatwa:
- Fè egzèsis
- Drill bits (appropriate for door material)
- Mezire tep
- Kreyon oswa makè
- Tournevis (Phillips ak flathead)
- Allen wrench (for adjustments)
Etap enstalasyon:
- Prepare pòt la: Measure and mark the desired height for the panic bar on the interior side of the door. The standard height is typically 36 to 40 inches from the finished floor to the center line of the panic bar.
- Position the Panic Bar: Hold the panic bar against the door at the marked height. Ensure it is level and extends across the door width appropriately. Mark the locations for mounting screws.
- Twou pou fè egzèsis: Carefully drill pilot holes at the marked locations. Ensure the drill bit size is appropriate for the screws and door material to prevent splitting or damage.
- Mount the Panic Bar: Secure the panic bar to the door using the provided screws. Do not overtighten.
- Enstale plak grèv la: Close the door and mark the position on the door frame where the panic bar's latch mechanism makes contact. This is where the strike plate will be installed.
- Drill Strike Plate Holes: Drill pilot holes for the strike plate screws on the door frame.
- Sekirize plak grèv la: Attach the strike plate to the door frame using the provided screws. Ensure it is aligned correctly for smooth operation of the panic bar.
- Adjust Bar Length (if necessary): If the door width is less than 36 inches, the panic bar may need to be shortened. Use an Allen wrench to loosen the adjustment screws, slide the bar to the desired length, and retighten the screws.
- Operasyon tès: With the door open, press the panic bar to ensure the latch retracts smoothly. Close the door and press the bar again to confirm it opens freely. Make any necessary adjustments to the strike plate or bar alignment.
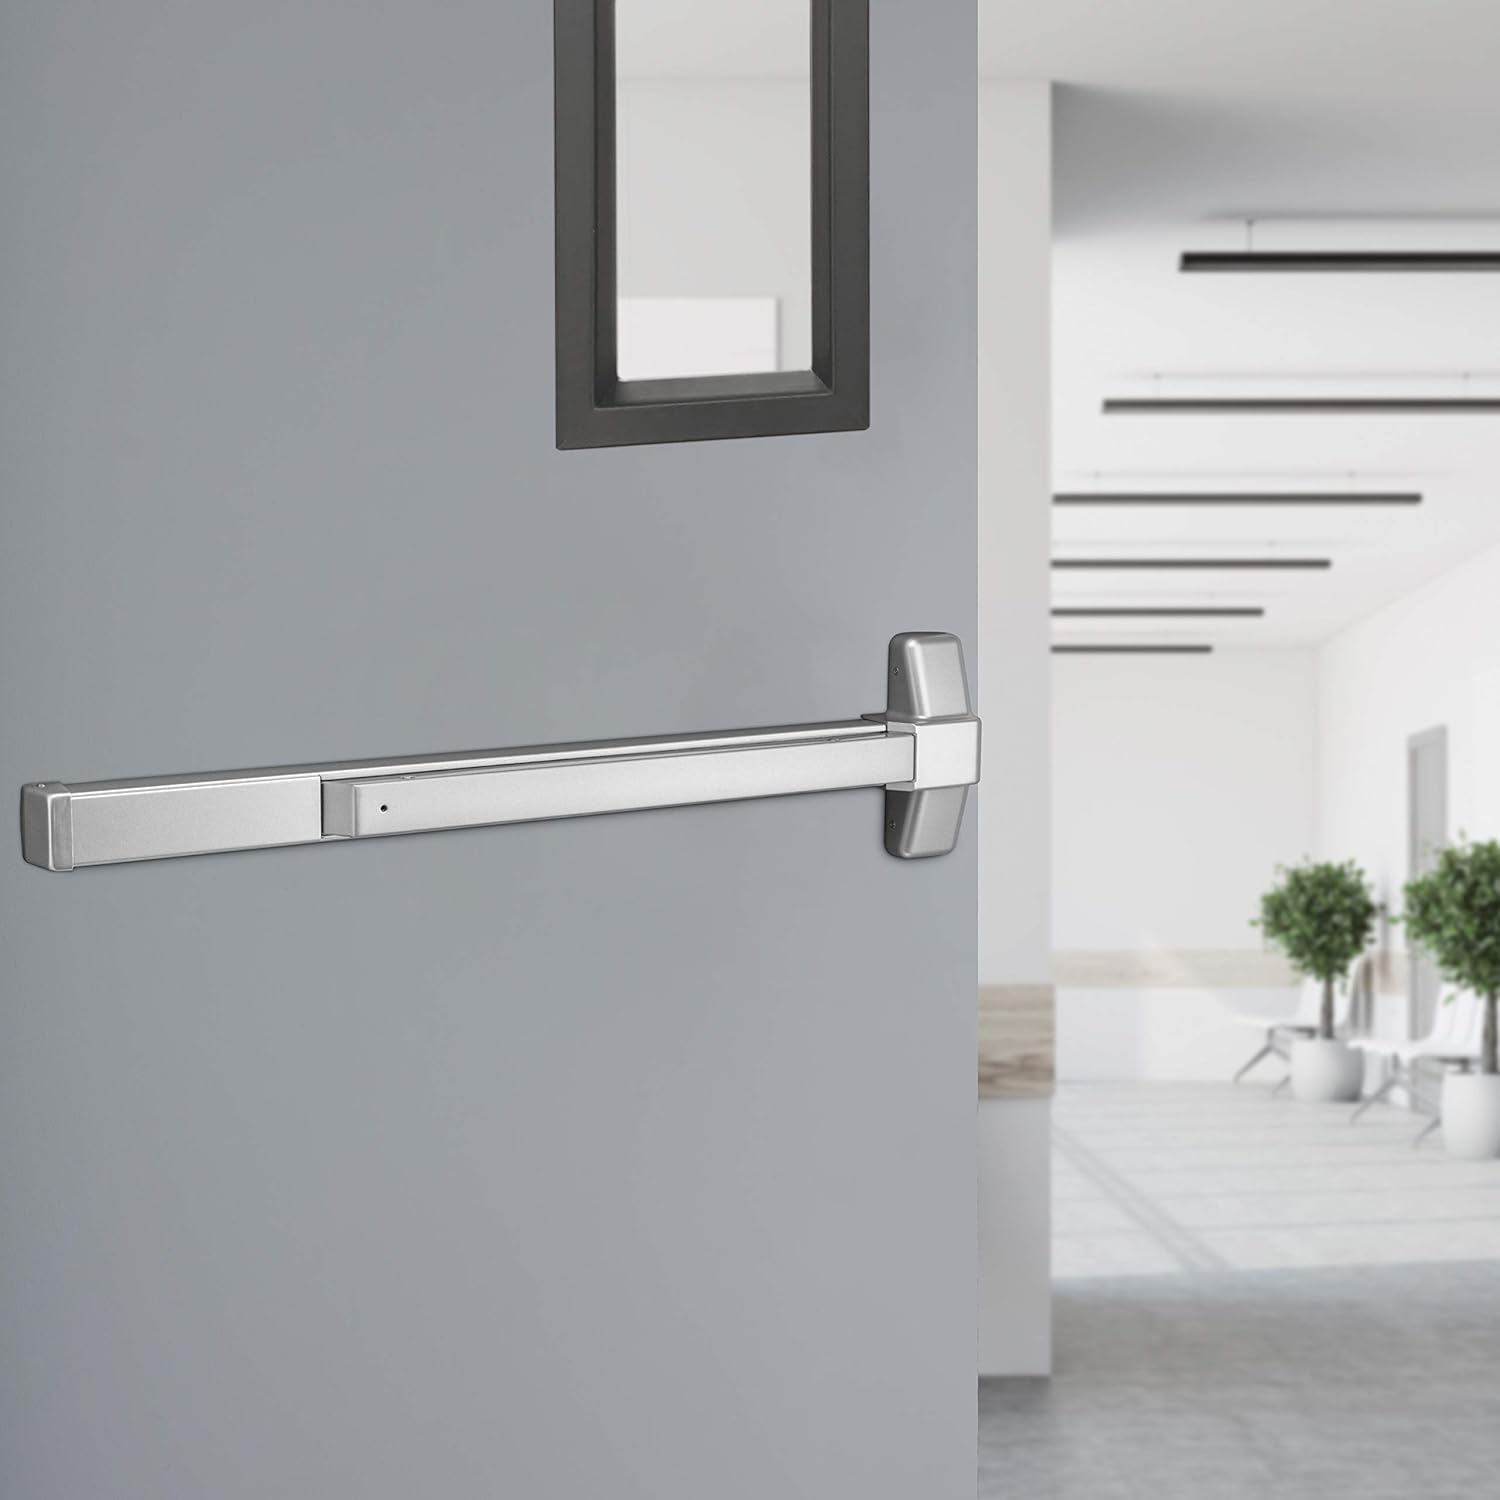
Image: The panic bar securely installed on the interior side of a gray commercial door.

Image: The strike plate mounted on the door frame, aligned to receive the panic bar's latch.

Imaj: Yon imaj detaye view of the strike plate, showing its curved design and mounting on the door frame.

Image: Hands using an Allen wrench to adjust the length of the panic bar, demonstrating the customization feature.
Enstriksyon Operasyon
To exit through a door equipped with the Tell Manufacturing EX100001 panic bar, simply push the horizontal bar towards the door. This action retracts the latch bolt, allowing the door to open. The device is designed for immediate and unhindered egress during emergencies.

Imaj: Yon gwo plan view of the panic bar's latch mechanism, showing the component that retracts when the bar is pressed.
Antretyen
Regular maintenance ensures the longevity and reliable operation of your panic bar.
- Netwayaj: Wipe the panic bar and strike plate with a soft, damp twal pou retire pousyè ak salte. Evite pwodui netwayaj abrazif oswa solvan ki ka domaje fini an.
- Lubrifikasyon: Periodically apply a small amount of silicone-based lubricant to the latch mechanism and any moving parts to ensure smooth operation. Do not over-lubricate.
- Enspeksyon: Annually inspect all mounting screws for tightness. Check the panic bar for any signs of wear, damage, or misalignment. Ensure the bar moves freely and the latch retracts fully.
- Tès fonksyonalite: Regularly test the panic bar's operation by pushing it to ensure the door opens easily and without obstruction.
Depanaj
If you encounter issues with your panic bar, refer to the following common problems and solutions:
- Door does not open when panic bar is pressed:
- Check for obstructions around the door or latch mechanism.
- Ensure the strike plate is correctly aligned with the latch. Adjust if necessary.
- Verify that the panic bar is securely mounted and not loose.
- Panic bar is stiff or difficult to push:
- Apply lubricant to the moving parts of the latch mechanism.
- Check for any binding or friction points along the bar's travel.
- Ensure mounting screws are not overtightened, which can cause binding.
- Gwo bri pandan operasyon:
- Lubrifye pati k ap deplase yo.
- Inspect for loose components or worn parts that may be causing friction.
Espesifikasyon
| Nimewo Modèl | EX100001 |
| Mak | Kwikset (Tell Manufacturing) |
| Materyèl | Aliminyòm, Nerjaveèi |
| Eksteryè Fini | Baked Aluminum Enamel |
| Koulè | Ajan |
| Door Width Compatibility | 28" a 36" |
| Dimansyon pwodwi (L x W) | 6.7"L x 3"W (main body) |
| Pwa atik | 9.7 liv |
| Kalite fèmen | Push Bar / Rim Exit Device |
| Oryantasyon men | Non-Handed (Ambidextrous) |
| Karakteristik adisyonèl | Easy to Install, Heavy-Duty Commercial Grade |
Garanti ak sipò
The Tell Manufacturing EX100001 Commercial Non-Handed Panic Bar is backed by a manufacturer's warranty. For specific warranty details, terms, and conditions, please refer to the documentation included with your purchase or contact Kwikset customer support directly. For technical assistance or replacement parts, please visit the official Kwikset websit oswa kontakte depatman sèvis kliyan yo.
Kwikset Official Websit: www.kwikset.com