Entwodiksyon
This manual provides detailed instructions for the installation, operation, and maintenance of your DB DRIVE A3 2250.5 Okur Series A3 Class AB 1000 Watt 5-Channel AmpTanpri li manyèl sa a byen anvan ou eseye enstalasyon an oswa operasyon an pou asire bon itilizasyon an epi pou anpeche domaj nan inite a oswa sistèm odyo machin ou an.
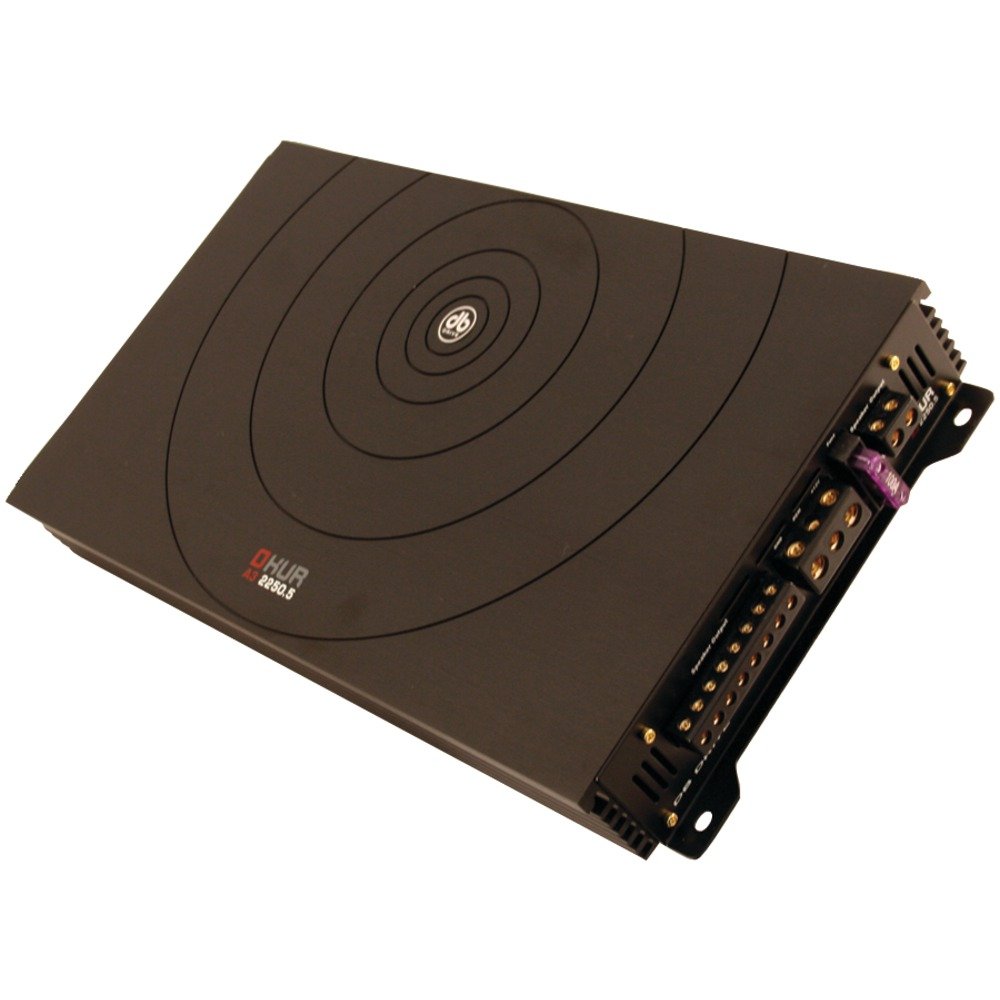
Image: DB DRIVE A3 2250.5 Okur Series A3 Class AB 1000 Watt 5-Channel Amplavi. Imaj sa a montre amplifier's top view, highlighting its compact design and branding.
Enfòmasyon sou Sekirite
Toujou obsève prekosyon sekirite sa yo pou evite blesi oswa domaj:
- Disconnect the vehicle's battery negative terminal before making any power connections.
- Ensure all wiring is properly routed and secured to prevent pinching or short circuits.
- Sèvi ak fil elektrik ki gen kalib ki apwopriye pou koneksyon pouvwa ak tè jan sa espesifye nan seksyon enstalasyon an.
- Enstale la amplifter la nan yon kote ki pèmèt bon vantilasyon pou anpeche li chofe twòp.
- Evite enstale amplifier nan zòn ki ekspoze a imidite oswa vibrasyon twòp.
- Konsilte yon enstalatè odyo machin pwofesyonèl si ou pa sèten sou nenpòt pati nan pwosesis enstalasyon an.
Enstalasyon ak Enstalasyon
1. Debalaj ak Enspeksyon
Retire ak anpil atansyon amplifier from its packaging. Inspect the unit for any signs of damage that may have occurred during shipping. Contact your dealer immediately if any damage is found.
2. Monte a Amplifier
Choose a mounting location that is dry, well-ventilated, and secure. Common locations include under a seat, in the trunk, or behind a panel. Ensure there is sufficient airflow around the amplifier's heatsink.
- Mark the mounting holes using the amplifier as a template.
- Drill pilot holes if necessary, being careful not to damage any vehicle components.
- Sekirize a amplifitè a lè l sèvi avèk vis montaj yo bay yo.
3. Koneksyon fil elektrik
Proper wiring is crucial for performance and safety. Refer to the following guidelines:
- Power (BATT+): Connect a heavy-gauge wire (e.g., 4 AWG or 8 AWG depending on total power) directly from the positive terminal of the vehicle's battery. Install an inline fuse holder within 18 inches (45 cm) of the battery.
- Tè (GND): Connect a heavy-gauge wire of the same size as the power wire to a clean, unpainted metal surface of the vehicle's chassis. Ensure a solid, low-resistance connection.
- Remote (REM): Connect a smaller gauge wire (e.g., 18 AWG) from the amplifier's remote terminal to the remote output of your head unit. This turns the amplimen epi etenn lifan an ak inite tèt la.
- RCA Antre: Connect RCA cables from your head unit's pre-amp rezilta nan amplifier's RCA input jacks. Ensure correct channel matching (Front L/R, Rear L/R, Sub).
- Sòti Oratè yo: Connect speaker wires from the amplifier's speaker terminals to your speakers. Observe correct polarity (+ to + and - to -). This is a 5-channel amplifier, typically 4 channels for full-range speakers and 1 channel for a subwoofer.
4. Gain, Crossover, and Bass Boost Settings
These settings allow you to fine-tune the amplifier's output to match your audio system and preferences.
- Jwenn kontwòl: Adjust the gain to match the output voltage of your head unit. Start with the gain at minimum, then slowly increase it until you hear distortion, then back off slightly. This is not a volume control.
- Crossover (LPF/HPF):
- Filtè pasan ki ba (LPF): For the subwoofer channel, set the LPF to allow only low frequencies to pass (e.g., 80-120 Hz).
- High Pass Filter (HPF): For the full-range channels, set the HPF to block low frequencies from reaching your main speakers (e.g., 80-100 Hz) to prevent distortion and improve sound clarity.
- Bass Pouse: Use the bass boost sparingly. Excessive bass boost can lead to distortion and speaker damage. Adjust to taste, ensuring sound remains clear.
Enstriksyon Operasyon
Yon fwa enstale epi konfigire, la amplifier will power on automatically with your head unit via the remote turn-on wire. Adjust volume and tone controls primarily from your head unit. The amplifier's settings (gain, crossover) are set during installation and generally do not require frequent adjustment.
Antretyen
The DB DRIVE A3 2250.5 ampLifter mande pou minimòm antretyen.
- Netwayaj: Periodically wipe the ampNetwaye deyò aparèy la avèk yon twal mou epi sèk pou retire pousyè a. Pa sèvi ak pwodui chimik ki agresif oswa pwodui netwayaj abrazif.
- Enspeksyon: Occasionally check all wiring connections to ensure they are secure and free from corrosion. Ensure the amplifier's ventilation fins are not obstructed.
Depanaj
Si ou fè eksperyans pwoblèm ak ou amplifier, gade pwoblèm ak solisyon komen sa yo:
| Pwoblèm | Kòz posib | Solisyon |
|---|---|---|
| Pa gen kouran / Amplifier pa limen |
|
|
| Pa gen Sòti Son |
|
|
| Son defòme |
|
|
| AmpSurchof lifter (Mòd Pwoteksyon) |
|
|
Espesifikasyon
| Karakteristik | Detay |
|---|---|
| Nimewo Modèl | A3 2250.5 |
| Maksimòm pwodiksyon pouvwa | 1000 Watts |
| Chanèl | 5-Channel (4 stereo, 1 mono for subwoofer) |
| Ampklas lifier | Klas AB |
| Eleman | Audiophile Grade |
| Dimansyon (L x W x H) | 53.59 x 30.48 x 10.92 cm |
| Pwa | 6.53 kg |
| Jesyon Chalè | DRIVESINK (Okur Series A3 feature) |
Garanti ak sipò
DB Drive products are designed for reliability and performance. This product is covered by a limited warranty. Please refer to the warranty card included with your product or visit the official DB Drive websit la pou wè tèm ak kondisyon garanti detaye yo.
For technical support, service, or warranty claims, please contact your authorized DB Drive dealer or visit the DB Drive official websit pou enfòmasyon kontak ak resous sipò.